Project: A0-TAZ - Lulzbot TAZ Style X Ends for A0-10x Printers
prusaprinters
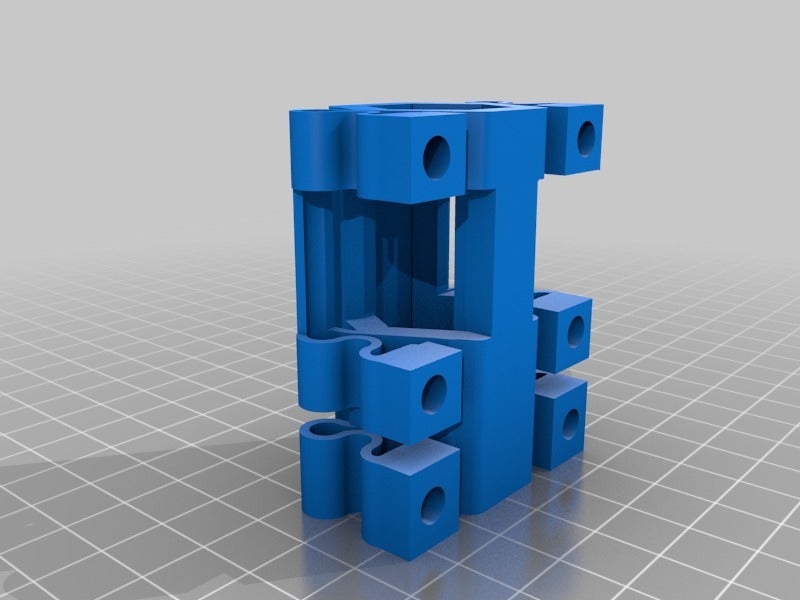
<p>This project adds anti-backlash and anti-wobble similar to that found on the Lulzbot TAZ printer to the older Lulzbot A0-10x designs. It will also likely fit some Mendelmax 1.5+-ish Derivatives. With the addition of a second Acme nut, a metal spring, and the printed parts above, you should be able to eliminate any remaining wobble from your Ao-10x style printer. Please note that you will need to ensure you have clearance for the Ao-101 style Lower X end clamp if you are upgrading an older machine. Development thread is here: <a href="http://forum.lulzbot.com/viewtopic.php?f=16&t=306">http://forum.lulzbot.com/viewtopic.php?f=16&t=306</a></p> <h3>Print instructions</h3><h3>Category: 3D Printer Parts Summary</h3> <p>This project adds anti-backlash and anti-wobble similar to that found on the Lulzbot TAZ printer to the older Lulzbot A0-10x designs. It will also likely fit some Mendelmax 1.5+-ish Derivatives. With the addition of a second Acme nut, a metal spring, and the printed parts above, you should be able to eliminate any remaining wobble from your Ao-10x style printer. Please note that you will need to ensure you have clearance for the Ao-101 style Lower X end clamp if you are upgrading an older machine. Development thread is here: <a href="http://forum.lulzbot.com/viewtopic.php?f=16&t=306">http://forum.lulzbot.com/viewtopic.php?f=16&t=306</a></p> <h3> Instructions</h3> <p>You will need the following materials:</p> <p>1 X axis belt that is longer than the original one by about 20mm. I had to move the idler back to clear everything. Make sure you have enough spare belt before you take anything apart, or order one.<br/> The existing nuts and bolts and acme nuts from your existing printer.<br/> 2 additional Right hand 3/8" -12 Acme nuts (<a href="http://www.mcmaster.com/#95155a111/=ovvhbk">http://www.mcmaster.com/#95155a111/=ovvhbk</a>)<br/> 2 Handyman springs Model SP-9729 Compression Spring 5/8" x 2-34"" x .054 15.9mm x 7cm x 1.4mm) 11.72lb / 5.31kg maximum capacity spring (as found at ace hardware locally) with 15mm worth cut off at one end of each spring</p> <p>At least 12 Mcmaster Carr plastic heat set inserts Thread 6-32 Height 0.150" Small outer diameter 0.199" Large outer Diameter 0.209" Quantity 100 Part number 93365A130 $11.81<br/> with the following soldering iron insert installation heat set tool<br/> 92160A119 Cost $14.42<br/> <a href="http://www.mcmaster.com/#catalog/119/3267/=orxceo">http://www.mcmaster.com/#catalog/119/3267/=orxceo</a><br/> 12 3/4" bolts to match the thread inserts.</p> <p>Print all the parts. I used a .5mm nozzle. ABS plastic, you will need to use support for almost everything except the backplate, and there is a bunch of trimming involved. Sorry.</p> <p>Insert 6 threaded inserts using a soldering iron into each of the plastic springs on the "feet"</p> <p>Once you have everything printed and the existing printer disassembled and ready to install, you can begin by installing the acme nuts. Keep the existing nut on the rod, and place the printed plastic spring on the rod. insert the spring with the cut side up, then thread on the second nut and spin it down so the printed spring is basically sandwiched. Now, use the upper nut to compress the metal spring down to the internal stop, and thread the lower nut up as close as you can get it to the lower socket. relax tension on the spring to let the lower nut enter the socket.</p> <p>Now assemble the upper and lower clamp pieces for both sides, using the existing bearings and clamp hardware. Install the idler pully. Now place the spring / rod assembly in place on the clamp pieces, and secure with the 12 bolts. You may not be able to fit the bolt near the idler bolt itself, if so, don't worry, the spring is plenty stiff. You also may need to clearance the backplate on that side depending on the shape of your idler nut.</p> <p>Re-level and calibrate everything, then try a few Z up and down passes. If the carriage goes up and down without trying to pull off the lower nut, you have a good spring. Congratulations, you're done!</p> <p>Troubleshooting: if your carriage seems to be binding, try setting your threaded inserts deeper into the feet and then shaving off a bit of the feet themselves. If your metal spring seems to be too weak and the carriage is riding up on one side or the other, try a stronger spring. You may want a stiffer coupler if you are using an aluminum helix coupler.</p>
With this file you will be able to print Project: A0-TAZ - Lulzbot TAZ Style X Ends for A0-10x Printers with your 3D printer. Click on the button and save the file on your computer to work, edit or customize your design. You can also find more 3D designs for printers on Project: A0-TAZ - Lulzbot TAZ Style X Ends for A0-10x Printers.