Project: Nameplate Generator with OpenSCAD
thingiverse
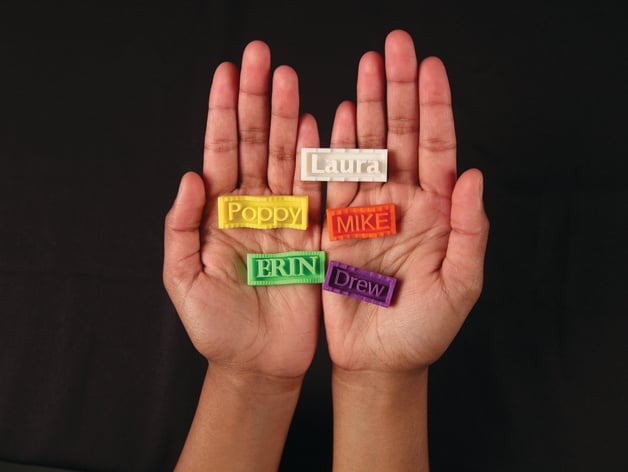
In this engaging project, students master essential programming skills by crafting a personalized nametag using the versatile OpenSCAD language. With OpenSCAD, students explore and adapt pre-existing code to fashion an elegant wavy design. To master parametric modeling with precision and artistry, we integrate trigonometry into our learning approach. CCSS.Math.Content.HSF.TF.B.5 Students demonstrate their ability to employ specific amplitude, frequency, and midline parameters to build intricate 3D models showcasing periodic patterns. Students further hone their analytical thinking skills by incorporating real-world mathematical concepts in solving complex problems as described in: CCSS.ELA-Literacy.RST.11-12.7 Lesson Plan In our lesson, students work collaboratively to bring design concepts to life. Step 1: Modifying the Existing Code Examine and decode pre-existing code for insight Introduce personalized font styles and dimensions Transform wave border characteristics Key Tasks Implement new variables controlling character height and spacing Optimize output settings to produce STL mesh Step 2: Developing Original Design from Scratch Master planning, designing, and coding using basic concepts Skills Learned 1. Mastery of code creation with OpenSCAD language 2. Effective translation methods to bring 3D models to life Time Needed Duration of Lesson: 1-2 class periods Printing Time: 20-35 minutes per nametag
With this file you will be able to print Project: Nameplate Generator with OpenSCAD with your 3D printer. Click on the button and save the file on your computer to work, edit or customize your design. You can also find more 3D designs for printers on Project: Nameplate Generator with OpenSCAD.