Promega CoreXY Belt Tensioner
thingiverse
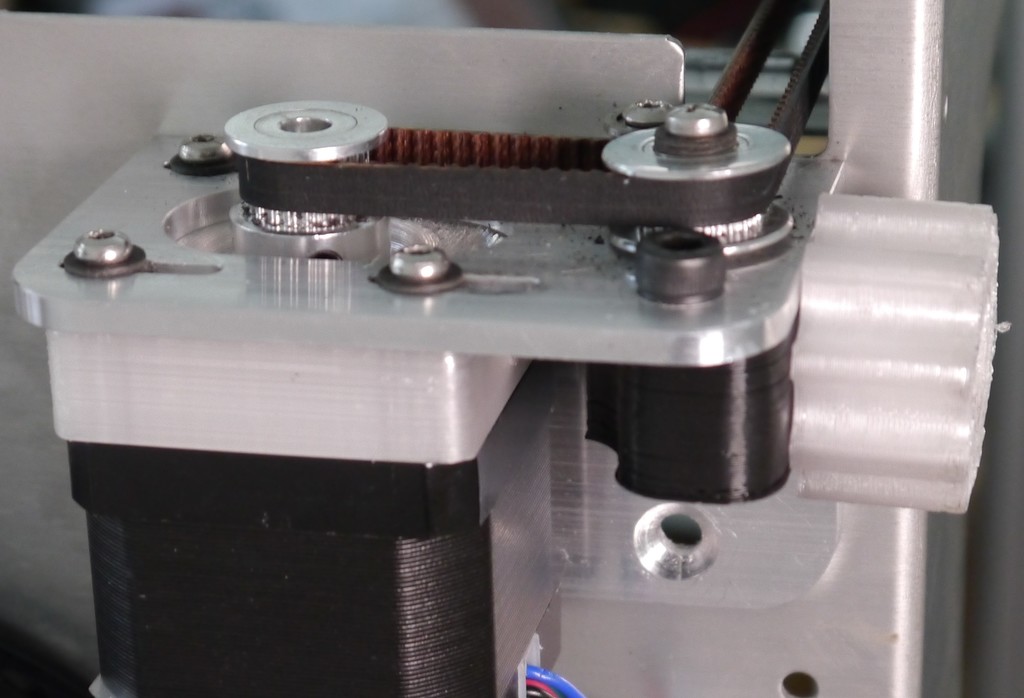
Check the remix here for an updated version by user TheBum: https://www.thingiverse.com/thing:3409417 This is a really cool, granular way to tension the XY belt on the Promega giant printer, but could be implemented on other machines. Fusion code included, so mod away, makers! It requires a bit of hardware but makes subtle tensioning a breeze. You will need: 1/4" or M6: 1 - nut, 1 - 1.5" long bolt (the tensioner bolt and nut) 2 - 1/2" or 12mm long M4 or 5 Screws (to attach the knob bracket to the Promega bracket) 4 - 12MM long hexagonal offset posts M3 thread You can reuse the 4 - M3 Nema motor screws, 12mm or so long This mod solves a problem I was having where unscrewing the motor screws would sometimes loosen the round offset posts where they met the motor instead of on top. The hex posts are registered in the bracket so they stay put. Also, the knob tensioner is simply elegant. No support needed. Assembly: Screw the four hex offsets into your Nema. Press the motor bracket on flush with the bolt recess facing left as you look at the machine from the front. Mount with the 4 M3 Nema motor screws from on top. Make sure the knob fits snugly and turns smoothly in its slot. Insert the 1/4" or M6 nut to the nut slot. Thread the tensioner bolt through the knob and nut. Use the 2 M4 screws to secure the knob bracket to the Promega motor bracket. To tension, simply loosen the four top screws as normal and hand tension with the knob. Tighten the top screws when the tension feels nice and snug.
With this file you will be able to print Promega CoreXY Belt Tensioner with your 3D printer. Click on the button and save the file on your computer to work, edit or customize your design. You can also find more 3D designs for printers on Promega CoreXY Belt Tensioner.