Promega Gravity Leveling Bracket
thingiverse
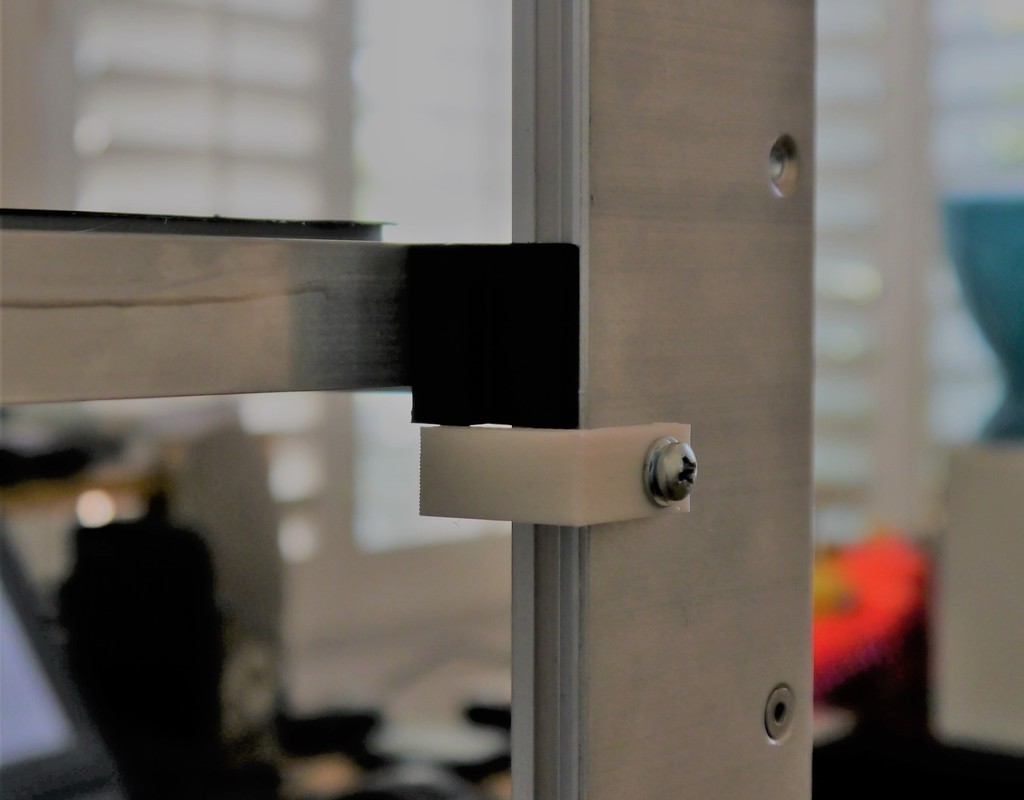
This bracket makes leveling the M3d Promega bed a breeze by attaching it to the frame with ease. Since the bracket is extruded from the middle, you can use them on either side with no issues. First, print four of these brackets and then move the bed close to the top using a G1 Z20 command before installing the brackets. Screw each one into the free upper side holes (located below the bed) using 8/32 screws, which fit perfectly in those holes. Turn off your printer and let the corners rest on each bracket. Then loosen all bottom belt locks, snug them up, and tighten each one. You can access three corners at once by placing the machine feet on the edge of the table, giving you plenty of room to work. Rotate or slide the printer to reach the fourth corner easily. Now lift the bed slightly manually from the sides and let it drop, ensuring each corner touches together perfectly. Tighten if necessary. Once done, remove the brackets before turning your machine back on, and you should be level - as long as you trust the frame, that is! I've included the Fusion 360 file so you can customize it to fit your needs. With current settings, my machine has zero wiggle, but adjust the DEFTolerance value if yours is too tight or loose.
With this file you will be able to print Promega Gravity Leveling Bracket with your 3D printer. Click on the button and save the file on your computer to work, edit or customize your design. You can also find more 3D designs for printers on Promega Gravity Leveling Bracket.