Promega Z Roller Carriage
thingiverse
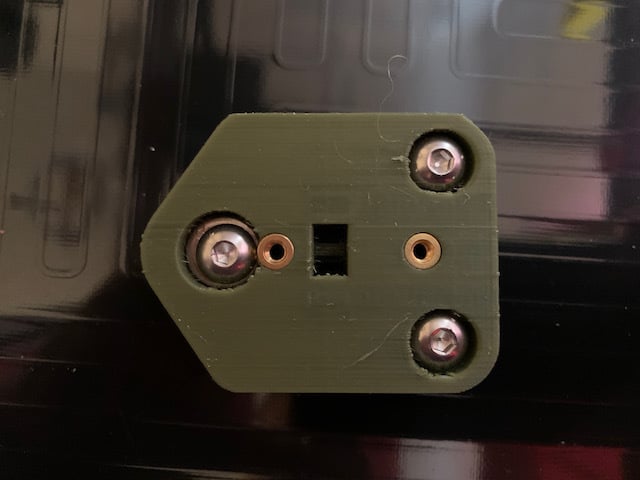
This is a replacement for the M3D Promega factory Z axis slider. It reduces friction considerably and removes slop. It's also a longer-term part than the factory slider due to the relative lack of friction against the Z rail. There are three versions of the 3D-printed block: <ul><li>Right rear non-adjustable with fin for for use with an optical Z end stop. <li>Right rear non-adjustable without fin for use with a microswitch Z end stop. <li>Adjustable (three required)</ul> As a part of this modification, the cap at the top of each of the Z rails will need to be replaced with the version included here. This mod is also designed to use special versions of John Mueller's Bottom Z Belt Clamp V2 (https://www.thingiverse.com/thing:3052677) to make room for the lowermost wheel. STLs are included in the downloads for this Thing. <b>Post-Print Cleanup</b> Carefully remove the supports from the blocks. When removing the adjustment gap supports, remove the supports adjacent to the bed mounting holes first to prevent damage to the tabs in the center section that engage the slots in the outer section; then remove the top and bottom supports. I find that using a flat blade screwdriver helps get removal started and then snagging the loose supports with an X-Acto knife allows them to be removed. <b>Assembly</b> Each carriage is assembled from the following parts: <ul><li>3D-printed block</li> <li>Eccentric spacer w/ 6mm rise</li> <li>Two (2) 5mm x 11mm x 6.35mm regular spacers</li> <li>Three (3) Mini Kossel 5mm x 21.5mm x 7mm wheels</li> <li>M6 x 12mm x 1.6mm washer, with the hole drilled out to 7mm (or 9/32")</li> <li>Three (3) M5 x 20mm button head socket screws</li> <li>Three (3) M5 jam nuts</li> <li>Two (2) M3 x 12mm set screws, flat ended</li> <li>One (1) M3 x 6mm set screw, flat ended, for an adjustable block <li>One (1) M5 x 10mm set screw, flat ended, for an adjustable block</li> <li>Two (2) 3mm x 8mm x 4mm bearings (reused from the factory sliders)</li> <li>M3 threaded inserts (3 in the adjustable blocks; 2 in the right rear block)</li></ul> A bill of materials with links is included in the Thing files. The photos shown for this Thing are of an older non-adjustable design, but the mounting of the wheel hardware is the same. <ol><li>Set the threaded inserts into the block. Two go into the side of the block and should be set to be flush or very slightly below flush with the side surface. On the adjustable blocks, one goes in the bottom of the block and should be set as far down in the hole as it can without protruding into the adjustment gap; a popsicle stick jammed into the gap while setting the insert helps with that.</li> <li>Insert an M5 button head screw into one of the counterbored holes in the side of the block adjacent to the squared off edge, with the head of the screw on the side with the deeper counterbore.</li> <li>Slide a plain spacer over the screw from the opposite side, followed by a wheel and a jam nut. Use Loctite on the nut. The spacers should fit down into the counterbore.</li> <li>Repeat steps 2 and 3 for the other hole adjacent to the squared off edge.</li> <li>Insert the eccentric spacer into the remaining hole from the side with the shallower counterbore. The smaller diameter must go fully into the hole; it'll be a tight fit.</li> <li>Insert the drilled-out M6 washer into the remaining hole, again in the deeper counterbore. If the threaded insert adjacent to that hole interferes with the washer, file a notch in the washer.</li> <li>Repeat steps 2 and 3 for the last M5 button head screw in the remaining hole.</li> <li>Remove the bearing screws from the factory slider and transfer the bearings to the new block.</li> <li>Use M3 x 12mm set screws to secure the bearings in the new block. Be very careful not to screw it in too far or else you'll damage the block and have to print another one. The socket end of the set screw just needs to be slightly past the near edge of the center section of the block.</li> <li>For the adjustable block, screw one M5 x 10mm set screw into the threaded hole in the top of the block, but make sure it doesn't extend into the adjustment gap.</li></ol> <b>Installation</b> <ol><li>Make sure the eccentric spacer is rotated so that the wheel is at its farthest point from the centerline of the rail.</li> <li>With the top cap removed from the rail, slide the Z roller carriage onto the rail and check for slop.</li> <li>Remove the carriage from the rail and make a small adjustment to the eccentric spacer to move the wheel closer to the centerline.</li> <li>Repeat steps 2 and 3 until there is no slop between the wheels and the rail.</li> <li>If the carriage doesn't fall freely to the bottom of the rail, then the adjustable wheel is too tight, so adjust it and recheck the block on the rail until and the block falls freely to the bottom of the rail and there's no slop where the wheels contact the rail. It may take several iterations to find the sweet spot.</li> <li>Attach the carriage to the bed with the factory screws and install the belt as you would for the factory slider. It's a good idea to use M3 split lock washers on the screws to make sure they don't back out due to vibration.</li></ol> <b>Leveling</b> <ol><li>Set up the Maestro for a 5-point bed mesh (machine_bedmesh.g). <li>Perform the bed mesh procedure and adjust the height by skipping teeth. <li>Repeat until the right rear corner is at the same level or up to one belt tooth higher than the other corners. <li>For each corner that's lower than the right rear, turn the adjustment screw clockwise to raise that corner. Then run the bed mesh procedure again. <li>Repeat the adjustments and bed mesh procedure until the bed is level. <li>Tighten the bottom screw on each adjustable carriage to lock the adjustment height. <li>Switch to the desired higher density mesh and run the bed mesh one more time.</ol>
With this file you will be able to print Promega Z Roller Carriage with your 3D printer. Click on the button and save the file on your computer to work, edit or customize your design. You can also find more 3D designs for printers on Promega Z Roller Carriage.