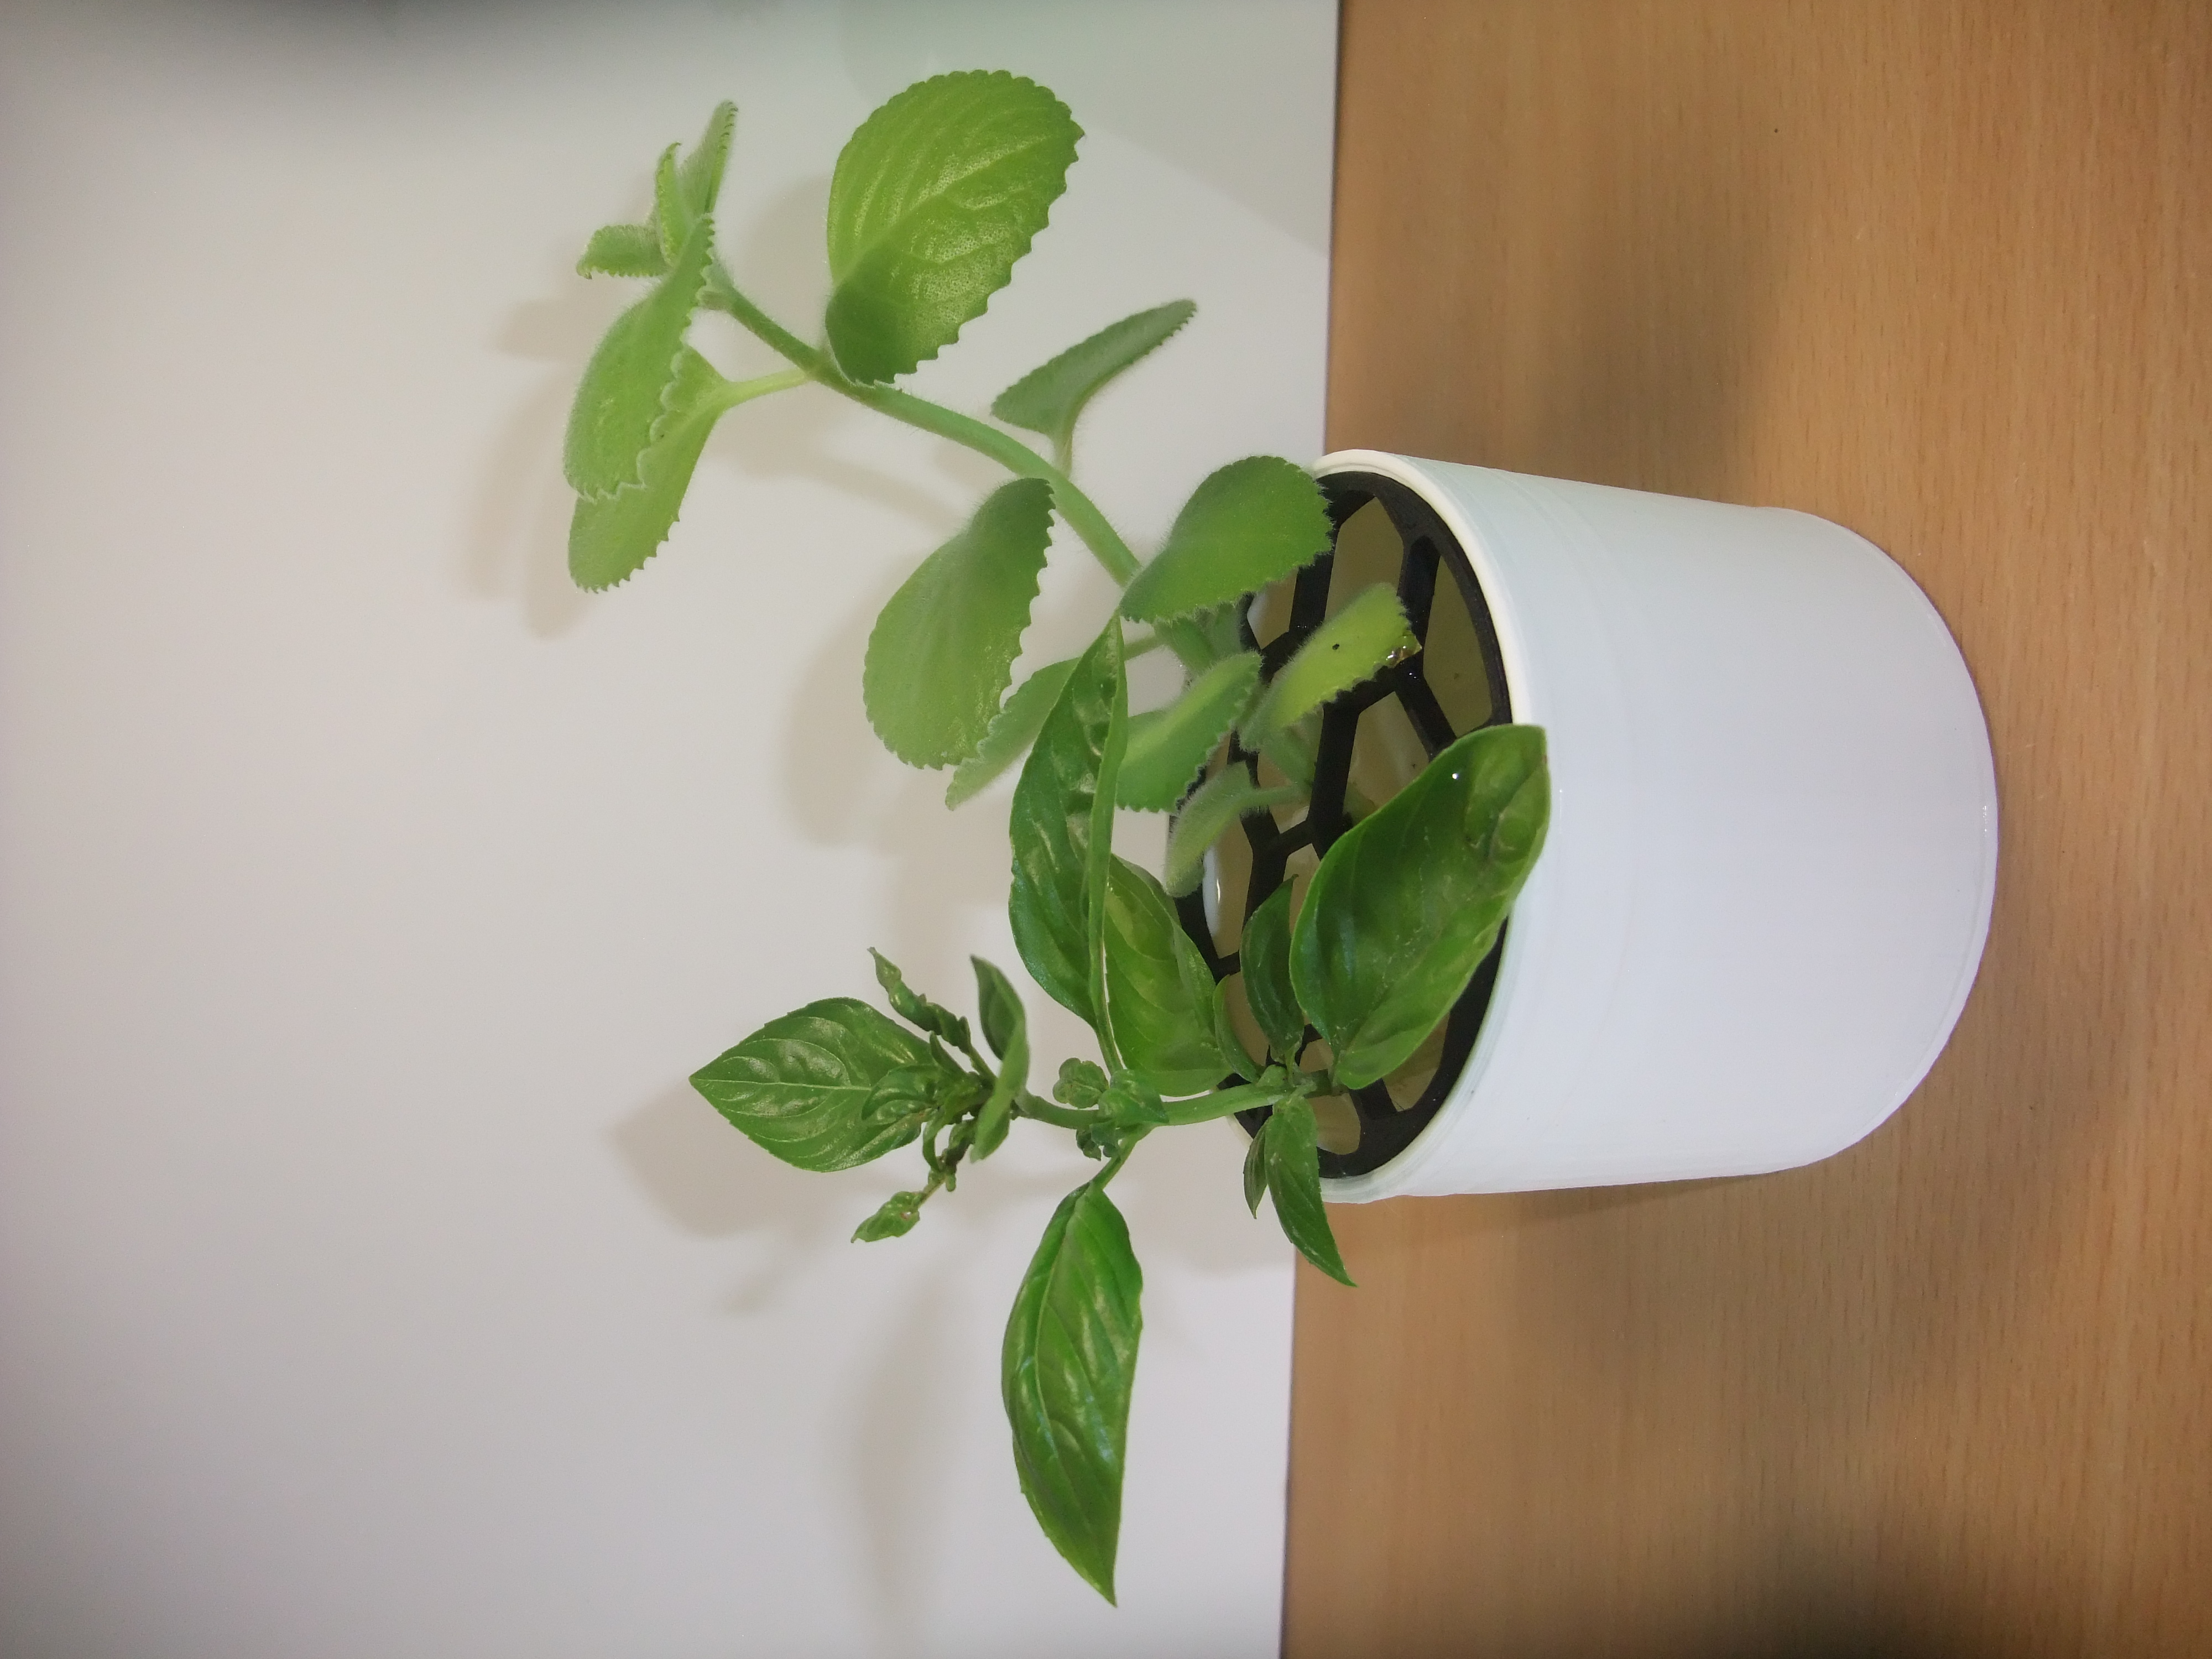
Propagation planter
prusaprinters
<p><strong>How to propagate plants?</strong></p><p>There are a lot of tutorials on the internet, I liked <a href="https://www.papernstitchblog.com/how-to-propagate-plants/">this one</a></p><blockquote><p><strong>Step 1: Leaf Cutting/Trimming/Root Division</strong></p><ol><li>Depending on the type of plant you're working with, you'll begin with cutting or dividing your plant.</li><li>For succulents, you typically begin with leaf cutting, a process where you remove a handful of leaves from the stem, place them on a flat surface (like a cookie sheet covered in soil), wait for them to scab over before planting in the soil to grow tiny "pups."</li><li>For monsteras and philodendrons, I use a trimming technique where I cut off an offshoot that already has one or two root notches (the little bumps where roots are beginning to grow again).</li><li>Depending on how many stems your plant has, you can also use root division, where you essentially split the existing plant into smaller bunches of plants. (Pro-tip: Try this technique if you already plan to repot, since it can be a little messy.)</li><li>For fiddle leaf figs, you can trim individual leaves close to the main stem.</li><li>There are a few other techniques that are privy to specific plant varieties, but these are a pretty good place to start.</li></ol><p><strong>Step 2: Rooting</strong></p><ol><li>After you've cut, trimmed, or divided, it's time to grow some roots. This can take anywhere from a couple weeks, to a few months. Aside from succulents, which need to heal and scab over before being planted and watered, I usually choose to root offspring in clear jars of water.</li><li>I like using water instead of planting them directly into soil because I can easily keep an eye on the root growth without having to disturb the plant, and it makes for pretty home decor while you wait for them to grow large enough for a pot.</li><li>Keep the plants in indirect sunlight, and you shouldn't really need to change out the water much unless it starts to look gross, or if a lot has evaporated. Otherwise, leave 'em be and let them grow.</li></ol><p><strong>Step 3: Potting</strong></p><ol><li>The final phase of propagation is potting, which includes putting them in a pot with soil, watering, and fertilizing if you desire.</li><li>Once I feel like my plant babies are good and strong with substantial root systems, I pot them with fresh soil, making sure they have enough room to continue growing but not too much room to where the plant can't hold itself up. Then, by next spring, they're be ready for another round of propagating.</li></ol></blockquote><figure class="image image-style-align-center image_resized" style="width:63.99%;"><img src="https://pmgbiology.files.wordpress.com/2015/02/image231.gif" alt="cutting | PMG Biology"></figure><p> If you are interested in the combination of 3D printing and gardening, try <a href="https://www.printables.com/cs/model/211098-self-watering-flower-pot">this model</a> or watch this video</p><figure class="media"><oembed url="https://www.youtube.com/watch?v=71-nQTSJ17Q&ab_channel=Prusa3DbyJosefPrusa"></oembed></figure>
With this file you will be able to print Propagation planter with your 3D printer. Click on the button and save the file on your computer to work, edit or customize your design. You can also find more 3D designs for printers on Propagation planter.
