Prototype: Water-powered Rice washer
thingiverse
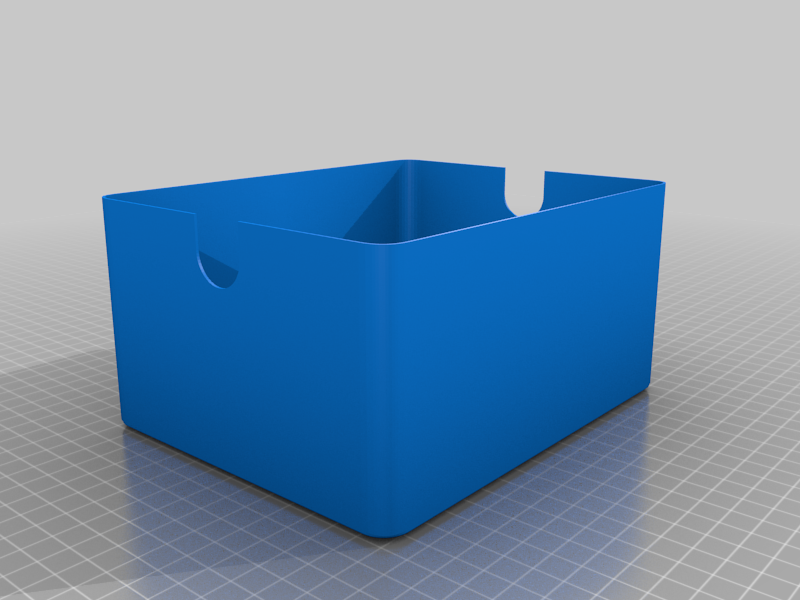
### Update 02.02.2022: Full redesign So I've finished printing and assembling this thing and want to tell you, that this version takes too much time to print and assemble. The size is a bit gigantic :) It is also too quadratic. So I'm recreating the full thing with smoother design and simpler assembly. It will also be smaller. I plan to publish the new version in day or two. The old version will remain published too. --- #Description Are you tired of washing rice before cooking? Hate rice lumps? Washing rice is a pain? The Water-powered Rice washer will do it for you! Innovative design uses falling water power to spin the drum and stir the rice in it! The rice will be crystal clean and will not stick together during cooking anymore! # Usage instructions Just fill it with your preferred rice, close the cap, put the cylinder in special tray and put assembled Washer in your kitchen sink and put it under running water. That's all! The falling water will do all the work for you :) # Parts list * Rice-washer_blade_x6.stl - you will need 6 of them. There are 3 pauses required during the print to insert 2 cm filament pieces in appropriate holes. It is made while the holes are printed only partially so the inserted pieces will melt and stick in holes while holes are finished. The attached gcode already includes pauses in corresponding places. * Rice-washer_axis.stl * Rice-washer_screw-cap.stl * Rice-washer_cyl-side-B.stl * Rice-washer_cyl-side-A.stl * Rice-washer_net_x6.stl - you will need 6 of them. The net itself is printed with 0.3 layers, so the each layer prints lines only in one direction. You can use attached gcode (contains only 3 nets, so you need to print it twice). * Rice-washer_tray.stl #Assembly guide After you have all the details printed it's time to assemble your Water-powered Rice Washer: - First of all connect blades with one of cylinder sides by putting inserted filament pieces in appropriate holes in cylinder side part. You can use soldering iron to melt the sticking out filament pieces' ends. This will fix parts together. - Now you need to insert nets.in appropriate grooves in blades. Gluing is not necessaryю - Connect the other cylinder side part to your assembly the same way you connected the first one. - The last step is to put the axe in appropriate hole in side-B. They fit tight enough but if you wish you can add some glue to make the connection stronger. That's all, your rice washer is ready to go.
With this file you will be able to print Prototype: Water-powered Rice washer with your 3D printer. Click on the button and save the file on your computer to work, edit or customize your design. You can also find more 3D designs for printers on Prototype: Water-powered Rice washer.