Prusa Enclosure Modifications
thingiverse
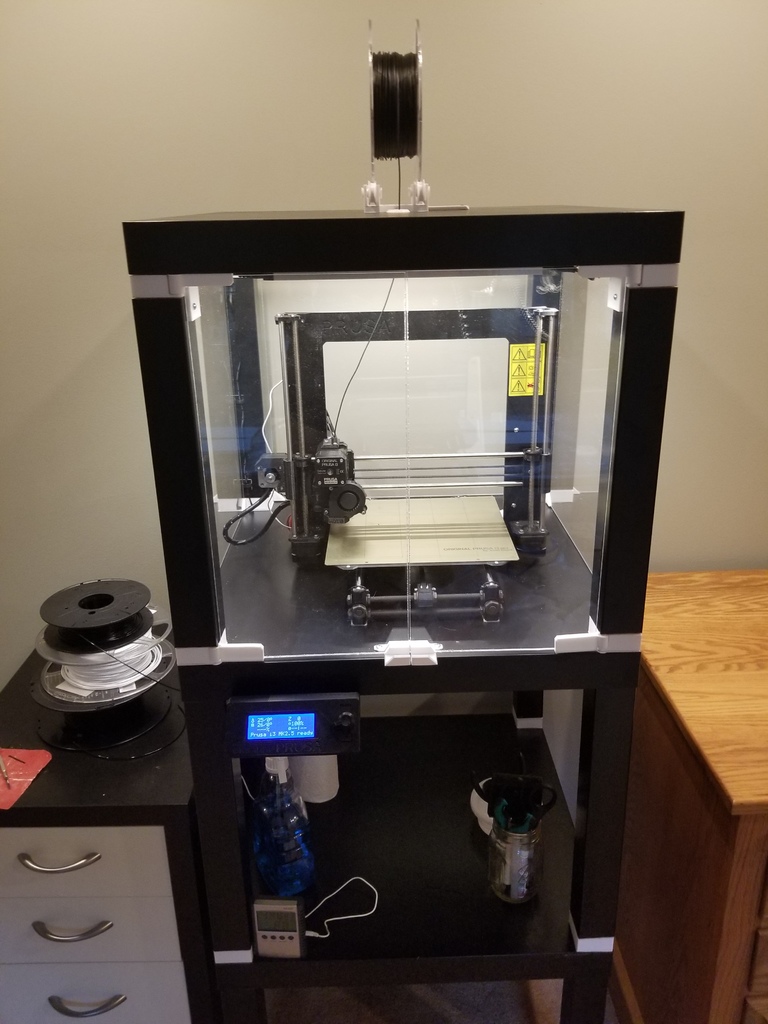
I created a bracket for mounting the prusa user interface(MK2) to underside of the table. The big advantage is the top can be removed without disconnecting display and it makes more room for the Y axis to move. I didn't have to change my hotbed connector after I moved the interface. I also included table stackers without the plexiglass guides, so the stacked tables don't move while printing, but can still be unstacked. You will need to put a 1 inch hole through the ikea table under the rambo enclosure for the cables to reach the new prusa user interface location.
With this file you will be able to print Prusa Enclosure Modifications with your 3D printer. Click on the button and save the file on your computer to work, edit or customize your design. You can also find more 3D designs for printers on Prusa Enclosure Modifications.