Prusa Frostruder MK2 Adaptor
thingiverse
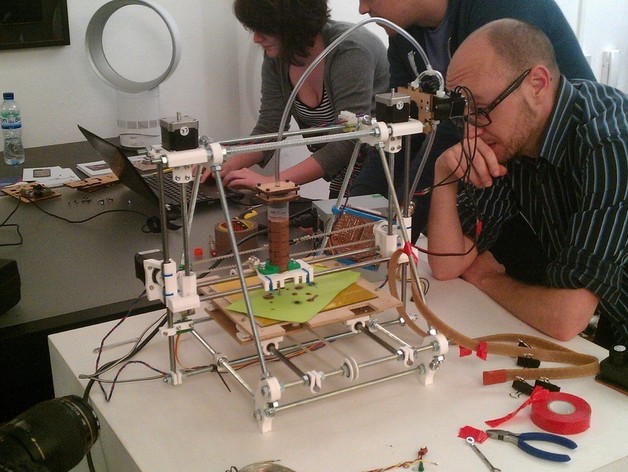
Moving Brands asked for a challenge to print their own Chocolate Advent Calendar within a month. We already had most of the parts, including a Frostruder and enough for building a RepRap Prusa. However, mounting the Frostruder to the Prusa carriage was difficult due to its size. With inspiration striking, we stripped down the Frostruder to its basic components and used the Prusa to print an adaptor for it. The chocolate printing process was a success! Moving Brands Advent Calendar link: http://www.movingbrands.com/advent; Moving Brands Advent Promotional Video link: http://vimeo.com/33775105. To print with the Frostruder, assemble it following specific steps in the instructions (http://wiki.makerbot.com/frostruder-mk2-assembly) and ignore others. Mount the syringe on the X carriage using an adaptor and M4 bolts. Attach the Syringe Bottom plate to the top frame part with M8 nuts. Connect solenoid valves to your electronics, and adjust firmware for GCode commands control. Attach compressed air source. Finally, get printing! For chocolate printing, consider heating the syringe to keep it melted while working.
With this file you will be able to print Prusa Frostruder MK2 Adaptor with your 3D printer. Click on the button and save the file on your computer to work, edit or customize your design. You can also find more 3D designs for printers on Prusa Frostruder MK2 Adaptor.