Prusa i3 MK2 as a plotter
thingiverse
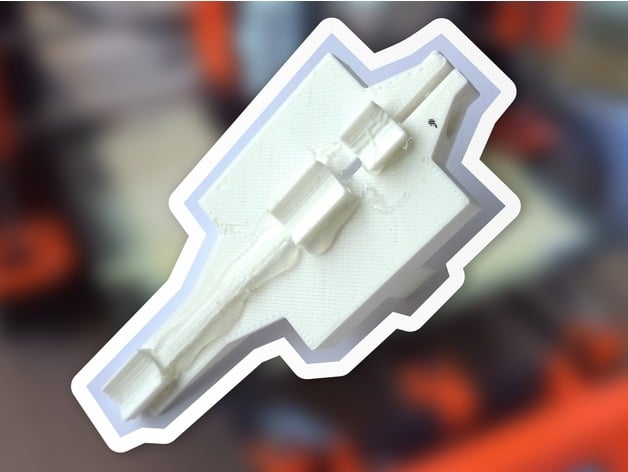
I wanted to label a CD, so I used my trusty Prusa i3 MK2 3D printer. Since I didn't want to create a permanent installation, I designed this part to simply slip over the extruder stepper motor. Luckily, I found that it worked fine just by friction - no screw needed to clamp the holder to the stepper motor. The pen is held in place with some holders hot glued on. Two rubber bands hold the pen down. This works better than expected because the rubber band gives enough flex (in z direction) so that the pen can move slightly up and down, avoiding pressing too hard against the plotting surface and damaging anything. This was my first 3D part I designed and printed. It's not ultra-high quality and has some flaws like the unnecessary screw terminal. If a screw presses the semi-halfs together, the whole part warps and becomes crooked. Check it out in action: https://www.youtube.com/watch?v=YQdHdr4Irz8 To plot something, I created an SVG file with the image to plot (like the outline of the DVD with text) and then used http://www.makercam.com/ to generate the G-code. Next, I opened the G-code file and added the G28 X Y command (G28: Move to Origin (Home), see http://reprap.org/wiki/G-code). Then, I removed any T and M commands (like T0 M6 and M3) in the file. Here's an example file: (Generated by PartKam Version 0.05) G21 G90 G40 (profile 1) G0 Z15 T0 M6 G17 M3 G0 X40 Y22 G1 Z-1.5 F800 G3 X42 Y24 I-11 J11 F1500 And here's the modified file: (Generated by PartKam Version 0.05) G28 X Y G21 G90 G40 (profile 1) G0 Z15 G17 G0 X40 Y22 G1 Z-1.5 F800 G3 X42 Y24 I-11 J11 F1500 It takes some experimenting to get everything right, and you'll need to consider the z movement to "activate" the pen. I do this directly in Makercam and usually use a save height of 5 mm and no plunge depth at all. Another tip: if you use the Makercam G-Code straight on the 3D printer, you may get many errors. In my case, the numbers (like "G3 X44.24111675126903 Y39.01015228426396 I-13.98984771573604 J-2.6675126903553297") were too long. So, I wrote a little cleanup PHP script (cleanup-script.php) which rounds the numbers to less decimals (the line looks afterwards: "G3 X87.8122 Y95.9645 I46.0305 J46.0305"). This works fine. I'm using the latest Prusa i3 MK 2 firmware on my printer, version 3.0.9. And I use Pronterface to stream the G-code to the printer (connected via USB). Print Settings: Printer: Prusa i3 MK2 Rafts: No Supports: No Resolution: 0.2mm Infill: 20% Notes: The part is designed for Prusa i3 MK2 (cable holes at right location etc.) and might not work for other printers.
With this file you will be able to print Prusa i3 MK2 as a plotter with your 3D printer. Click on the button and save the file on your computer to work, edit or customize your design. You can also find more 3D designs for printers on Prusa i3 MK2 as a plotter.