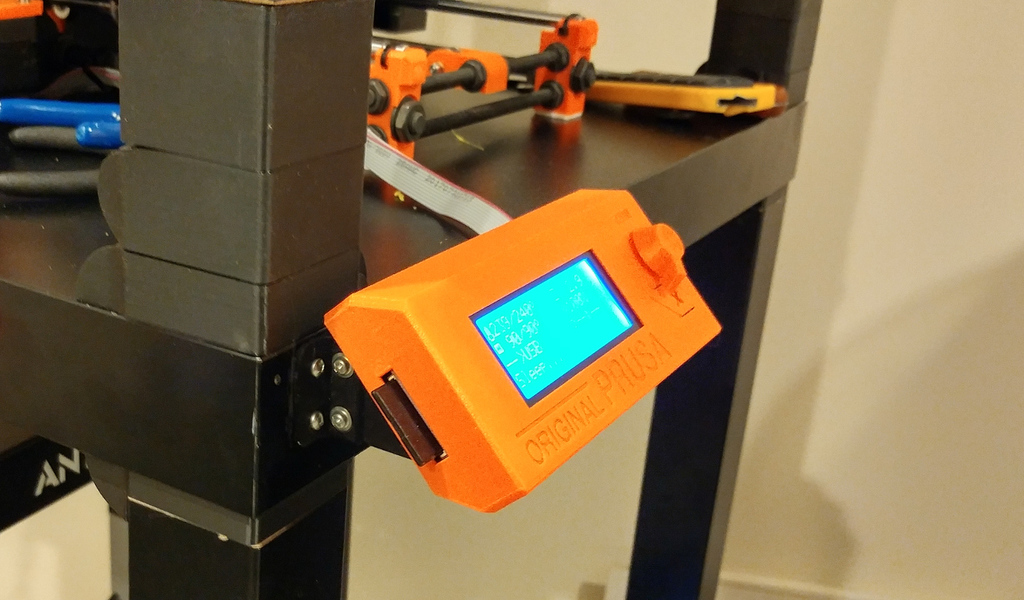
Prusa i3 Mk2(s) LCD panel Surface Mount
thingiverse
I wanted to attach my Prusa Mk2s LCD screen to its IKEA Lack enclosure's front panel. The supports (A & B) take the place of the arms that normally hook up the LCD screen to the printer's threaded rods. There are two angle brackets that screw onto the enclosure's front surface and the support arms. You need to install the angle brackets on the vertical surface first. Use 3mm machine screws to attach the angle brackets to the assembled LCD enclosure's support arms, then mark the outside boundaries of the brackets on your mounting surface. Remove the angle brackets from the support arms, drill holes in the mounting surface using the angle brackets as a guide and secure them with #4 button head screws. Place the assembled LCD box with supports inside the angle brackets and reattach with 3mm screws. I printed them in PLA which seems suitable, but ABS or PETG might be better for added strength - they are only 2mm thick.
With this file you will be able to print Prusa i3 Mk2(s) LCD panel Surface Mount with your 3D printer. Click on the button and save the file on your computer to work, edit or customize your design. You can also find more 3D designs for printers on Prusa i3 Mk2(s) LCD panel Surface Mount.
