Prusa I3 Mk3s Base+
prusaprinters
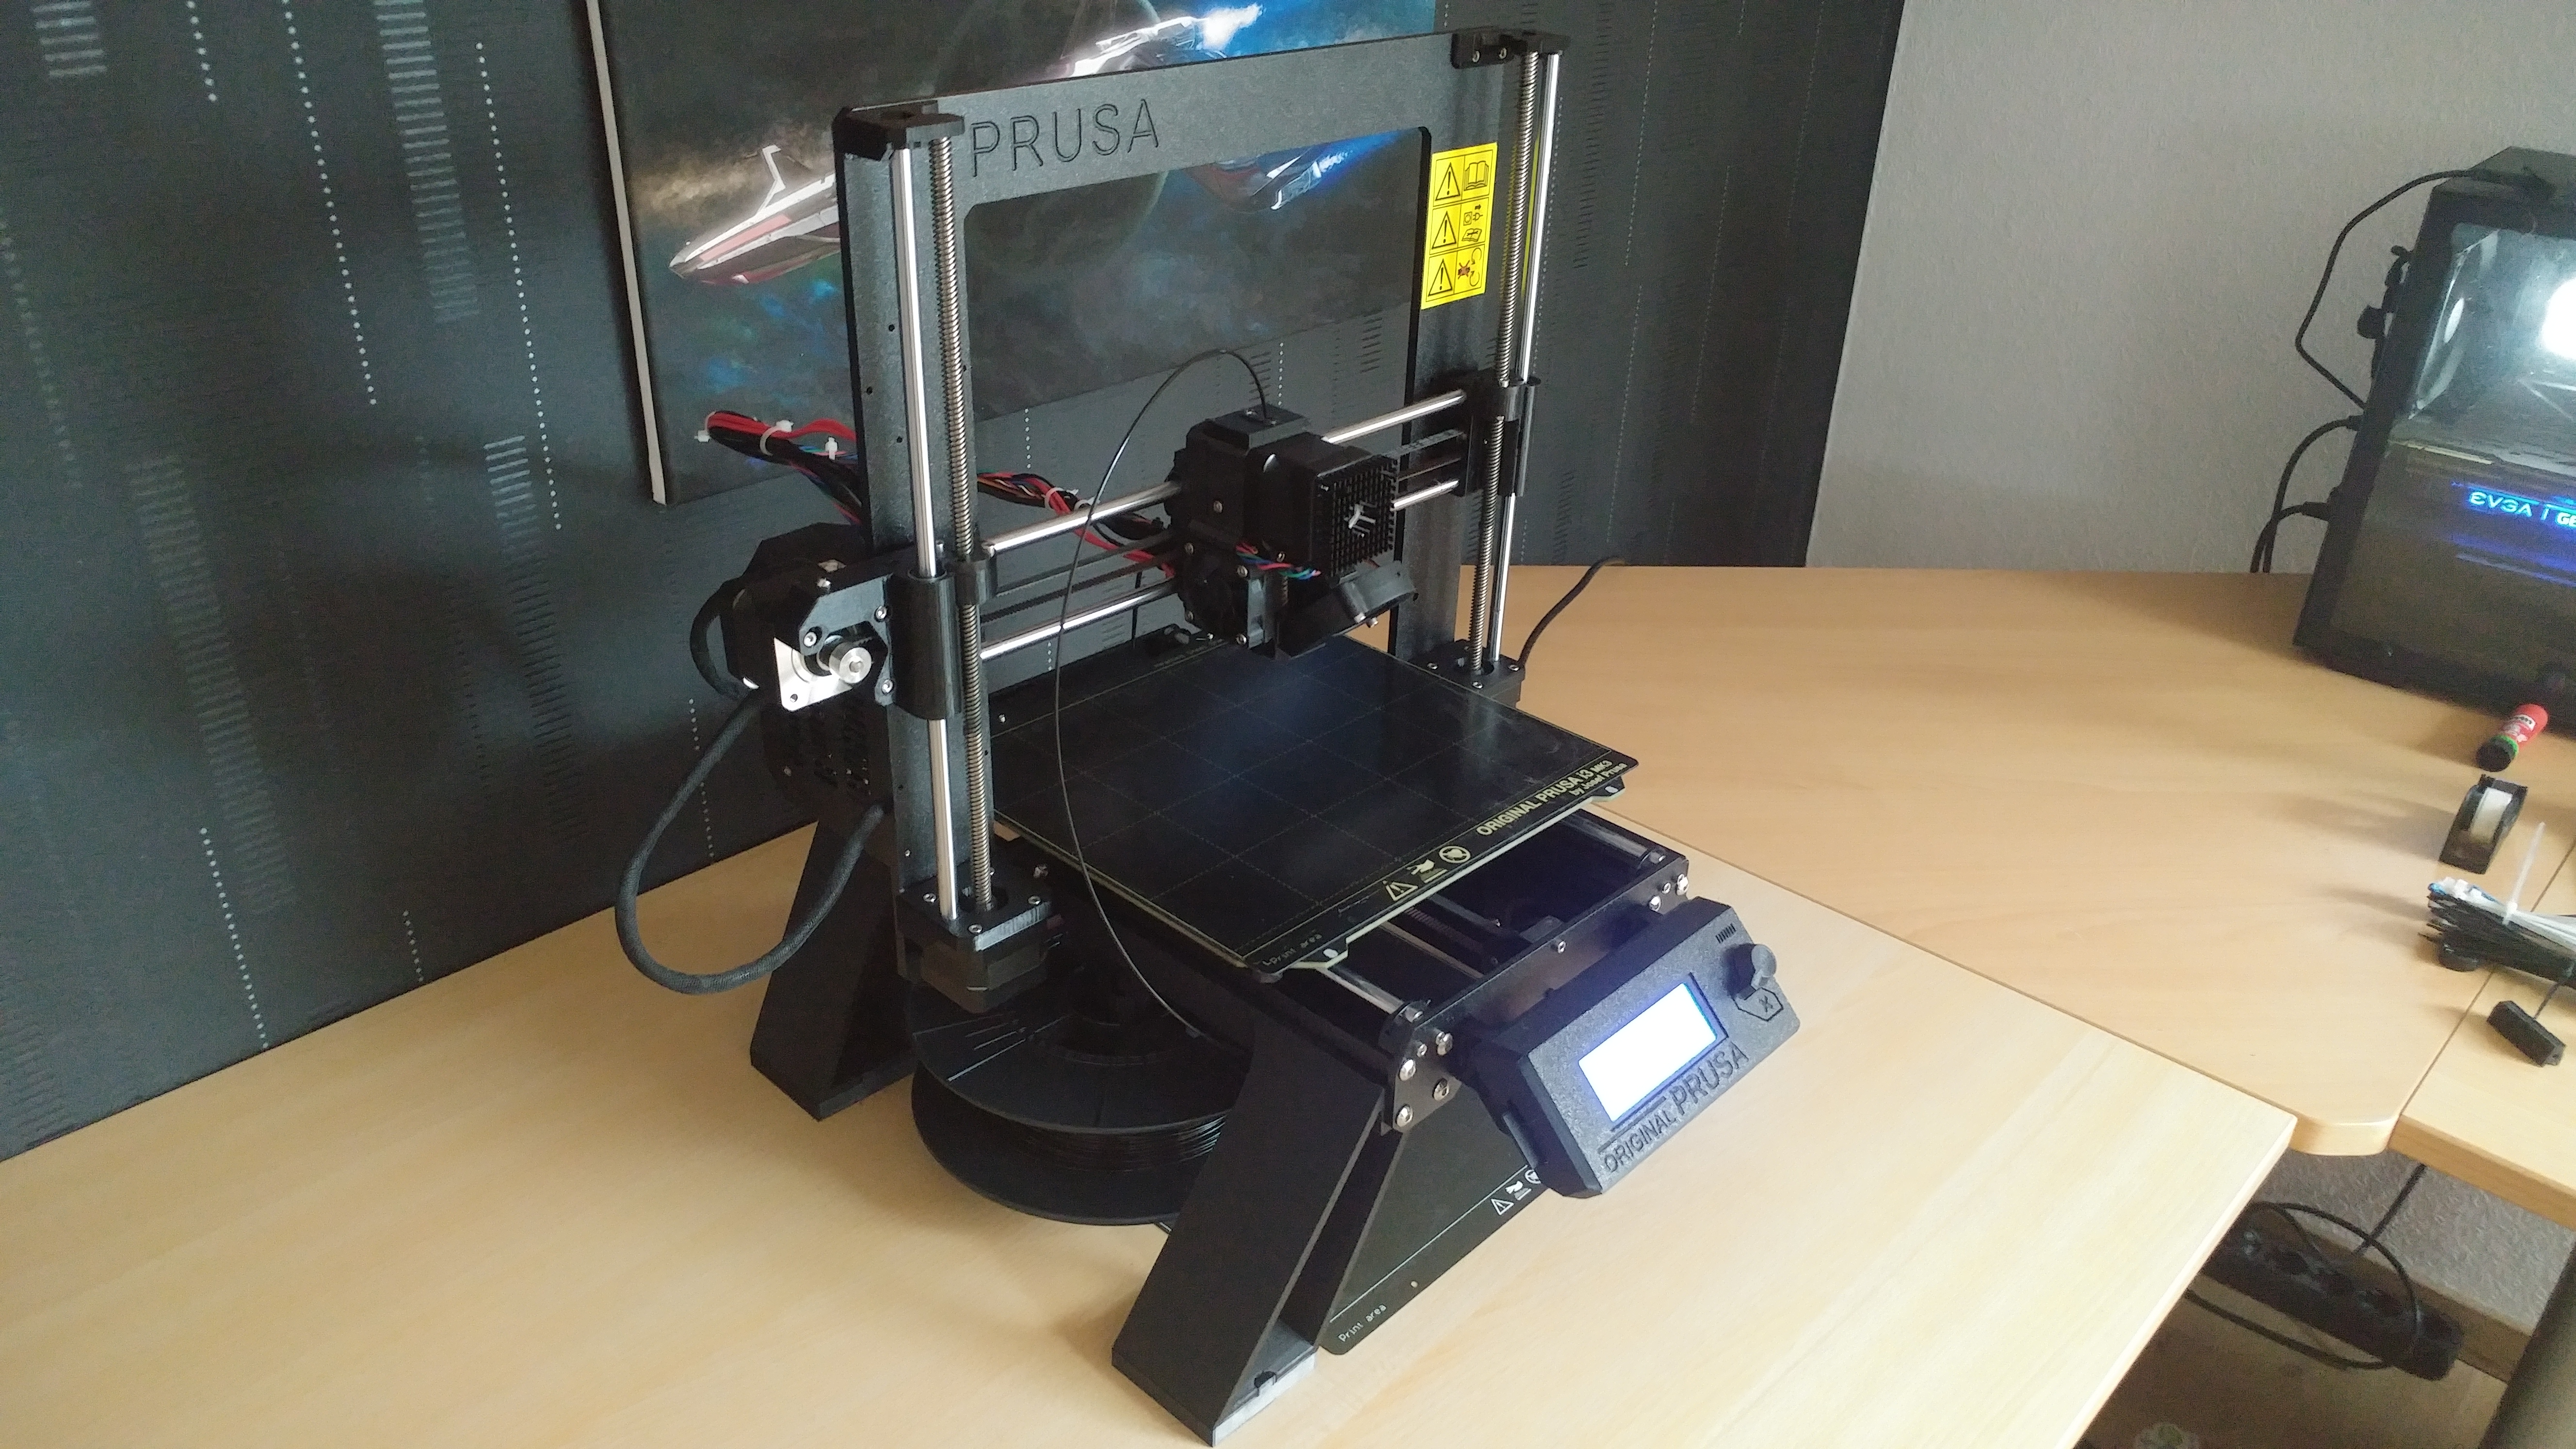
<h3>Prusa I3 Mk3s Base+</h3><p>You are stuck with the flimsy Rubber feet on your Mk3, do not worry I got just the thing for you.</p><p>This will get your Printer further from the ground and gives it four large standing feet printed out of FLEX Filament. My main goal was to increase the accessibility under the Printer, move the weight under the Printer. Reduce noise and Vibrations. And add a bit of stability. </p><p>To accomplish these Goals i made 4 “Stützen” which are press fitted into the existing Aluminium Profile. On one side i moved the PSU under the Printer and connectet it to my new made Structure. You can simply reuse the given screws and do not need any new Parts here.</p><p>The “Puffer” are fitted into the “Stützen" and create the new connection from Printer to Ground.</p><p>The Filament spool sits on a SNR 51305-A Axial Bearing i still had flying around. The Spool holder is attached with the help of gravity to the frame giving it more weight to “in theory” help reduce vibrations</p><h4>Printing List</h4><p>“Stütze” HL,HR,VL,VR - PLA</p><p>I Printed them with my “speed” (0.3mm Layer height and 0.4mm Nozzle) setting and got them done in under 24hrs. You need a bit of support material but nothing to crazy</p><p>“Welle” I,A,2 - PLA </p><p>Here I used my "normal" (0.2mm Layer height and 0.4mm Nozzle) dependeing on your Printer calibrations the Thread may be a bit loose or thight since it is tuned for my own Printer </p><p>“Puffer”x4 - FLEX</p><p>You need four of these. I am using TPU Filament from a local Company (Das Filament). Your Printer settings need to be tuned for your Material. If needed i can share my Flex setup but it is as said only tested on the Filament i use.</p><h3>Assembly</h3><p>Assembly is simple and easy. Remove the Back and front plates covering the Aluminum Profiles and press-fit the “Stützen” into the grooves. Watch out with your cables so you dont damage them during the Progress.</p><p>Once those are installed you can move your PSU in the Opening on the Side. Reuse 2 screws to fix it in the new Position.</p><p>Add the “Puffer” on your setup. My fit without any adhesive, but depending on settings and tolerances you might have to use double sided tape or glue to secure them tightly.</p><p> </p><p>If any questions remain or you would like access to the Original files feel free to write me.</p>
With this file you will be able to print Prusa I3 Mk3s Base+ with your 3D printer. Click on the button and save the file on your computer to work, edit or customize your design. You can also find more 3D designs for printers on Prusa I3 Mk3s Base+.