Prusa i3 MK3S MMU2S Bear Extruder-Idler-Lucky Mod
prusaprinters
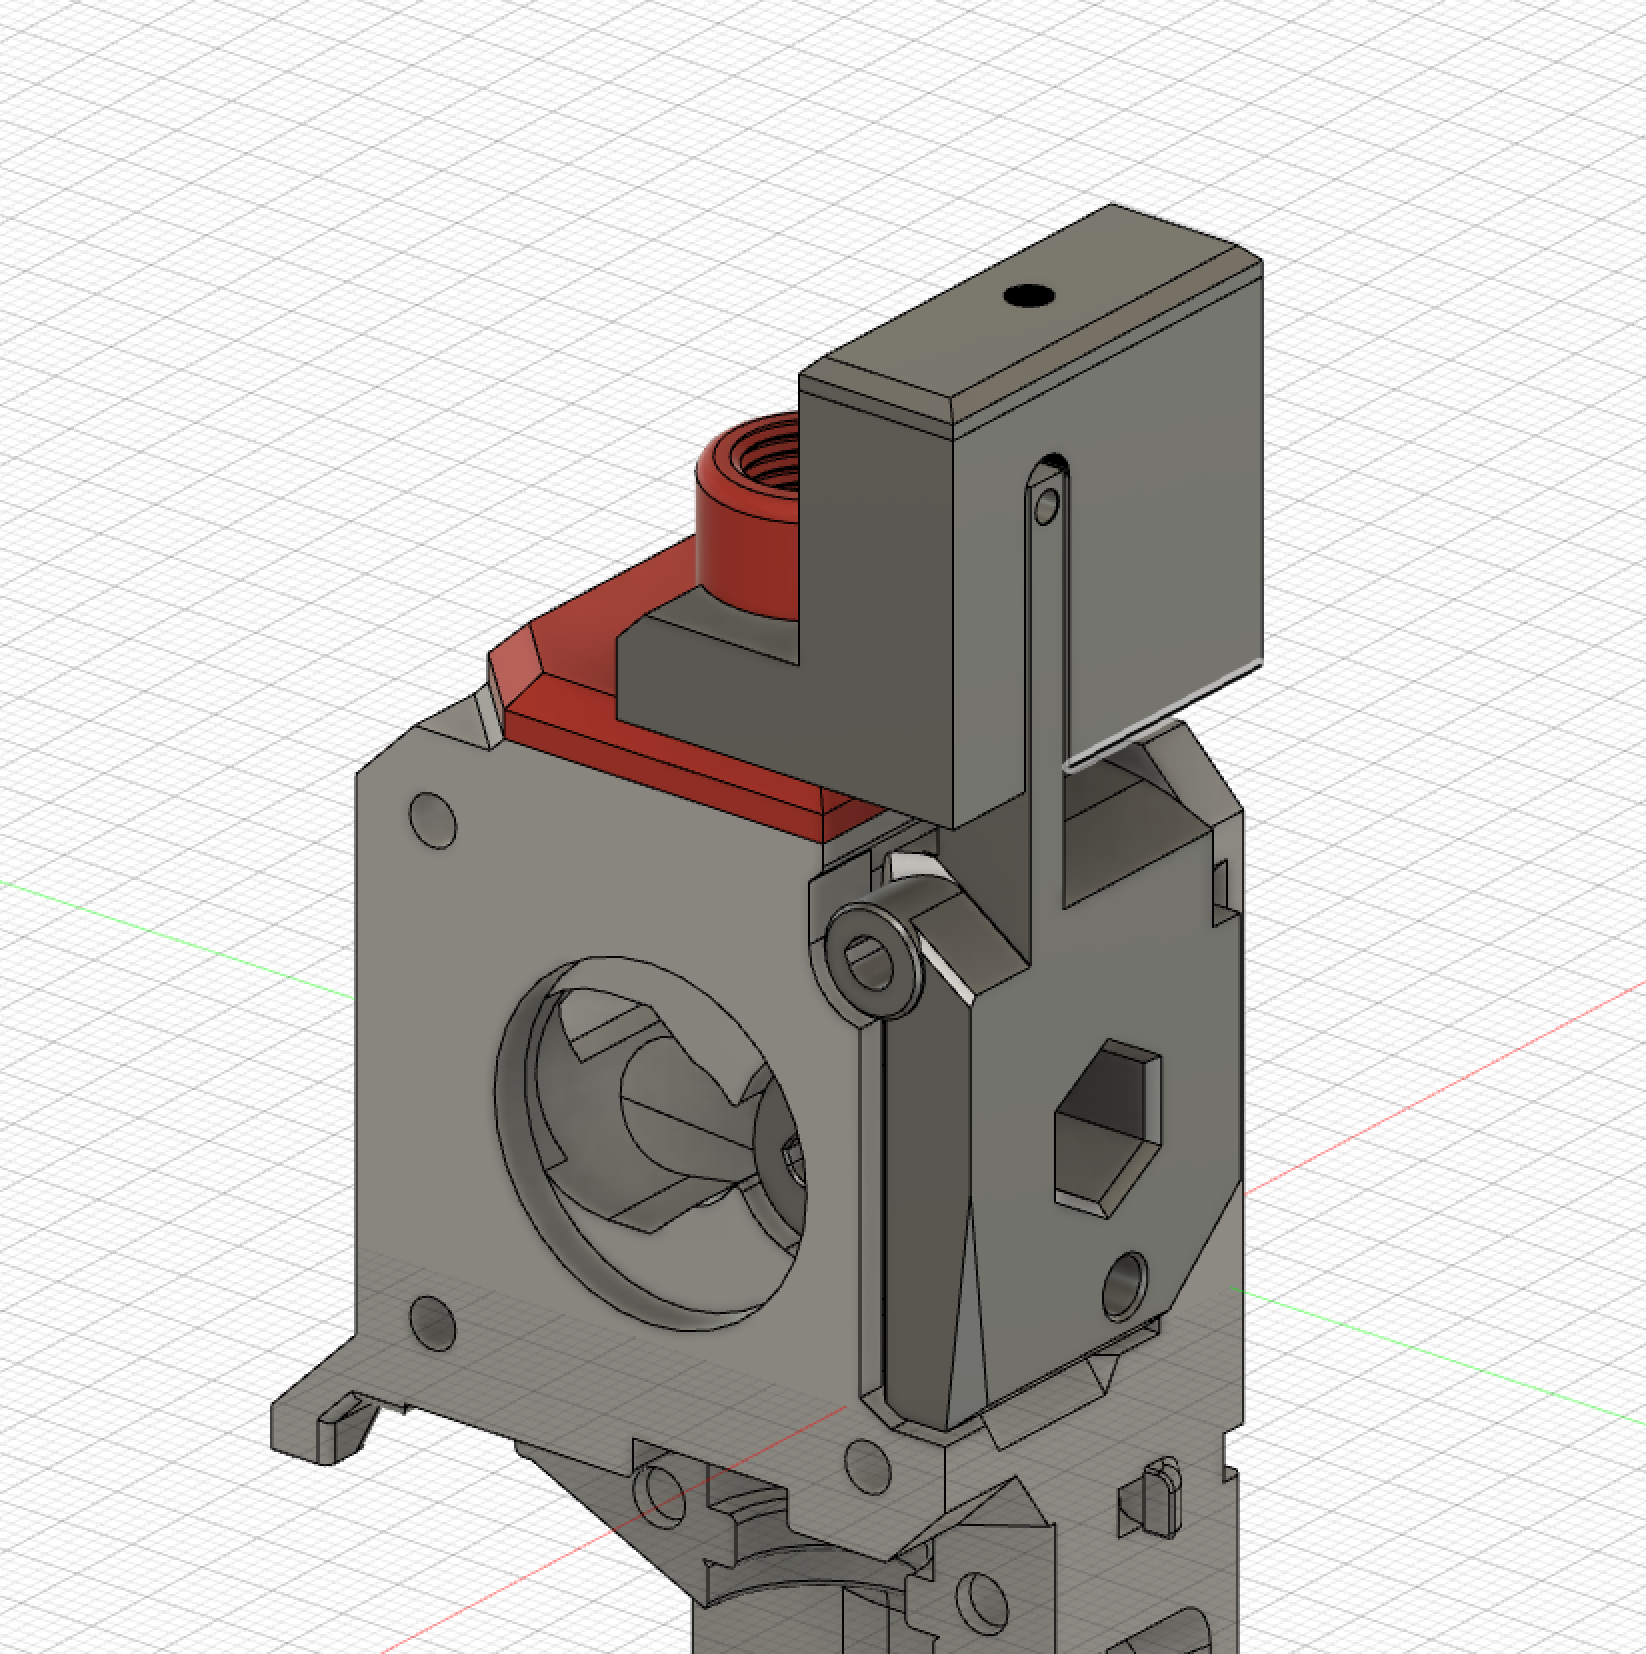
<p>I'm definitely standing on the shoulders of giants with this one. I have the Prusa i3 Mk3s with the MMU2S. I have not been able to reliably print anything yet without issues. I've narrowed it down to what I consider to be, by far, the largest issue. The IR sensor. I swapped my stock extruder with the Bear extruder. I love how much easier it is to disassemble. And for the MMU2S I was using Vertigo235's <a href="https://www.thingiverse.com/thing:3472911">Door Sensor for the Bear extruder</a>. I loved it in theory, but I just couldn't get it to reliably trigger the IR sensor. I may be very much alone on this one as the comments seem to be full of people that were able to make it work. But I wasn't one of them. A few close calls, but no cigar.</p> <p>Before I swapped to the Bear extruder I had IR sensor issues with the stock idler door as well. It never reliably triggered the IR sensor in the chimney for me (I just can't get no respect). This <a href="https://www.prusaprinters.org/prints/4205-mmu2s-mk3s-extruder-idler-with-bolt">mod</a> that altered the idler door to include a small M2x10mm cap screw through the lever that triggers the IR sensor. This enables you to fine tune the trigger by moving the screw in or out.</p> <p>I decided to create a mashup of the two of these, and so here we are. I've added the chimney back with the screw for fine tuning. The only downside that I can see over Vertigo's version is that the idler door can't swing all the way up. But, even with his version you had to remove the sensor arm to swing the door up. And then when you closed the door and put the arm back on, you would have to make sure to fit it just right so it would work. With my version, you have to remove the door entirely, but that's not that big of a deal for me. Hope this helps out someone else that finds themselves in my shoes. I should clarify, I've printed the parts, assembled it and am right now in my first test print, but so far, so good. I'll post more results here as they come.</p> <p>P.S. - I've only attached the 3 parts that I modded, the chimney, the idler door and the cover. You'll also need the chimney sensor cap that came with the MMU2.</p> <h3>Print instructions</h3><h3>Category: 3D Printer Parts Print Settings</h3> <p><strong>Printer Brand:</strong> Prusa</p> <p><strong>Printer:</strong> MMU2s</p> <p><strong>Rafts:</strong> No</p> <p><strong>Supports:</strong> No</p> <p><strong>Resolution:</strong> .2</p> <p><strong>Infill:</strong> 20%</p> <p><strong>Filament:</strong> Any ABS or PETG (maybe PLA?) Black<br/> <strong>Notes:</strong></p> <p>I'm not sure if you need particularly heat resistant filament for these parts. PLA may be fine, but I probably wouldn't risk it. I printed mine out of Black Overture PETG and they turned out great.</p>
With this file you will be able to print Prusa i3 MK3S MMU2S Bear Extruder-Idler-Lucky Mod with your 3D printer. Click on the button and save the file on your computer to work, edit or customize your design. You can also find more 3D designs for printers on Prusa i3 MK3S MMU2S Bear Extruder-Idler-Lucky Mod.