Prusa i3 print encloser
thingiverse
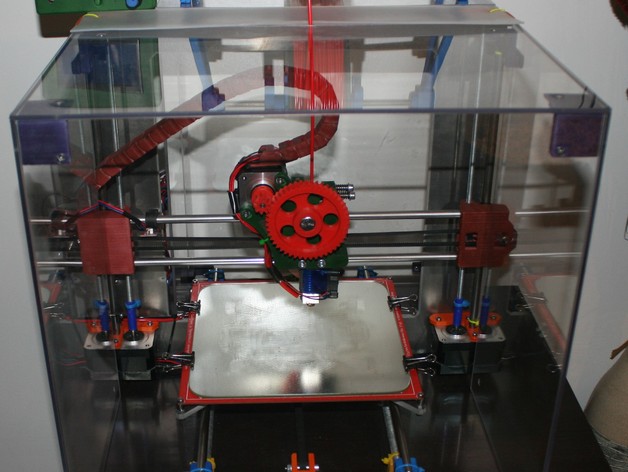
So here are the 3d parts needed to create an Acrylic or Polycarbonate (for higher temp resistance) print area enclosure. I wanted an enclosure which can keep the heat in for ABS printing, keep dust out and as much of the electronics out. I also wanted this to be doable by all enthusiasts not just once with garages and powerful tools. Yes it's easy and much easier to put the whole thing in a box but for me keeping the electronics cool is very important as it ensures good performance. Plus it looks cool. For a full set of instructions on how to assemble and what you need please head over to: http://www.gi-architects.co.uk/2015/12/prusa-i3-print-encloser/. It was just too much to put all in here. Update 1: I have included the 123dx file and a step(.stp) export. Print Settings Printer Brand: RepRap Printer: Prusa i3 Supports: Yes Infill: 40% Notes: You only need supports if the screw holes don't come out correctly. I would suggest that you print 4 objects at a time (same type), it's what i did and come out perfectly fine. You can use slicer to split them. Post-Printing I did have to enlarge the holes a tiny bit after printing as i used ABS which tends to shrink a tiny bit (the drawings are exact for m3 bolts). Other than that i sanded them a tiny bit and painted them. The upper left part holding the back enclosure has a flat surface where you can glue or drill and anchor the screen.
With this file you will be able to print Prusa i3 print encloser with your 3D printer. Click on the button and save the file on your computer to work, edit or customize your design. You can also find more 3D designs for printers on Prusa i3 print encloser.