Prusa i3 Replicape enclosure
pinshape
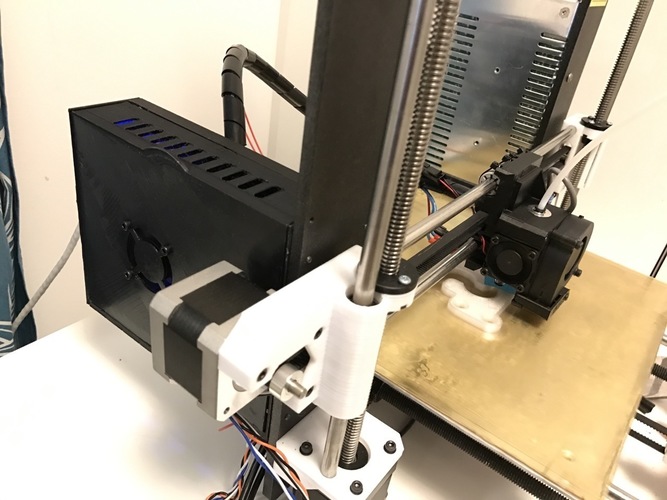
Tinker-friendly enclosure for the awesome Replicape, that mounts onto the back of the Prusa i3 frame. I designed this box to fit the Replicape with enough room for all cables, with an easy access lid that allows me to reach all side connectors without effort. It accepts a 40 mm fan that directs airflow at the stepper drivers, so that higher stepper currents can be used without overheating. Also, it looks pretty darn good :) Print settings Printed in Torwell PLA with 0.4 mm extrusion width and 0.2 mm layer height. Any other extra durable PLA should also work, as should PETG, nGen or XT. Prints without supports. Print 12 copies of the magnet covers, or simply cut pieces of leftover brim (that's what I did). Assembly Materials needed: Superglue 12 neodymium magnets, preferably 5 x 3 mm, 5 x 2 may also work 40 x 10 mm 12V fan M3 x 10 screws, 4 pcs M3 x 12, 4 pcs M3 x 16, 4 pcs M3 nyloc nuts, 4 pcs M3 nuts, 8 pcs Push the magnets into the indents in the lid and enclosure base, and secure them in place by gluing the cover strips on top. Glue the rear cover onto the base. Screw the base onto the frame using M3x10 screws (or shorter). Separate the Replicape and the BBB if you haven't already done that. Put M3x12 screws in the through-holes on the BBB and tighten using nyloc nuts. Optionally, for case fan temperature control, wrap a 1-Wire DS18B20 temp sensor in Kapton tape and tape it down to the bottom side of the 'cape somewhere near the stepper drivers. Put the cape and BBB back together and insert into the case so that the screws poke out through the side holes. Secure using M3 nuts (no need to over-tighten). Put the 3 mm filament from the X carriage into the hole right below the large cable inlet. If it feels loose, secure it with a 2.4 mm cable tie. Insert all the other X cables through the inlet and route them to their connectors. If you have a 12 or 24 volt bed (I don't, so I use it for a bowden extruder cable), route that cable through the smaller inlet closer to the frame and optionally secure it with a cable tie. Route all the other cables through the large hole in the bottom. Screw the fan onto the inside of the lid using M3x16 screws and M3 nuts. Connect the fan to a connector of your choice, put the lid on and you're good to go. To configure the fan, add this to your Redeem local.cfg: [Cold-ends] connect-ds18b20-0-fan-3 = True cooler_0_target_temp = 40 Source file (OpenSCAD)
With this file you will be able to print Prusa i3 Replicape enclosure with your 3D printer. Click on the button and save the file on your computer to work, edit or customize your design. You can also find more 3D designs for printers on Prusa i3 Replicape enclosure.