Prusa Lack Enclosure Sliding Doors
prusaprinters
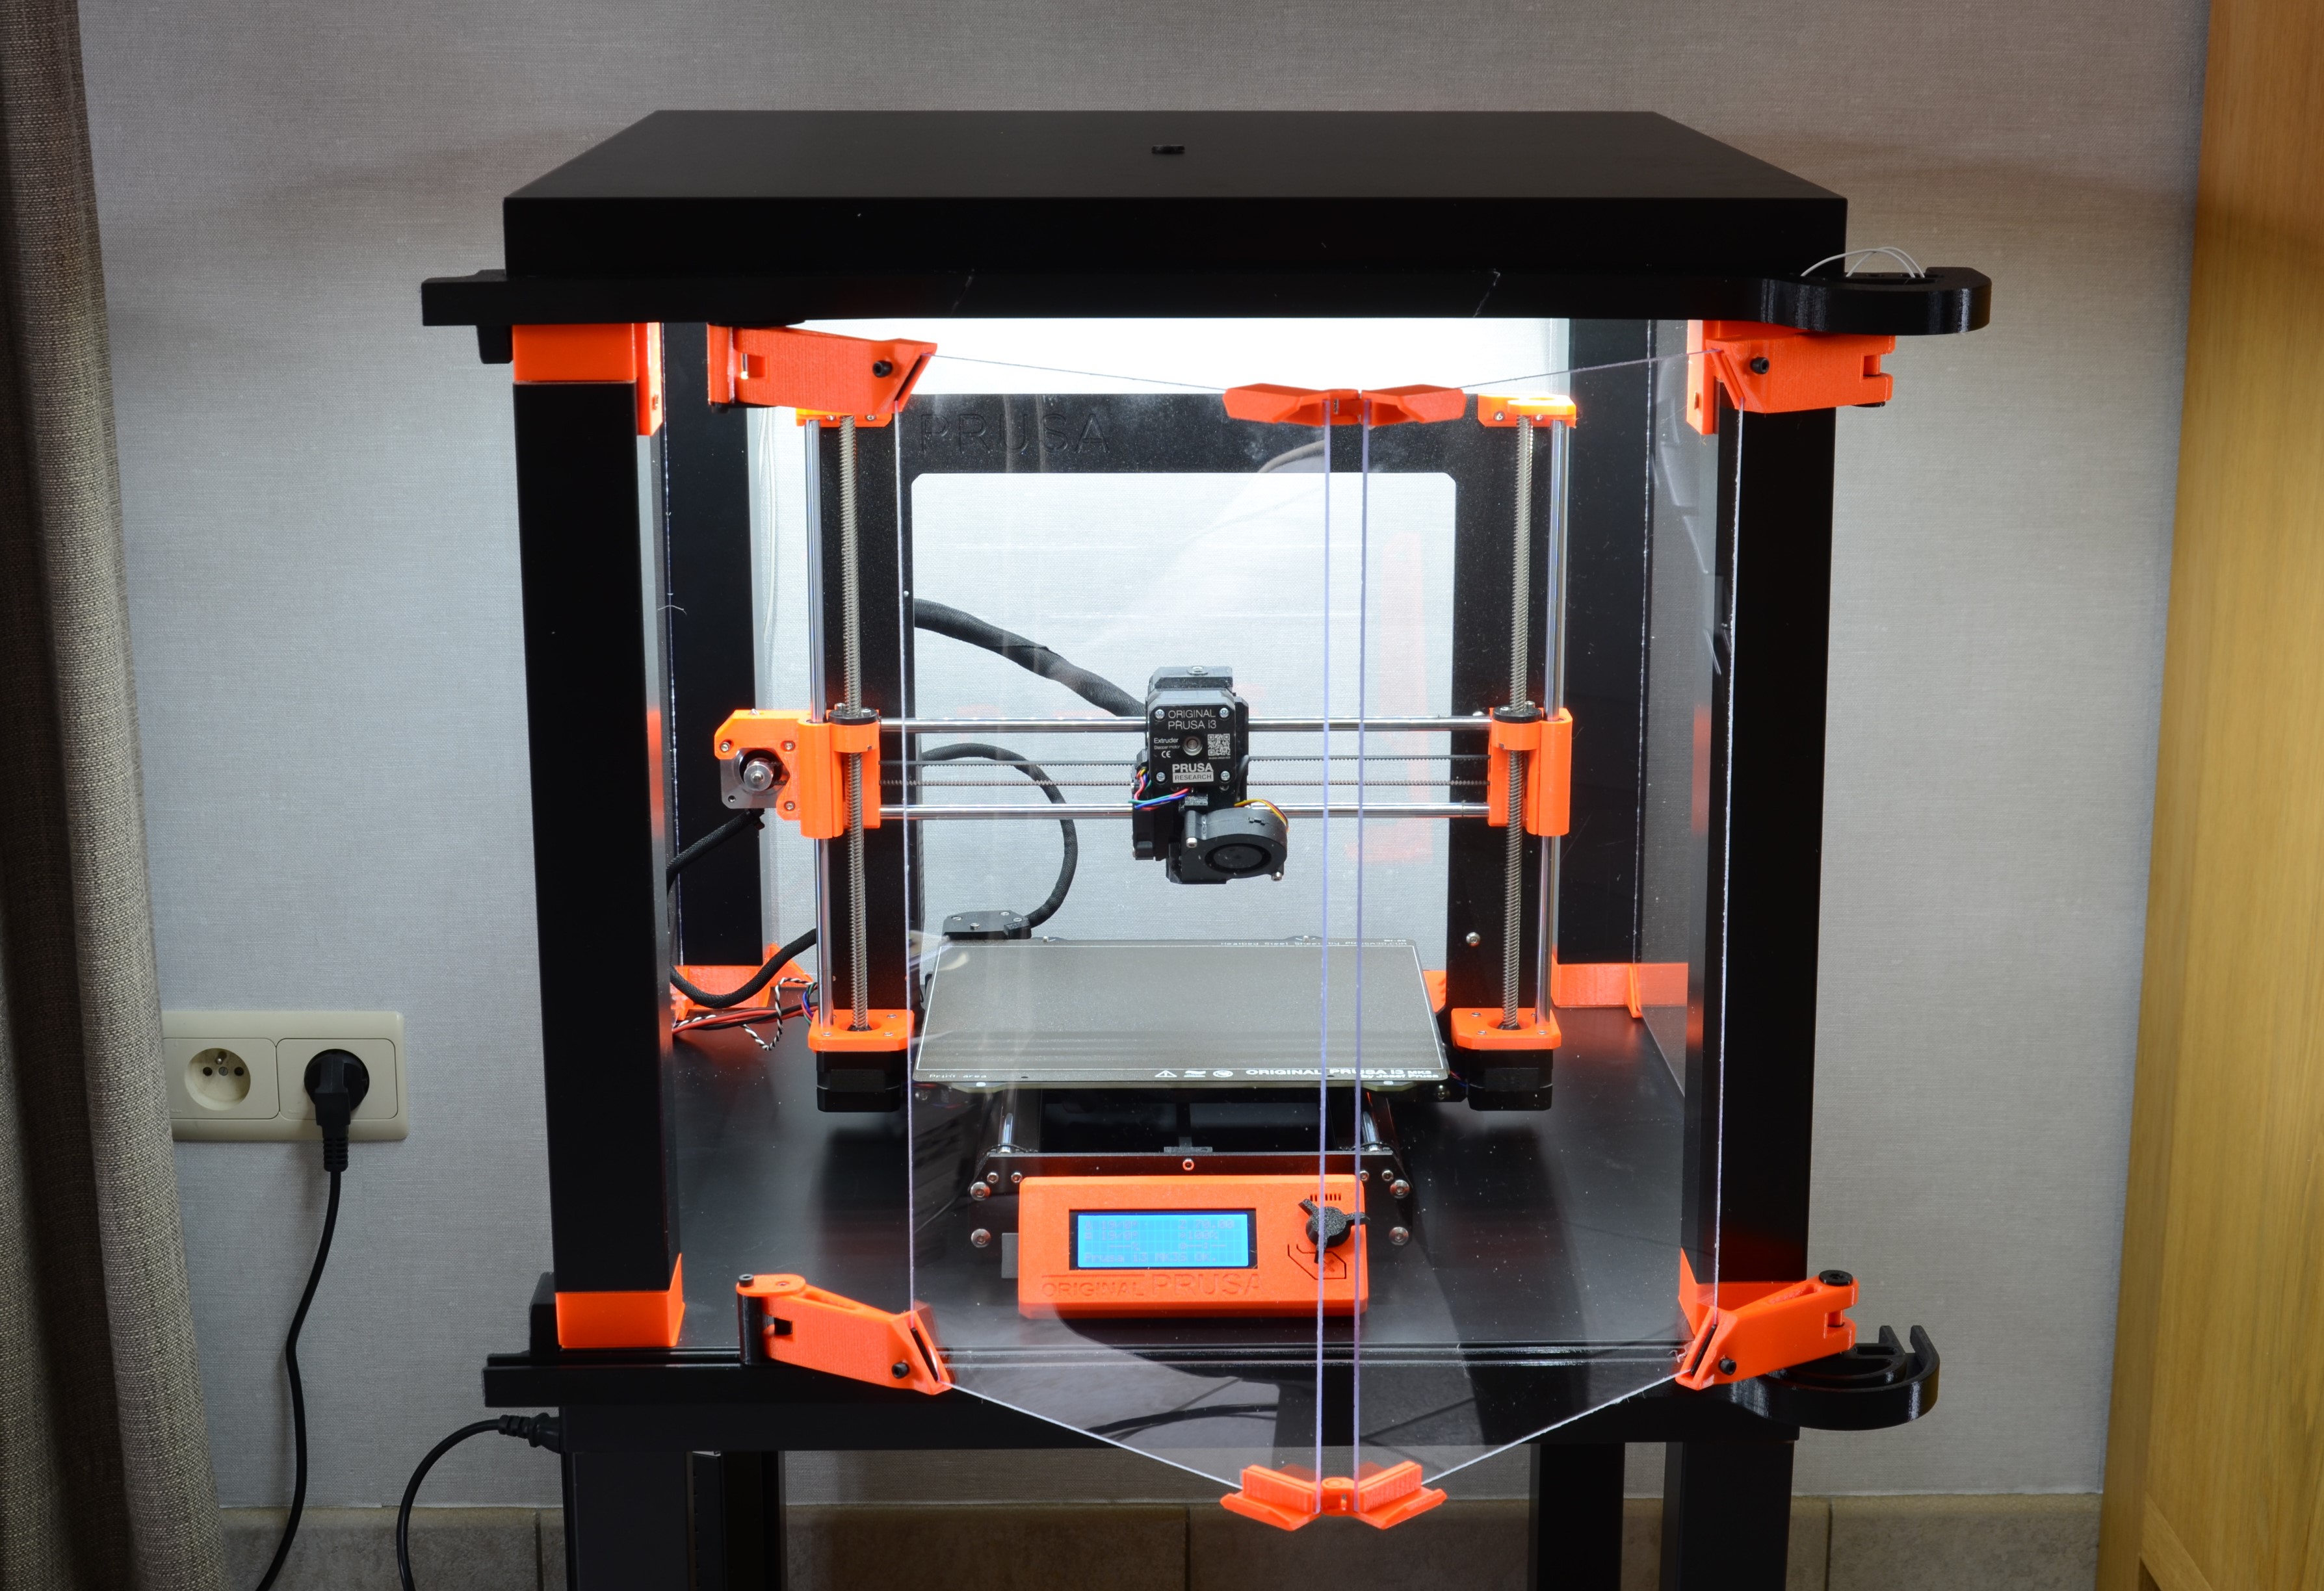
<p>Hi everyone!</p><p>If you have the original Prusa enclosure but you want to print with the doors open, than the doors stick quite some distance out.<br>Personally i didn't like that so i made a version that the doors came beside the enclosure!</p><p>I based my enclosure on the known Original Prusa Enclosure from Thingiverse: <a href="https://www.thingiverse.com/thing:2864118">https://www.thingiverse.com/thing:2864118</a></p><p>For now the models are designed for 2.5mm thick plexiglass, in a short period of time i'll add models for 3mm plexiglass. When you already have the standard enclosure you can upgrade to this version! All the dimensions i used are replaceble with the original Prusa Enclosure.</p><p>You don't need special tools, here's a list from the extra things i used.</p><p><strong>Update 03-06-2020</strong><br>-Added the parts to fit the 3mm plexi. (Top Connexion 3mm, Middle hinge 3mm, Bottom Connexion 3mm)<br><strong>Update 15-11-20</strong><br>-Added shorter rails so they can be printed on a Prusa Mini</p><p>-You need to print Guide Rail 2 from Top and Bottom 2 times to make the correct length</p><p><strong>Thingiverse</strong><br>-60 degree heatbed cable cover <a href="https://www.thingiverse.com/thing:2890592">https://www.thingiverse.com/thing:2890592</a><br><strong>Construction</strong></p><ul><li>2x Ikea Lack Table</li><li>3x Plexi 440 x 440mm, <strong>2.5mm</strong> or <strong>3mm</strong></li><li>2x Plexi 220 x 440mm, <strong>2.5mm</strong> or <strong>3mm</strong></li></ul><p><strong>Mechanical parts</strong></p><ul><li>2x bolt M3x14</li><li>2x bolt M3x40</li><li>4x bolt M4x8</li><li>2x bolt M4x20</li><li>4x bolt M6x16</li><li>4x nut M3</li><li>6x nut M4</li><li>4x nut M6</li><li>12x screw 6x20mm</li><li>4x screw 6x50mm</li></ul><p><strong>Tools</strong></p><ul><li>Philips Screwdriver</li><li>Allen keys</li><li>Superglue</li><li>Drill to make a pilothole for the screws</li><li>Some lubricant for the dovetail (You can't use to much lube)</li></ul><p>I used a 0.6 nozzle, the textured powder-coated sheet, Prusament PETG Jet Black and Prusament PETG Prusa Orange.</p><p>To assemble the general enclosure i'd like to refer to the youtube channel of Prusa (<a href="https://www.youtube.com/watch?v=oS7ZtBNh2hE&t=1s">https://www.youtube.com/watch?v=oS7ZtBNh2hE&t=1s</a>). With the print instructions you can find some more information to assemble the different parts.</p><p>Pleas send some photo's from your version!</p><h3>Print instructions</h3><p>There's almost no support needed. Only at the support enforcer (see pictures).</p><p>I used the standard Prusa PETG print profile for 0.2mm layer height.</p><p>The exploded views i made are for the lower parts, the top parts are just a mirrored version.</p><p>The middle hinges are connected with some double sided tape to the plexiglass. The pressure plates whitch are mounted at the other hinges, hold the plexi in place.</p><p>If you'll glue the hinge pin you can screw a M3x40bolt from the bottom side up to align it. To glue the enforcement part it's easier to screw the top plate on it, and then add the glue and push it on the hingepin. If you do it this way the alignment should be perfect.</p>
With this file you will be able to print Prusa Lack Enclosure Sliding Doors with your 3D printer. Click on the button and save the file on your computer to work, edit or customize your design. You can also find more 3D designs for printers on Prusa Lack Enclosure Sliding Doors.