Prusa Light Bar
thingiverse
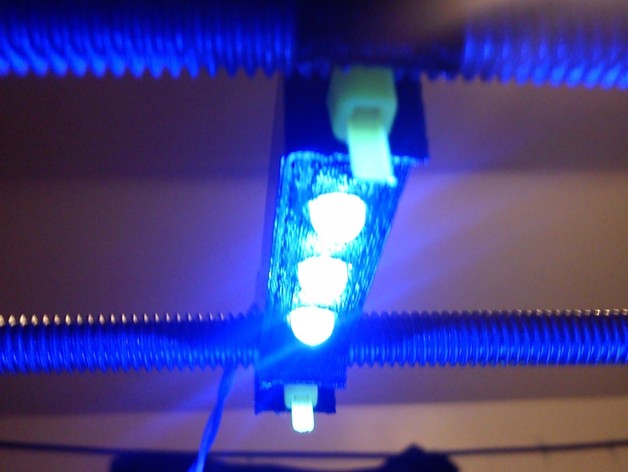
For attaching to the top of your Prusa to light your print bed. Instructions 1)Print (I did two) 2)Calculate the size of resistor you need using the following formula R = (V1 - V2) / I where: V1 = supply voltage V2 = LED voltage I = LED current (I used 6 LEDs, each at 30mA, therefore: 6 * 30 =180mA, so my value for I is 00.180) My formula looked like: (5-3.3)/00.180 = 9.4 A, so I used a 10 ohm Resistor 3)Solder together 6 LEDs into two groups of 3. Make sure they are equal distance apart for the holes. (I flipped the Light bar upside down and inserted the LEDs backwards, so as to hold them in place for soldering. I then soldered the leads together.) 4) solder the 2 Lightbars together using 2 strands of wire. Make sure that the Positive from one goes to the Positive of the other. 5)Solder 1 wire from a power supply to a 10 ohm resistor to the positive side of the Lightbars. solder a ground wire to the negative side of the Lightbars. 6) Attach the Lightbars to the top of your Prusa using some zip-ties. 7)Make sure there are no short circuits, and plug the Lightbars into a power supply. 8) Turn on and enjoy a nicely lit Printer **To Make changes to the OpenSCAD file you need the LED Module found here:http://www.thingiverse.com/thing:38396
With this file you will be able to print Prusa Light Bar with your 3D printer. Click on the button and save the file on your computer to work, edit or customize your design. You can also find more 3D designs for printers on Prusa Light Bar.