Prusa Mini First Layer Calibration Tool
thingiverse
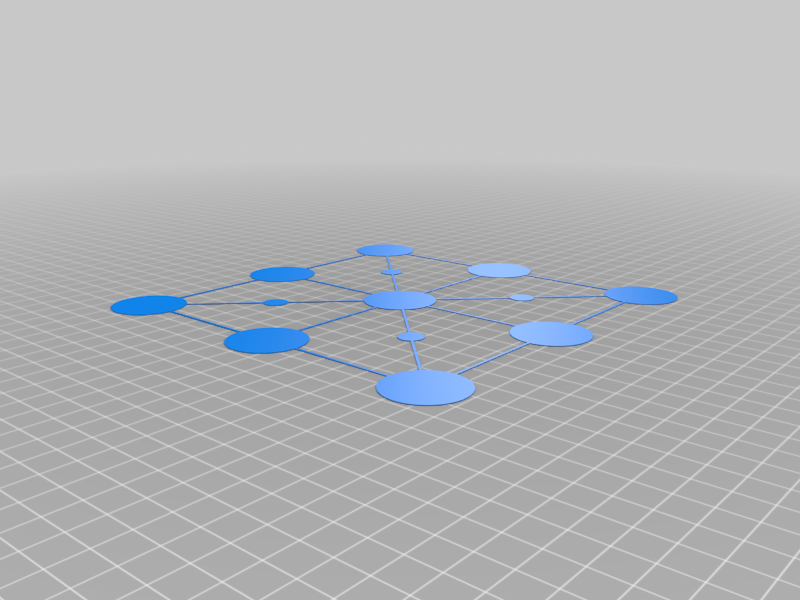
I use this file to help get my first layer as close to perfect as I can. Testing Process: Your first layer should be smooth, with all passes squishing enough to stick together and form a solid piece. Begin by printing this file. 1) If parts of the file don't stick to the bed, lower your z height slightly until they do. Once all areas start sticking to the bed, let the print finish and cool. 2) Remove the print and check each circle. If the strands inside the circle aren't stuck together or come apart with minimal pressure, lower your z height slightly and repeat the print. This stage may require multiple attempts, so don't get discouraged. 3) If you notice wavy patterns forming inside the circles during printing, but the strands stick together well when the print is complete, your z height is too low. Raise your z height slightly to reduce the waves until the pattern is smooth. This process could take several repeated prints of step 3. First layer calibration is the most critical step in getting quality prints. Take your time with this process and you'll see better results.
With this file you will be able to print Prusa Mini First Layer Calibration Tool with your 3D printer. Click on the button and save the file on your computer to work, edit or customize your design. You can also find more 3D designs for printers on Prusa Mini First Layer Calibration Tool.