Prusa Mini heatblock sock mould remix printable on the mini
prusaprinters
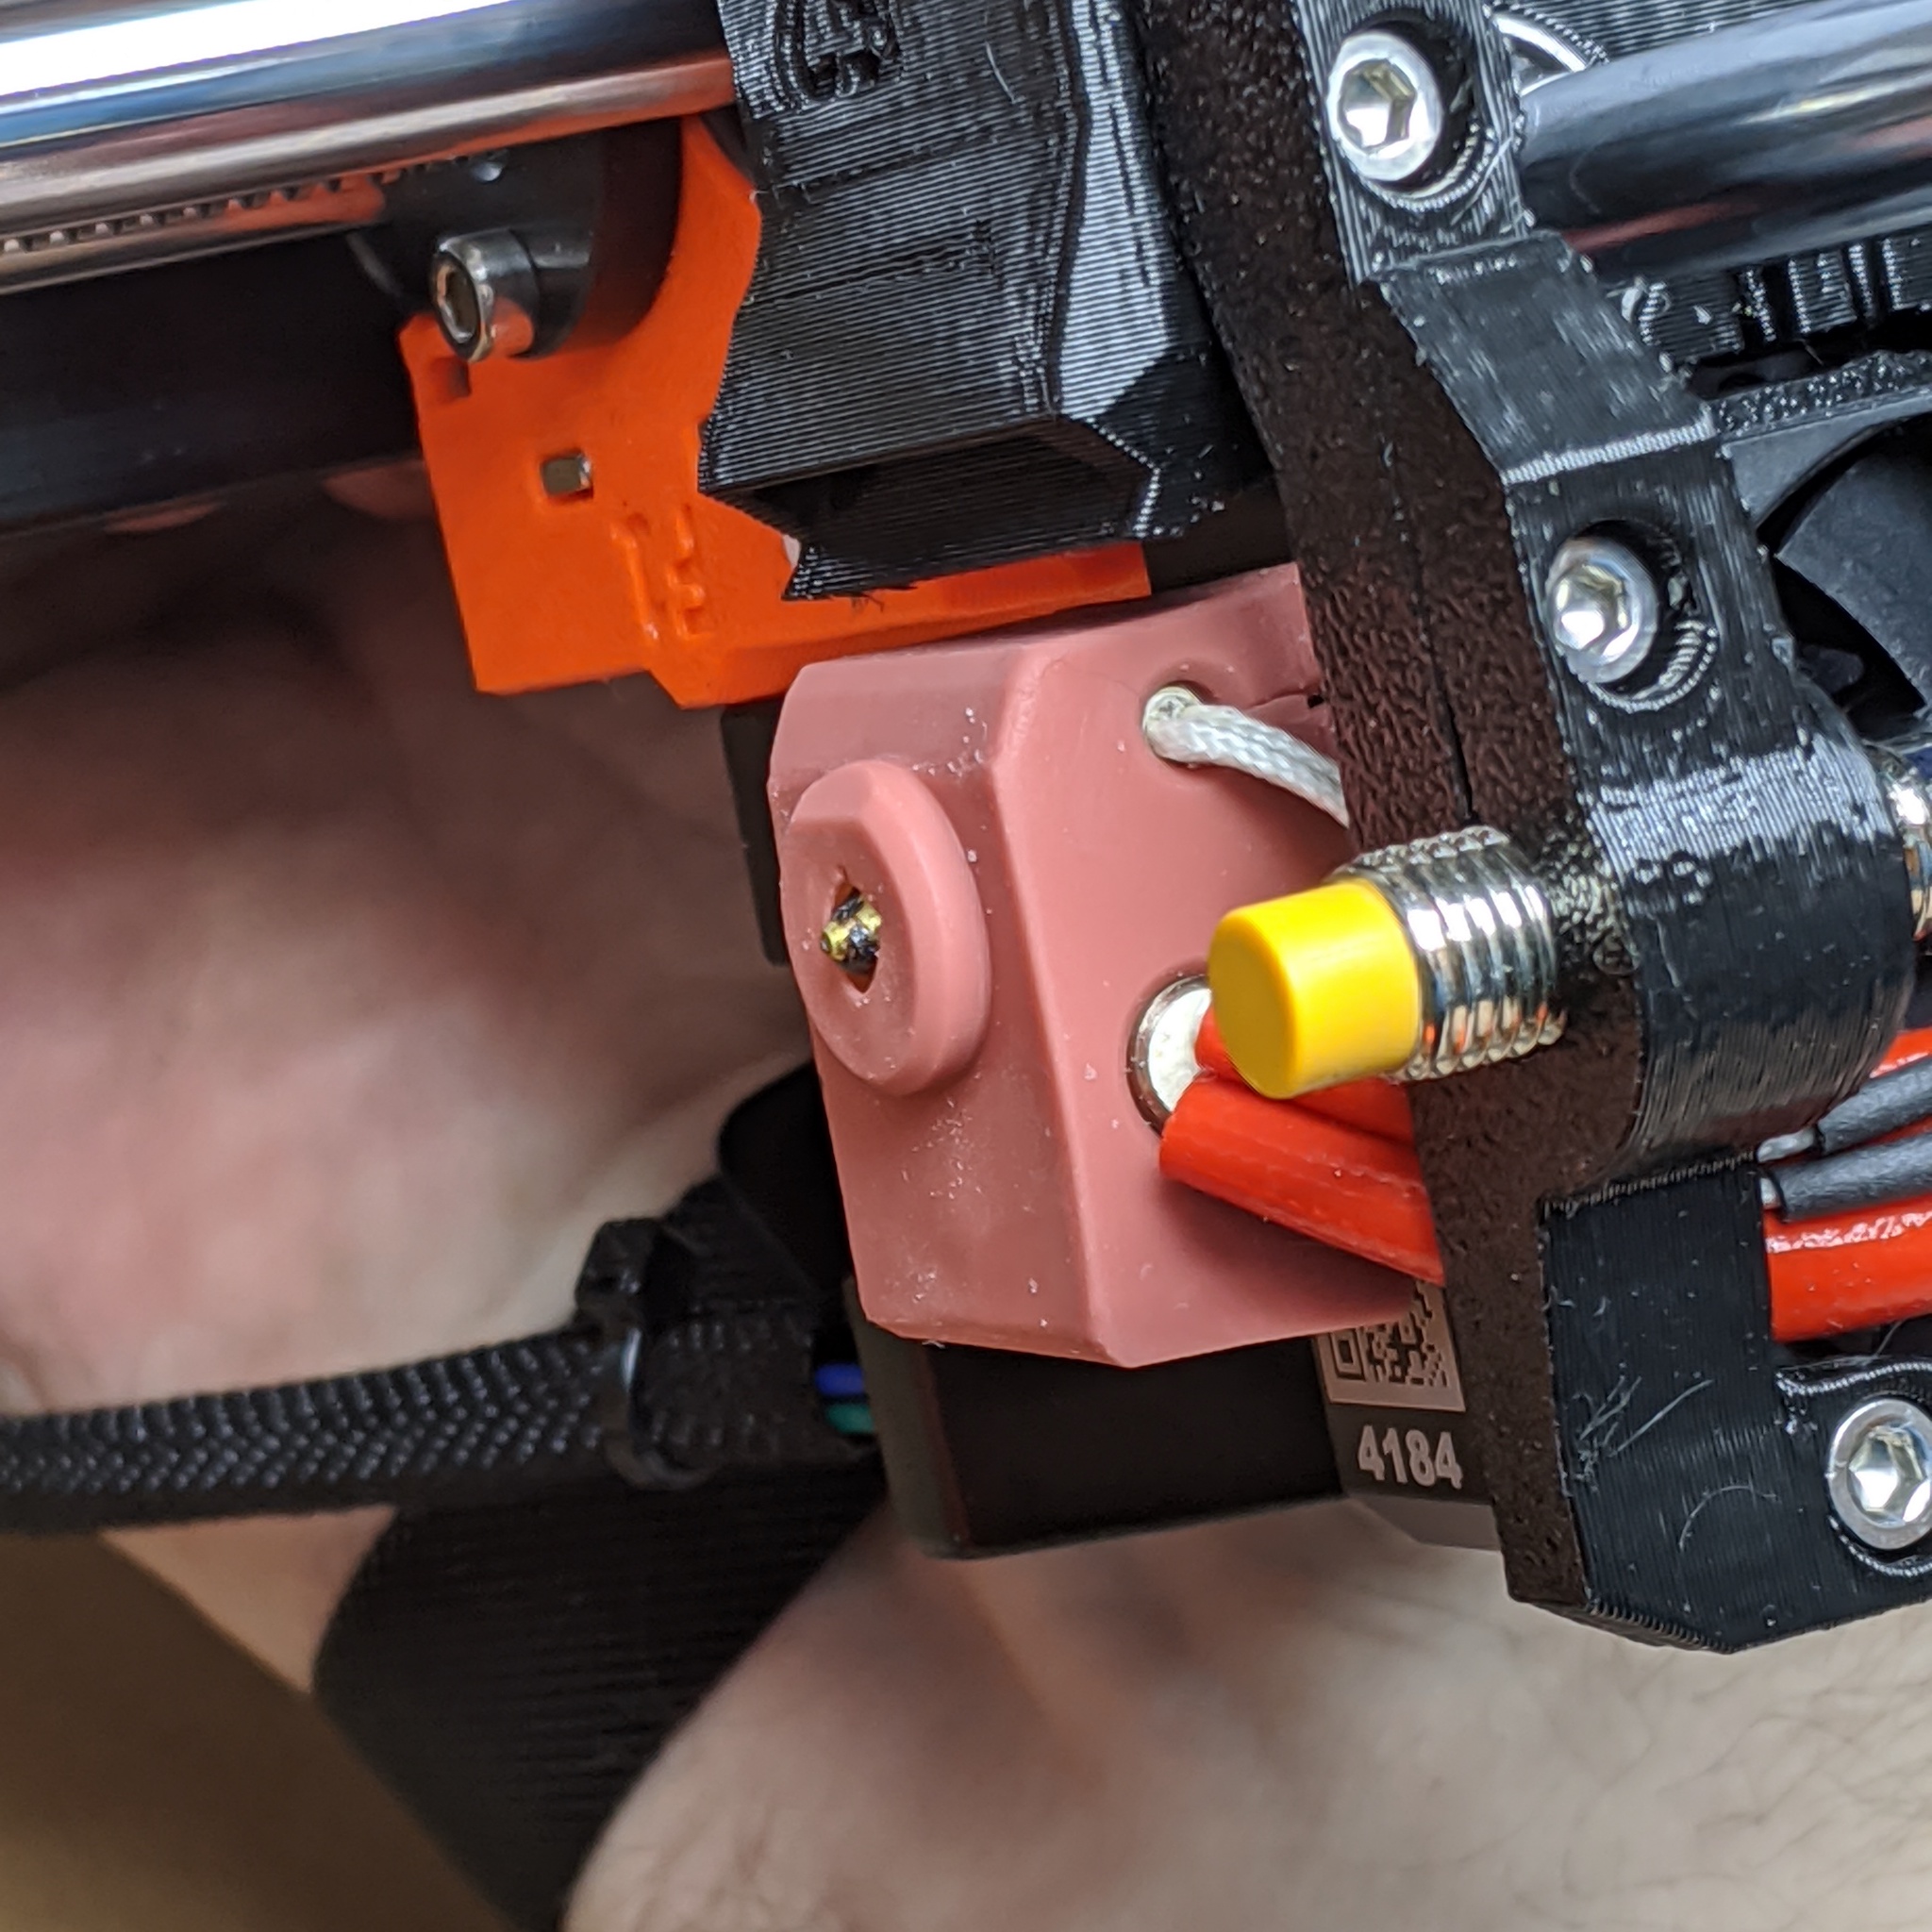
<p>E3D socks will fit the mini and worked well for me, but there is some noise in the community about how stable they are. I wanted my own.</p> <p>If you're based in the UK and would like one of my prototype moulds or socks, private message me.</p> <h3>Print instructions</h3><p>Check out the CNC Kitchen video for instructions on how to make the socks.</p> <p> <figure class="media"> <oembed url="https://www.youtube.com/watch?v=O5UiXky85hA"></oembed> </figure> </p> <p>I originally saw the CNC kitchen video on making a sock for E3D heatblock, but I already had the official sock and it was working for me. Enter the weirdly shaped mini heatblock. I started with the great work from Lichtjaeger but I wanted a couple of other things, most importantly was the PETG booger cover over the nozzle.</p> <p>The biggest problem for me with the original sock by Lichtjaeger was the really long, thin, sharp angles. Even on the SL1 these struggled, my Mini just laughed at me and while my Mk3 had a decent go it failed.</p> <p>This version prints on my stock Mini, but I had to slow things down and tweak a bunch of bits. I have added the project file so you can see my settings. The e-steps, extrusion multiplier and linear advance are also calibrated for the Prusament Galaxy Silver I use and there is also a PID tune in there for my hotend... You may have better results with your own settings. This will print with a 0.2mm layer height. The only real issue is the steps that are hidden under the heatsink anyway, so why printer at a higher resolution? My logo does come out better I s'pose :)</p> <p>Once printed, the holes for bolts and the alignment nubs will need drilling out with a 3mm drill bit, and a 2mm one on the core piece.</p> <p>There is a lot of flashing to pull off the Mini printed version, but it is easy. The resin version is near pristine.</p> <p>I made a pot holder so the mix pot can sit at 45 degrees while degassing to settle and make it easier to suck up more with the syringe. Each sock seems to use about 5g of silicone but add a couple grams to allow for wastage. Here are the mixing pots I used that fit the support.</p> <p><a href="https://smile.amazon.co.uk/dp/B073Y8DPK3">https://smile.amazon.co.uk/dp/B073Y8DPK3</a></p> <p>The mould is a little wobbly with the bolt protruding out the base, so I made a support for it... Literally anything with a hole in it will do though :)</p> <p>I would strongly recommend the proper moulding silicone as I could not get any of the gasket seal stuff to work. I did end up with a kilo of silicone though, so I'll be making socks well into the next millennium :)</p>
With this file you will be able to print Prusa Mini heatblock sock mould remix printable on the mini with your 3D printer. Click on the button and save the file on your computer to work, edit or customize your design. You can also find more 3D designs for printers on Prusa Mini heatblock sock mould remix printable on the mini.