Prusa Mk3 Light Brackets & Bar
thingiverse
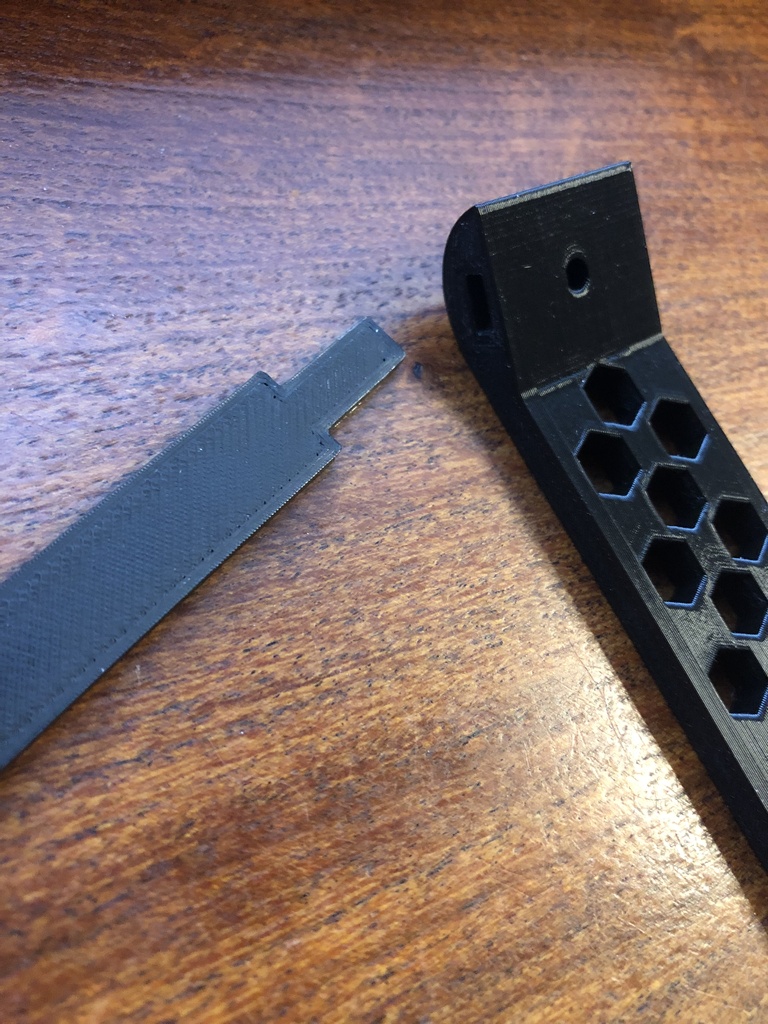
I used the excellent design from TechnoSapienDesign (source: https://www.thingiverse.com/thing:2758387) and converted it to use a 24v LED light strip I had laying around. The strip comes with an adhesive back so I needed to design a plate that could connect the two brackets that the strip could be attached to. I loved these brackets so I used the existing screw retention holes and designed a bar that fit perfectly inside the left bracket. This remix includes the original left bracket, a mirrored left bracket (so the hole is on the opposite instead of the same side like the original design), and the bar. **Just a warning**, I made the tolerances really tight for the tab on the bar because I wanted it to fit together as tight as possible so it wouldn't vibrate apart. Once you insert the bar it won't want to come out if you plan on disassembly later. You'll need to take the assembly off as one piece or the bar will likely snap. Feel free to add more infill if you want more stiffness, but I used 5% and it was perfectly fine. I used these strips because they were inexpensive: https://www.amazon.com/JOYLIT-6000-6500K-Flexible-No-Waterproof-Lights/dp/B073QNMS5J/ You don't have to use those specifically. This should work with any 10mm wide 24v strip, and you can just direct wire it to the PSU and the lights will power on when your printer is on.
With this file you will be able to print Prusa Mk3 Light Brackets & Bar with your 3D printer. Click on the button and save the file on your computer to work, edit or customize your design. You can also find more 3D designs for printers on Prusa Mk3 Light Brackets & Bar.