Prusa MMU 2.0 Filament Contraption
thingiverse
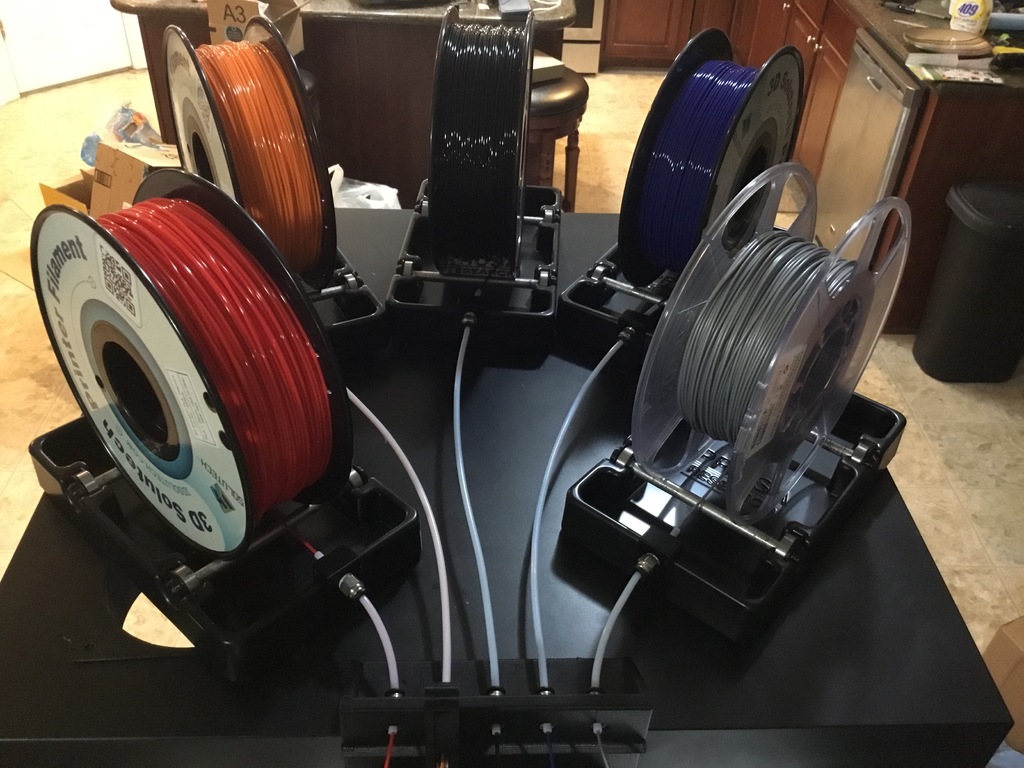
I created this to manage the slack when my mmu changes filament. To assemble the arms, place two of the small bearings in the bottom of the arms, 8mm rod pieces in the weight cavities, a v-bearing on the top bearing post, and snap together. Cut the 4mm rod to length and insert it in to the arm holder to install the arms. The screw has a recess for the rod to go in to. The PTFE connectors just screw in to their holes. I have a picture showing the bottom ones installed. If they are backwards the PTFE will climb up in to the selector when printing. I'd say it is working about 95% of the time. It only has a problem when near the bottom of a spool and the memory loops cause friction against the side causing the arm not to fall. The Fusion 360 file is included so you can change it however you want. Link to it doing a filament change: https://www.youtube.com/watch?v=BiOCXf6mVNg Parts List: https://www.amazon.com/gp/product/B012KKTBRU/ref=oh_aui_detailpage_o01_s00?ie=UTF8&psc=1 https://www.amazon.com/gp/product/B019I2WVCA/ref=oh_aui_detailpage_o01_s00?ie=UTF8&psc=1 https://www.amazon.com/gp/product/B01913RBYY/ref=oh_aui_detailpage_o01_s01?ie=UTF8&psc=1 https://www.amazon.com/gp/product/B01IB81IHG/ref=oh_aui_detailpage_o02_s00?ie=UTF8&psc=1
With this file you will be able to print Prusa MMU 2.0 Filament Contraption with your 3D printer. Click on the button and save the file on your computer to work, edit or customize your design. You can also find more 3D designs for printers on Prusa MMU 2.0 Filament Contraption.