Prusa MMU2 Settings Tester
thingiverse
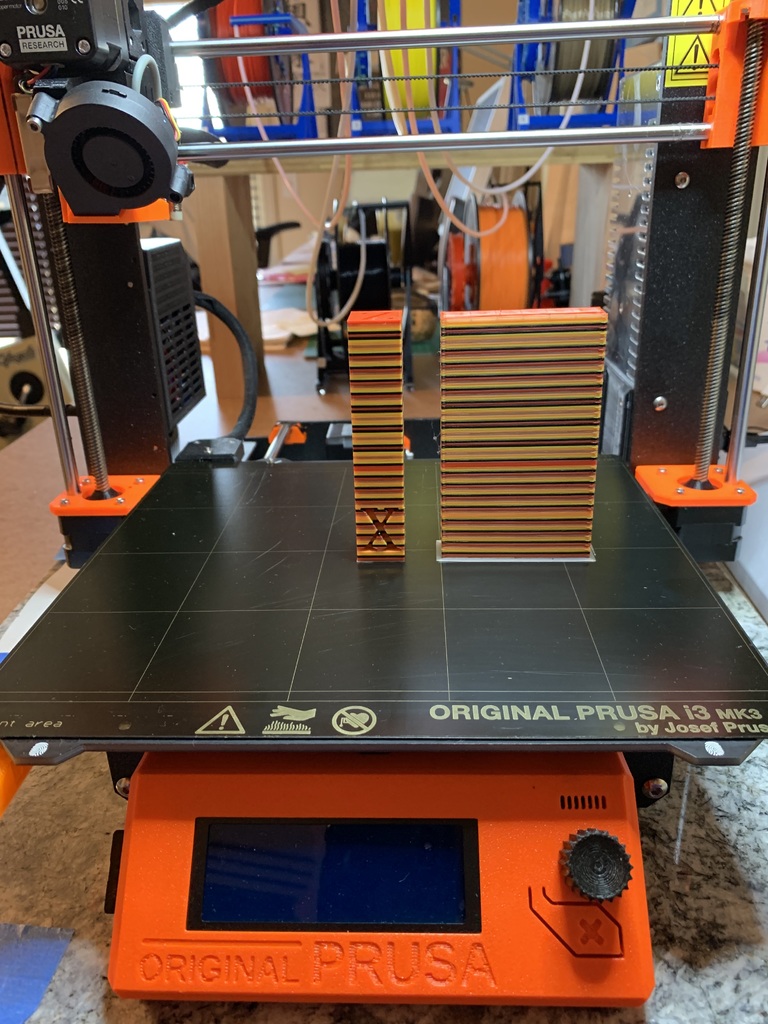
One of my biggest gripes with the MMU2 experience is that I was never paying attention when an event occurred that triggered a load error, unload error, skipped layer and so on. Furthermore, I wanted a quick way to evaluate how Slic3r settings impacted stringing, tip shape, etc. I created a 100mm tall square object that changes color every millimeter and incorporates all five colors. It's obviously based on the 20mm calibration cube. The tool change sequence varies from top to bottom. You can alter the sequencing by selecting the object in the 3D view which brings up the Settings window. Choose any of the objects labeled 'lambda-slab' and modify the extruder number. You can also adjust any other Slic3r settings as you normally would. The object requires a Brim in my experience. Otherwise, there's a risk of the extruder knocking it over.
With this file you will be able to print Prusa MMU2 Settings Tester with your 3D printer. Click on the button and save the file on your computer to work, edit or customize your design. You can also find more 3D designs for printers on Prusa MMU2 Settings Tester.