Prusa MMU2S buffer redesigned - slightly different power switch clearance
thingiverse
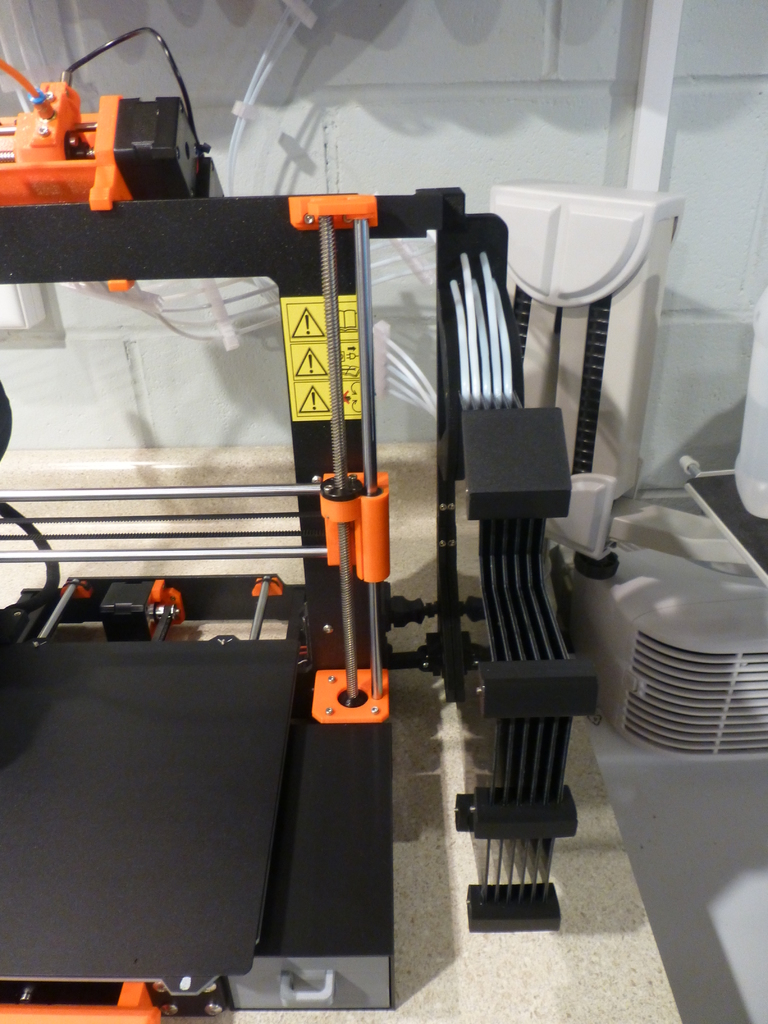
Fantastic design! The difference between my version and the original is that I wanted to work with the existing Z axis components on my printer. So, I created a bracket that attaches to the back of the top Z axis frame without replacing any parts. I simply used longer screws from other Prusa i3 mk3 upgrades. The bottom bracket connects directly to the main T frame instead. The rail clamp part will need some support; just twist it into place and slide it over to align with the holes for the buffer screws. I scavenged spare screws and nuts from other projects for this bracket, and it fits perfectly, providing an incredible amount of rigidity when tightened. Overall, this design offers about 2 inches of clearance between the printer and the buffer, making it easy to access the power switch. To print my version, simply use the original design (Prusa MMU2S buffer redesigned by pchlupacek) minus the Z axis components. The other remix is also impressive, offering a great way to access the power switch. If you're not concerned about replacing the original Z axis parts, this mod might be more rigid and less prone to flex than mine. Either way, it's an amazing space-saving design that works beautifully.
With this file you will be able to print Prusa MMU2S buffer redesigned - slightly different power switch clearance with your 3D printer. Click on the button and save the file on your computer to work, edit or customize your design. You can also find more 3D designs for printers on Prusa MMU2S buffer redesigned - slightly different power switch clearance.