PRUSA PRO Face Shield
prusaprinters
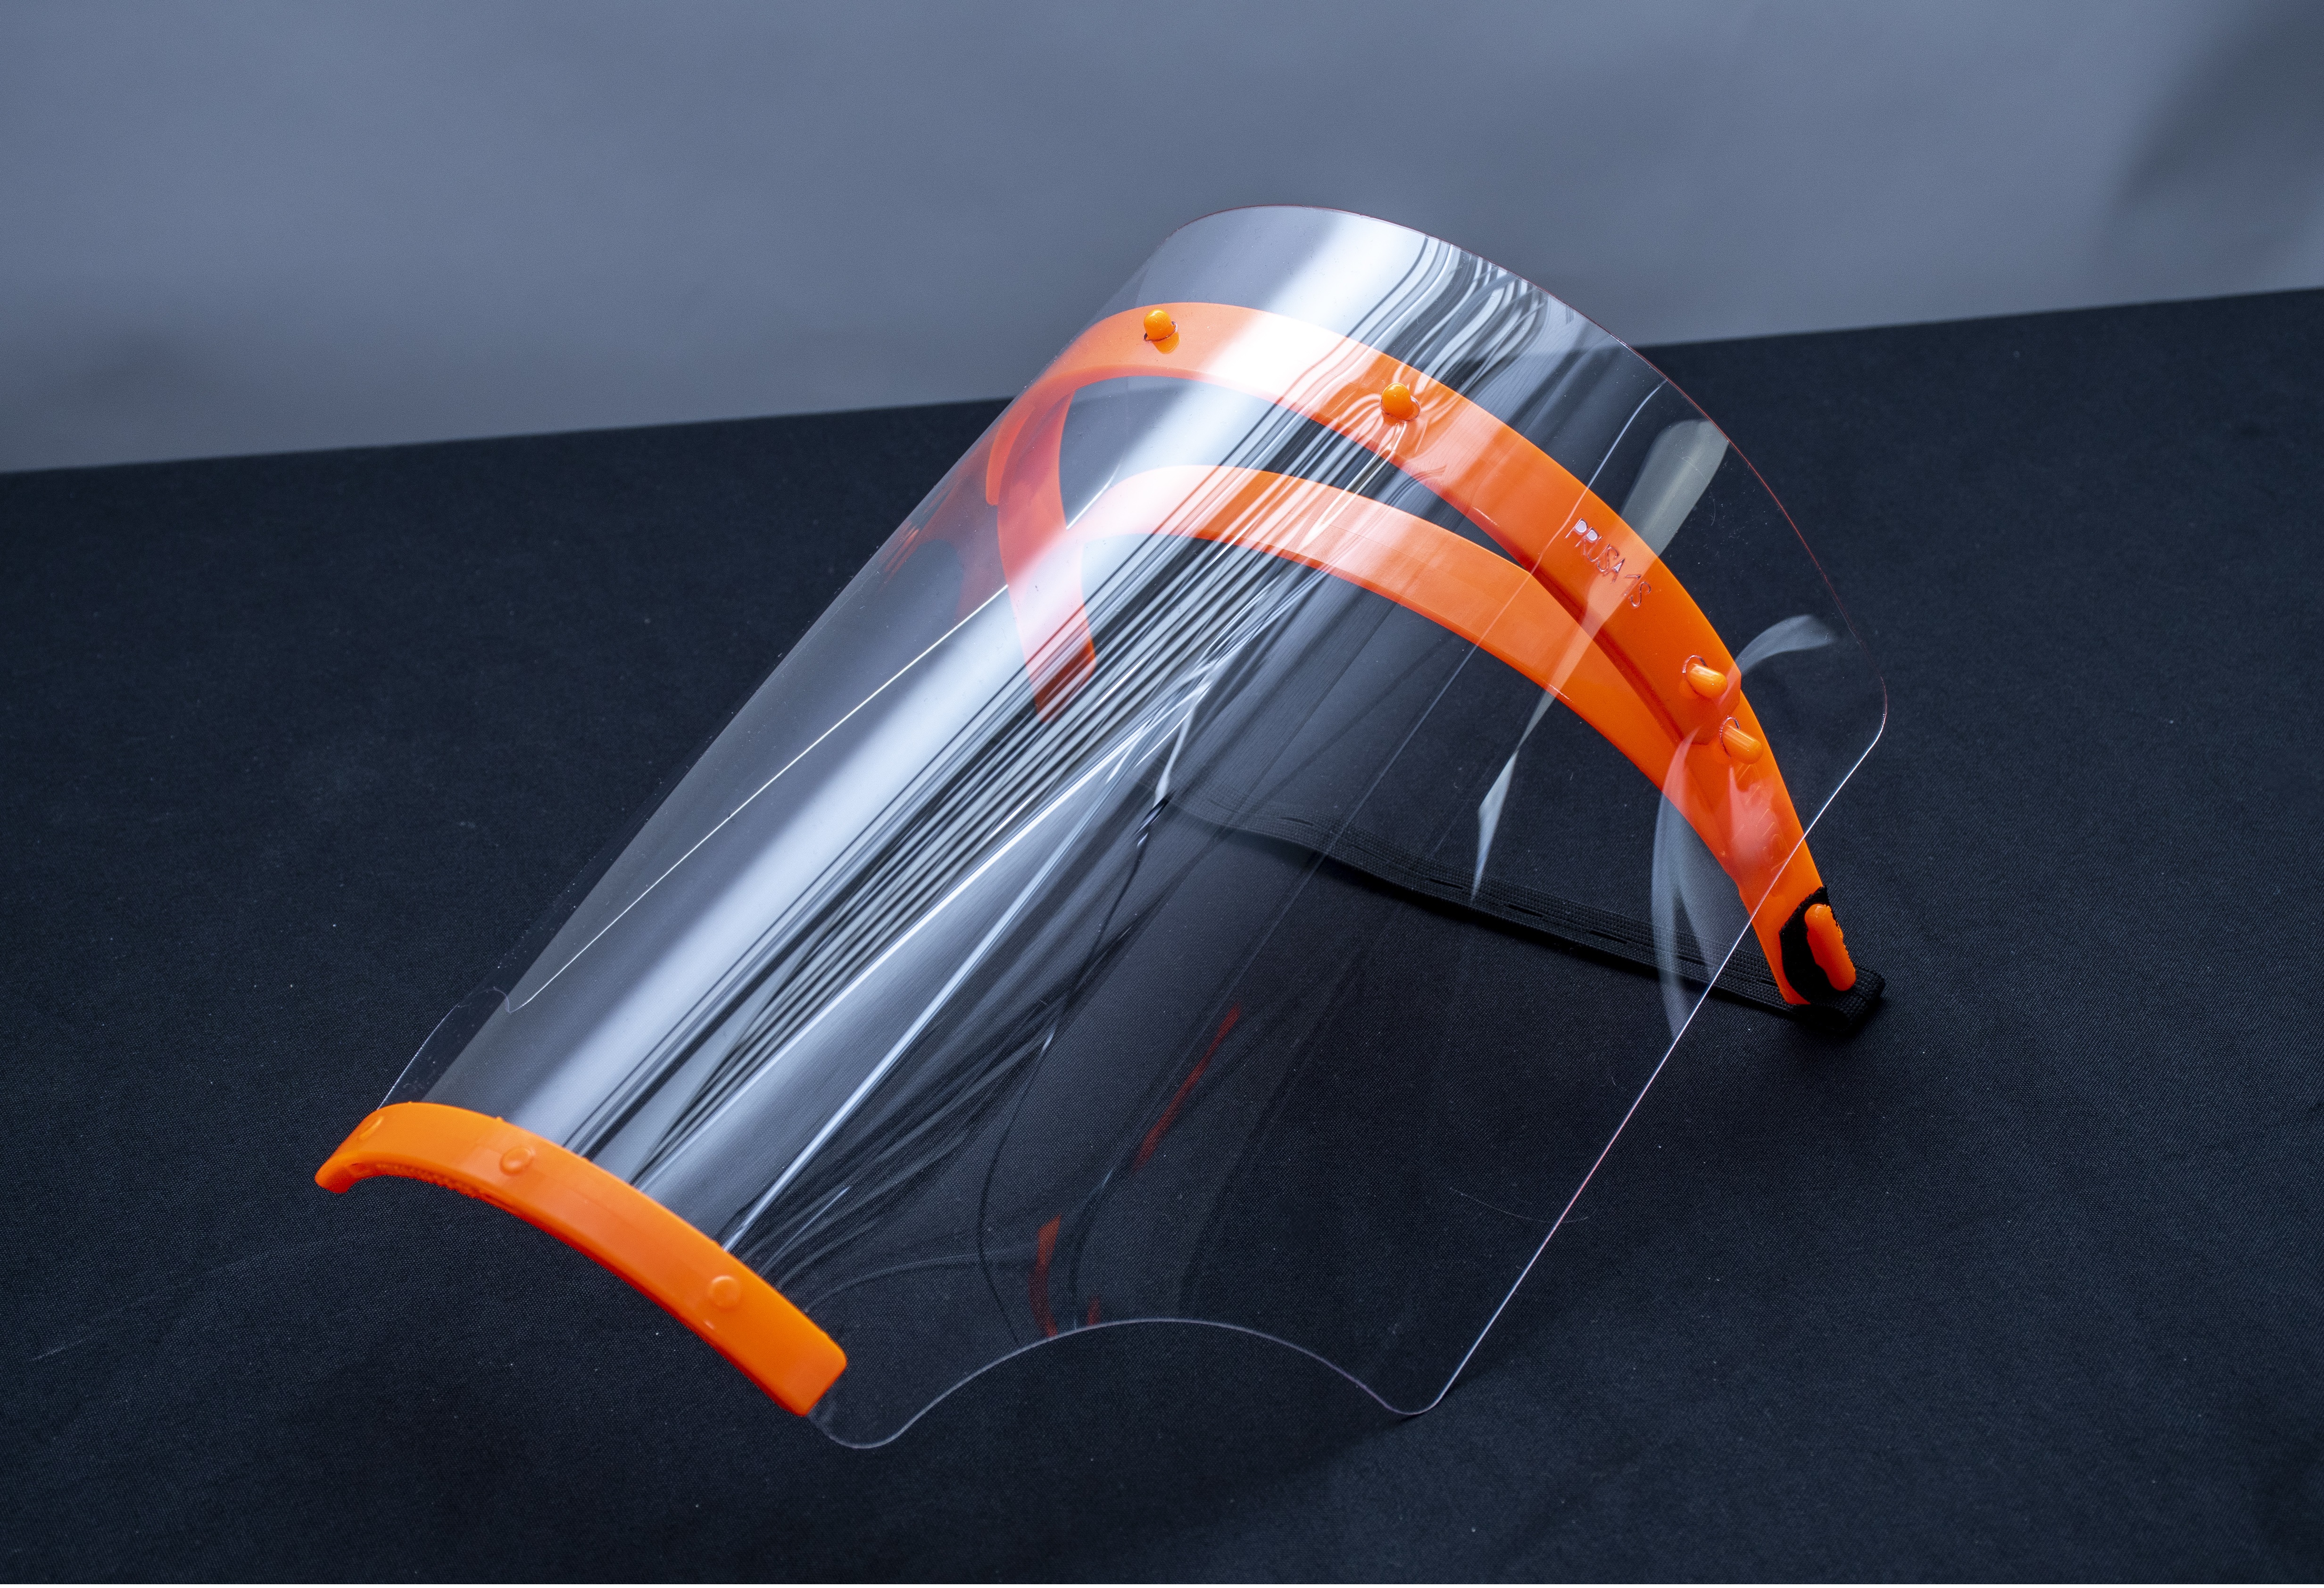
<p><em>PRUSA PRO</em> Face shield is the final version of our face shield (successor to the Prusa Face Shield RC3). The main difference from the RC3 version is the larger visor and 2 pins on the side for a better fixation.<br/> Face shield is used as protective equipment against droplets and liquid spray. It serves as an additional layer of protection in an environment with higher risk of being hit in the face with various liquids.</p> <p>For a faster print <a href="https://www.prusaprinters.org/prints/32810">check the stack version</a> with our fast print farm settings. One complete shield takes <strong>~ 1 h 35 min</strong>.</p> <p>This shield provides complete protection of the entire face (flying drops, sprayed liquids) and has passed the official certification procedure according to the standards. It provides not only frontal protection (like the RC3 version), but protection on the sides as well. The <strong>Prusa PRO Face Shield meets the standard of EN 166:2001 for protection against drops and sprays (protection class 3)</strong>. We have prepared a <a href="https://blog.prusaprinters.org/how-to-get-a-certification-for-face-shields_36481/">guide for you</a>, which should help you to get the certification and avoid various pitfalls. <strong>Unfortunately, every manufacturer has to go through the certification procedure individually.</strong> For more information read the article <a href="https://blog.prusaprinters.org/how-to-get-a-certification-for-face-shields_36481/">How to get a certification for face shields</a>.</p> <p>Customers from EU countries can order certified version of this shield in <a href="https://shop.prusa3d.com/en/accessories/1249-prusa-pro-face-shield.html">our eshop</a> . Or you can print PRUSA PRO Face shield yourself.</p> <p>Changes from RC3:</p> <ul> <li>Larger visor that provides complete protection of the entire face (flying drops, sprayed liquids)</li> <li>2 pins on the side for a better fixation of the visor</li> <li>Visor cutouts for shoulders</li> <li>meets the standard of EN 166:2001</li> </ul> <p><i>**Recommendation:** Preferably use the provided 3MF file instead of STL file. The 3MF file includes reinforcement via modificators and tested print settings.</i></p> <p><strong>Product information:</strong> <a href="https://prusa3d.com/downloads/others/PrusaProFaceShield_assembly.pdf">English version</a>, <a href="https://prusa3d.com/downloads/others/PrusaProOblicejovyStit_navod.pdf">Czech version</a> (including assembly instructions)</p> <p><strong>Assembly manual:</strong> <a href="https://help.prusa3d.com/en/guide/how-to-assemble-the-prusa-pro-face-shield_136169">English version</a>, <a href="https://help.prusa3d.com/cs/guide/how-to-assemble-the-prusa-pro-face-shield_136170">Czech version</a></p> <p><strong>Assembly video</strong></p> <figure class="media"> <oembed url="https://www.youtube.com/embed/mh70DY1Ww2I"></oembed> </figure> <p><br/><br/> <br/></p> <p><strong>Rubber band</strong><br/> You can either use a thicker one and make a hole in it at each end (make at least 10 mm cut) or use a thin one and tie it to both ends of the shield.</p> <p><strong>Visor / front plate</strong></p> <ul> <li>Visor drawing: <a href="https://www.prusa3d.com/downloads/others/PRUSA_PRO_Laser_Foil.pdf">PDF</a>, <a href="https://media.prusaprinters.org/media/prints/32714/stls/321424_8ac2ddc6-1285-422f-8808-a0048462e58f/covid19_shield_foil_laser_ce3.dxf">DXF</a></li> <li>the holes can be made with a standard office hole puncher</li> <li>we used 0.5 mm thick petg sheet, but you should be able to use any clear laser cuttable plastic with similar thickness.</li> </ul> <p><strong>Useful links</strong></p> <ul> <li> <a href="https://www.prusa3d.com/covid19/">All about 3D printed Face Shields</a> </li> <li> <a href="https://blog.prusaprinters.org/how-to-get-a-certification-for-face-shields_36481/">How to get a certification for face shields</a> </li> <li> <a href="https://www.prusaprinters.org/prints/32810">Stack versions of the PRUSA PRO Face Shield with our print farm settings</a> for a faster print (~ 1h 35min per pcs) </li> <li> <a href="https://help.prusa3d.com/en/article/prusa-face-shield-disinfection_125457">How to STERILIZE the face shields</a> </li> </ul><p><strong>Licence and selling of face shields</strong><br/> We share these files under non-commercial licence. It would be great if you donated these shields to those in need for free. If you need to cover your production costs, we are ok with you selling the shields for production cost. However, we do not want to see these shields on eBay for $50.</p> <p><a href="https://www.prusa3d.com/covid19/#diagram"> <img alt="" height="438" src="https://backend.prusa3d.com/wp-content/uploads/FS_diagram_v4_1-1.png" width="714"/> </a></p> <h3>Print instructions</h3><p>If you need to print the face shields faster, try our stacked version, which includes our fast farm print settings. One piece of face shield takes only 1hour and 35 minutes.</p> <p>Supports are not necessary.<br/> Print with at least 3 perimeters, about 30% infill.</p> <p>Ideally, print it from PETG.</p>
With this file you will be able to print PRUSA PRO Face Shield with your 3D printer. Click on the button and save the file on your computer to work, edit or customize your design. You can also find more 3D designs for printers on PRUSA PRO Face Shield.