Prusa Y Belt tensioner for SAE Hardware and T-5 belt
thingiverse
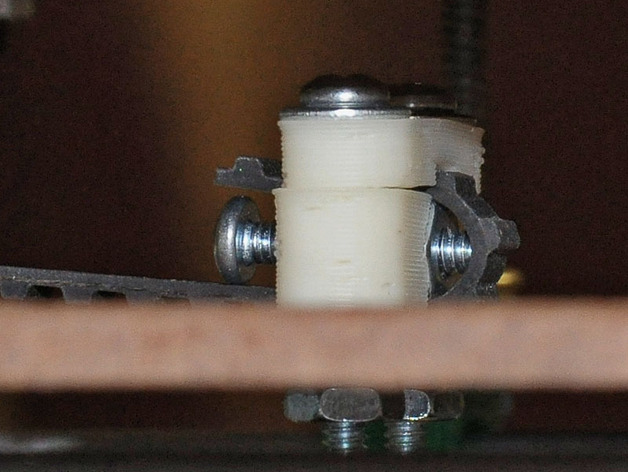
Same design as chrille but modifies to use 6-32 nuts and bolts. Update: Added belt attachment with teeth for the other end of the y-belt. Instructions Non-tension end(back of y-carriage): Place the part with teeth cutouts facing up and line up with the holes on the y-carriage. Lay the belt teeth into the teeth cutouts. Install the retainer cap with the notch facing down. Install the 6-32 washers and bolts and tighten, this does not have to be super tight since the teeth are doing the work, not the clamping force. Tensioner end(front of y-cariage): Insert captive 6-32 nut Bolt the two parts to the plate, so the bottom part has the belt slot facing down towards the plate and the captive nut is facing towards the middle of the plate. The top piece should have the teeth facing down, grabbing the teeth of the belt. Screw in the 6-32 tension bolt (I used a 1" bolt) Adjust the bolt till you get the tension just right
With this file you will be able to print Prusa Y Belt tensioner for SAE Hardware and T-5 belt with your 3D printer. Click on the button and save the file on your computer to work, edit or customize your design. You can also find more 3D designs for printers on Prusa Y Belt tensioner for SAE Hardware and T-5 belt.