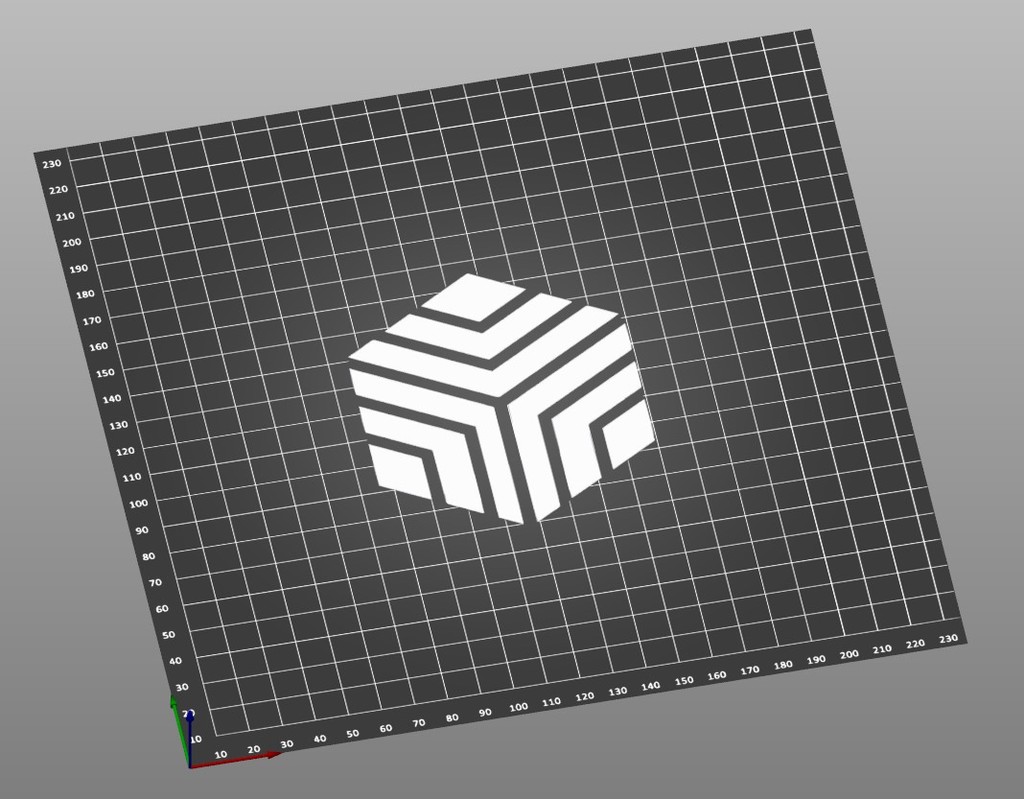
PrusaSlicer Build Plate for the CR-6 SE - Measurement Lines and Logo
thingiverse
Add the Creality logo, measurement lines, and numbers to your bed plate in PrusaSlicer. To install the .svg file in PrusaSlicer: 1. Click on Printer Settings tab. 2. Under General, click the Set button next to Bed shape. 3. Under Texture, click the Load button. 4. Locate the cr6-se-bed-plate-measurement-logo.svg file and click Open. 5. Click OK. Click on the Plater tab to view the changes.
Download Model from thingiverse
With this file you will be able to print PrusaSlicer Build Plate for the CR-6 SE - Measurement Lines and Logo with your 3D printer. Click on the button and save the file on your computer to work, edit or customize your design. You can also find more 3D designs for printers on PrusaSlicer Build Plate for the CR-6 SE - Measurement Lines and Logo.
