PSU Relocation for ender 3
myminifactory
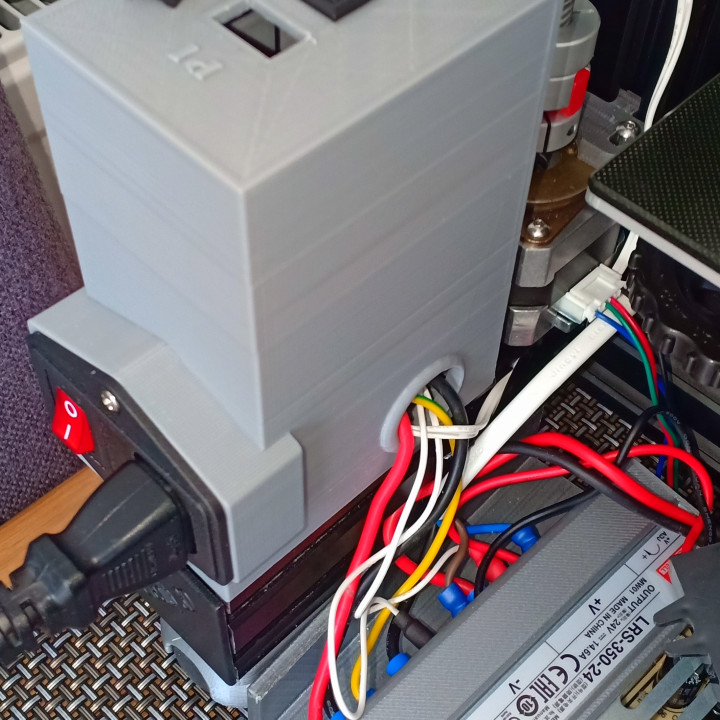
I needed to add dual x axis to my Ender 3, but relocating the PSU was required. The only spot I could put it was on the back on a shelf, however, the power switch wouldn't fit so a switch box had to be made. This box has two holes in the top for micro rocker switches - one for the LED light and one for the Raspberry PI. (The door for the switch box is still a work in progress but it fits tightly, staying in place.) Included are STL files for various fan side PSU cover variations. Shelves for the PSU have squash ball feet attached. Instead of screwing the PSU to the shelves, two strips of Velcro were used as this provides padding and keeps it secure. Squash balls with two dots, the cheapest I could find, were used for the feet - two for the front and two for the back. If you like this design, please consider leaving a tip. This will help support my filament fund so that I can keep testing.
With this file you will be able to print PSU Relocation for ender 3 with your 3D printer. Click on the button and save the file on your computer to work, edit or customize your design. You can also find more 3D designs for printers on PSU Relocation for ender 3.