PSU Vent for elevated printers in the 3D UP Fitters Enclosure
prusaprinters
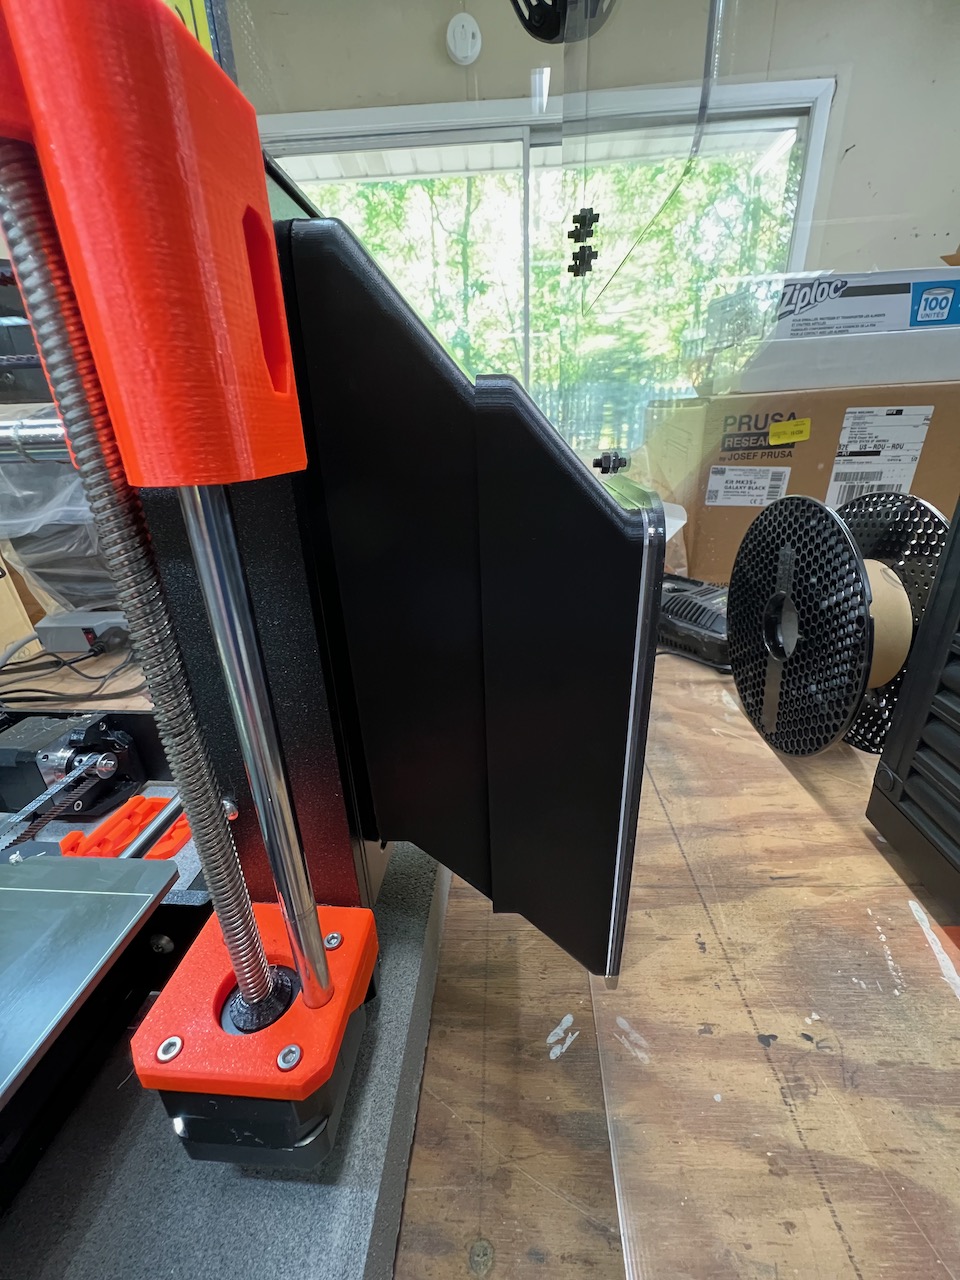
<p>My printers are sitting on a paver (slab of concrete), which is itself on top of a bit of foam rubber. This substantially reduces the noise produced by vibrations that resonate in the table beneath the printer, but also lifts the printer about 60mm higher. This means that the PSU vent—which presents cool, outside air to my printer's PSU—of my 3D UP Fitter's enclosure (which is awesome, btw) isn't feeding correctly into the PSU. One way to fix this would be to build a riser for the enclosure. Another way that works well for me is to instead re-model the vent to go to where it is required. Hence this model.</p><p>This works for me because I have the MMU2S enclosure, but I'm currently using it with a normal MK3S (no MMU on this printer), so there's plenty of space.</p><p>It is modeled in two parts that perfectly friction-fit together to reach the desired height. I built it this way so that it fits on the MK3S' print bed.</p><p>I printed mine in Prusament Black ASA in my enclosure and I'm thrilled with how gorgeous the whole print looks, but especially the 48° overhangs.</p><p>It's important to note that this is a new model and not directly derived from the STLs provided by 3D UP Fitters.</p><p>Your offset from the table may be different, so I've provided the source Fusion 360 files in .f3d and .step formats.</p>
With this file you will be able to print PSU Vent for elevated printers in the 3D UP Fitters Enclosure with your 3D printer. Click on the button and save the file on your computer to work, edit or customize your design. You can also find more 3D designs for printers on PSU Vent for elevated printers in the 3D UP Fitters Enclosure.