Pusa MINI cooling fan duct
thingiverse
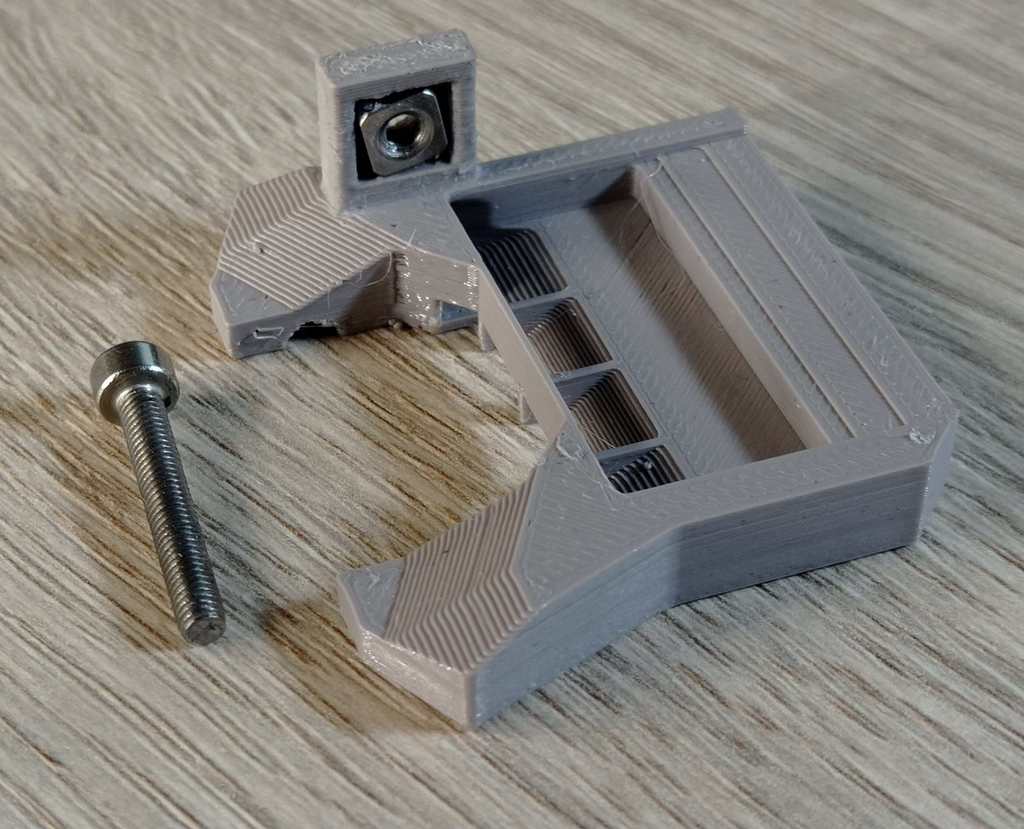
I have modified cooling from Prusa i3 to sort of fit on Prusa MINI Obviously its not awesome, but its better than the original one (or at least thats what i think :D ) i wanted it to be in the back so you can easily acces and see the nozzle, also its pretty easy to mount, its mounted directly on the original duct. It uses parts from the SPARE MINI pack thah comes with the printer (15mm or 20 mm long screw and 5,5 x 5,5mm square nut (i think you could even use normal nut)) Instructions: 1 Screw out the screw tightening the MINDA sensor 2 Sush out the nut that the screw was in 3 put the nut insie the side hole of the printed part, i recommend securing it in with grease, because it will probably fall out when you try to install it 4 carefully put the duct behind the heatblock like seen on pictures 5 carefully screw in the 1,5mm or 20mm screw and its DONE there will probably be a little bit of flexing, but i think this way of mounting is the most compact and the "wobble" doesnt really matter while slicing i also recommend printing the upper part where the nut goes in with 100% infill If you have any problems or ideas to make it better feel free to leave a comment
With this file you will be able to print Pusa MINI cooling fan duct with your 3D printer. Click on the button and save the file on your computer to work, edit or customize your design. You can also find more 3D designs for printers on Pusa MINI cooling fan duct.