Push Drill With One-Way Clutch (and a decent chuck)
prusaprinters
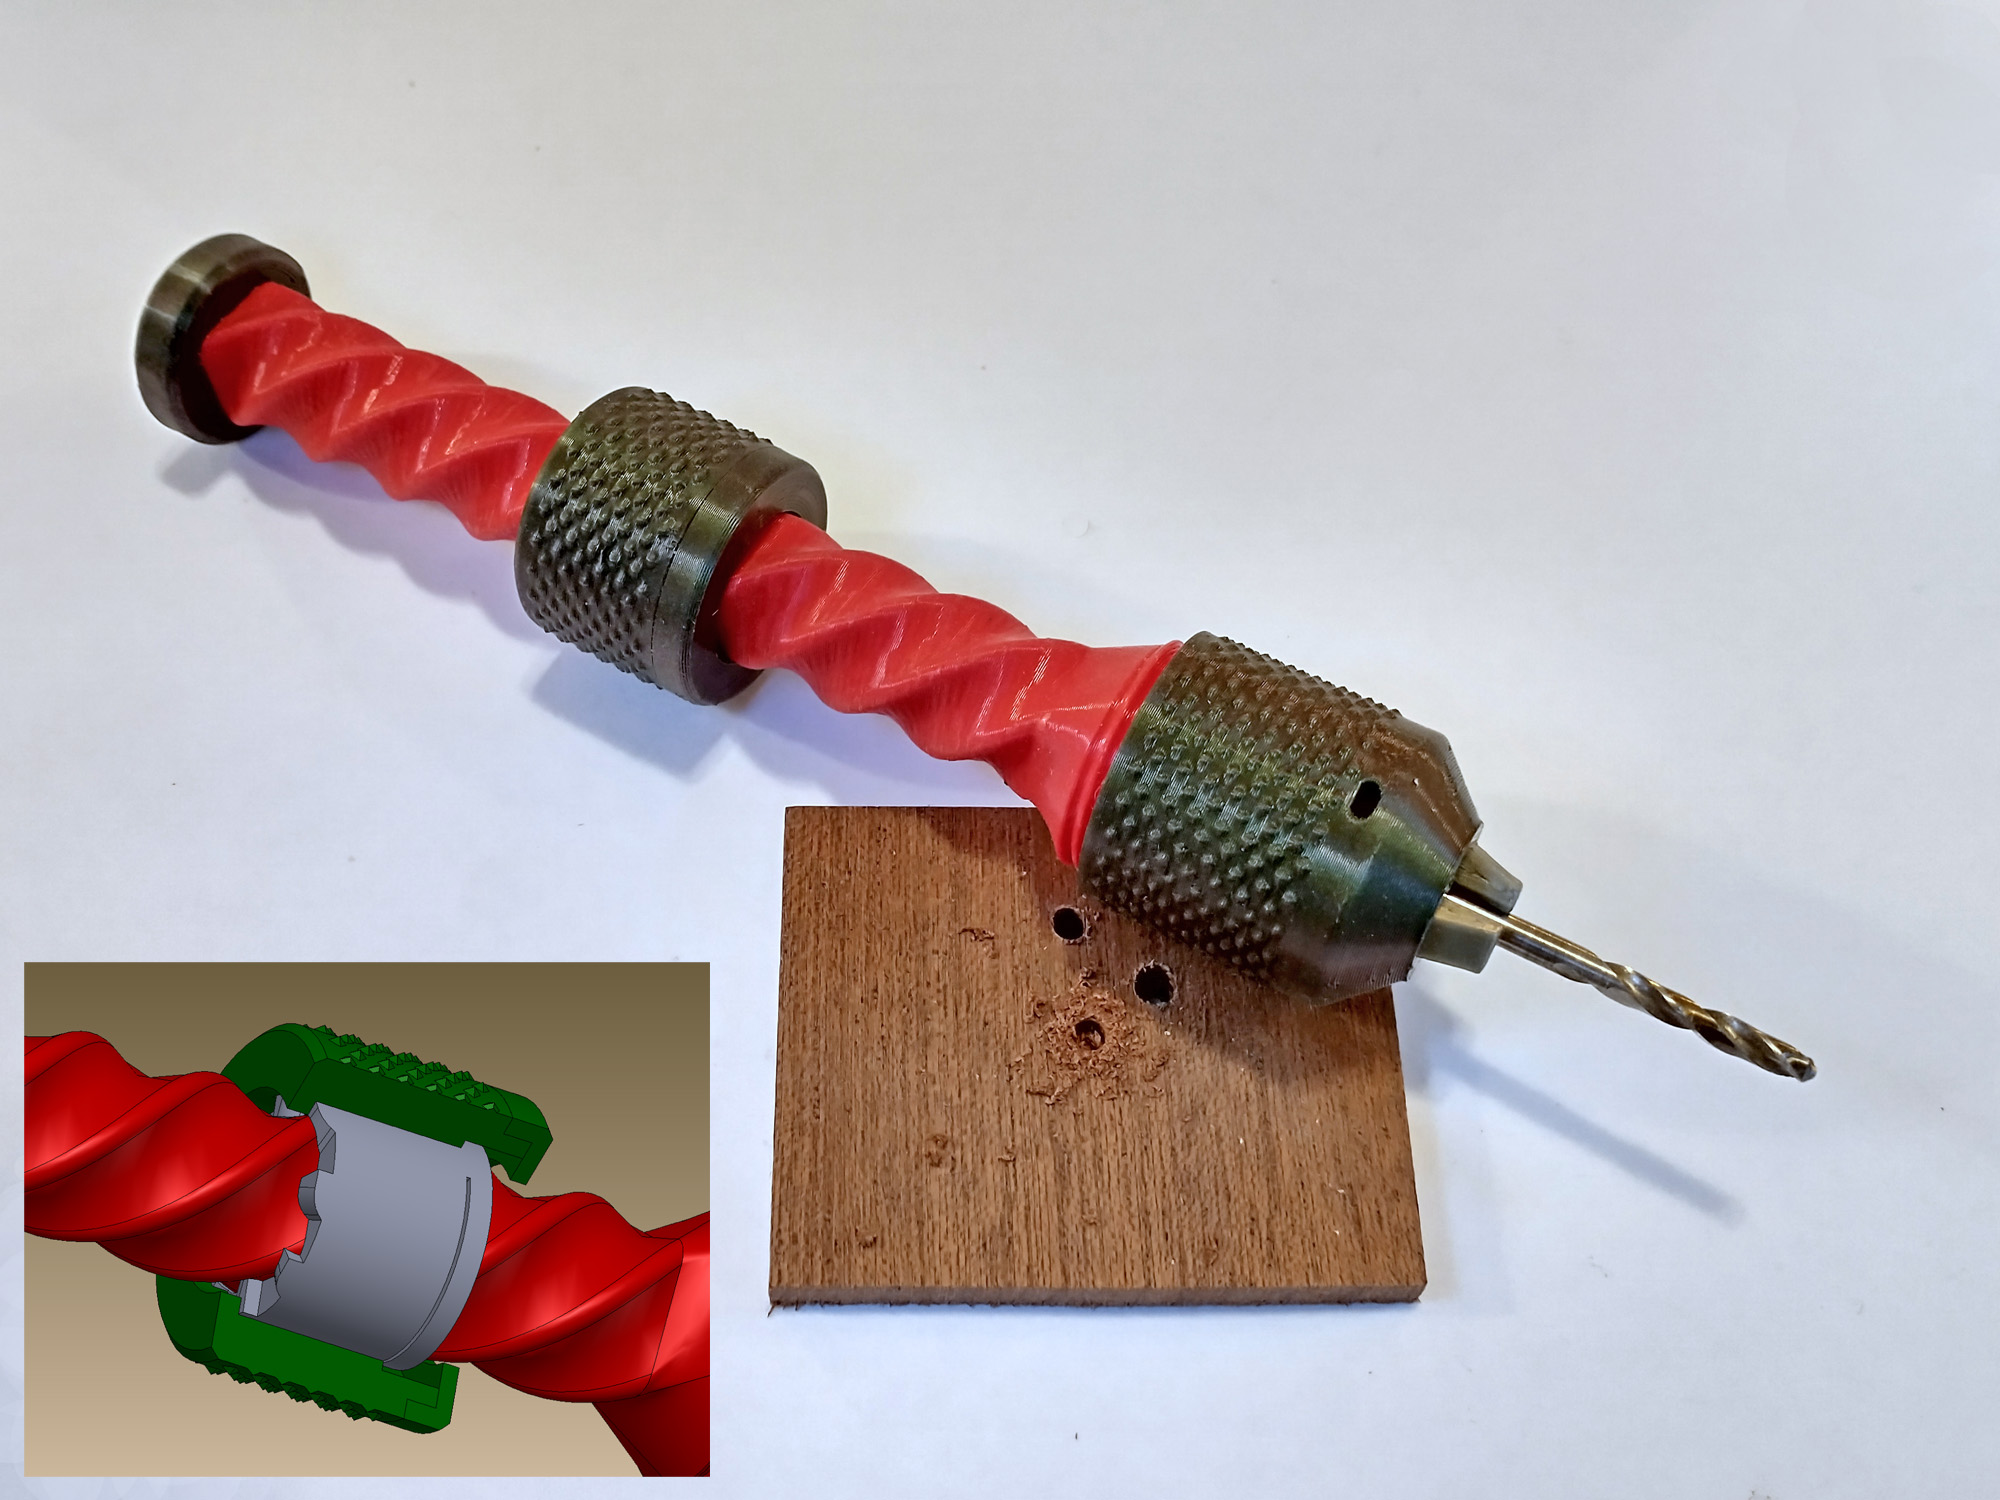
<figure class="image image-style-align-center image_resized" style="width:67.12%;"><img src="https://media.printables.com/media/prints/313191/rich_content/bb76f71b-89bd-4335-b636-c9fe4f7e0cf0/npd.gif#%7B%22uuid%22%3A%22f65e7363-4330-44fc-8607-a81cb6412fb8%22%2C%22w%22%3A484%2C%22h%22%3A179%7D"></figure><p>Most of the simple push drill models (<a href="https://www.printables.com/model/132326-push-drill-with-adjustable-chuck">mine included</a>) have the annoying feature that the drill bit reverses every time you pull the sliding nut back up to the top. This version solves that problem by encapsulating the sliding nut in a one-way clutch that drives the drill on the way down, but allows the nut to free-spin on the way back up. You can see this in the animation above, where the drill rotates as you push down, but is stationary while you pull the nut back up.</p><p>I've also added a much improved adjustable chuck (1/4" to 0.045") that has movable jaws rather than the cheese-ball flexing jaws of my previous version.</p><p><i>UPDATE: If you find you need a grippier chuck, check out </i><a href="https://www.printables.com/model/315412-push-drill-with-collet-chuck-and-one-way-clutch"><i>this version instead</i></a><i>.</i></p><p><strong>Printing</strong><br>I highly recommend printing this in PLA, as it is stiffer, stronger (yield strength) and wears better than most common filaments.</p><p>The shaft is the trickiest piece to print as it gets printed standing on-end. Use 0.2mm layer height and a nice wide brim for stability. It is also the only part that needs supports – but just under the little nub at the very top of the part. (If you set the support overhang threshold to 10%, this should pretty much do the trick.)</p><p>The chuck ring is printed nose-down, so your should also use a brim for stability. The clutch, cap, nub and 3 jaws print without brims or supports. </p><p>The sliding nut should be printed with 0.15mm layer height. This is so that the layer lines of the nut never completely line up with the 0.2mm layer lines of the shaft, allowing it to slide more smoothly. The nut also doesn't need a brim or supports.</p><p><strong>Assembly</strong><br>First, assemble the chuck as per the instructions for my <a href="https://www.printables.com/model/309930-ez-drill-chuck">EZ Chuck here</a>.</p><p>Next, start with the sliding nut. You can see from the model file that it has clutch teeth on one end and a gap and slit on the other end to form two little flexing arms. The arms have little bumps on the end and provide a small amount of friction to prevent the nut from dropping with gravity. After printing, the little arms are still partially fused to the body above, so take some small pliers and gently break the arms free. Be careful not to bend them out of shape. Test slide the nut on the shaft. There should be a small amount of friction, but otherwise is should slide pretty smoothly.</p><p>Drop the nut into the clutch housing, tooth-side first. Then simply press the cap on. The cap should fit snugly, but you can use a <i>tiny </i>drop of superglue if it is loose.</p><p>Thread the nut/clutch assembly onto the shaft, cap-end first. Finally, press the nub into end of the shaft and you are ready to drill.</p>
With this file you will be able to print Push Drill With One-Way Clutch (and a decent chuck) with your 3D printer. Click on the button and save the file on your computer to work, edit or customize your design. You can also find more 3D designs for printers on Push Drill With One-Way Clutch (and a decent chuck).