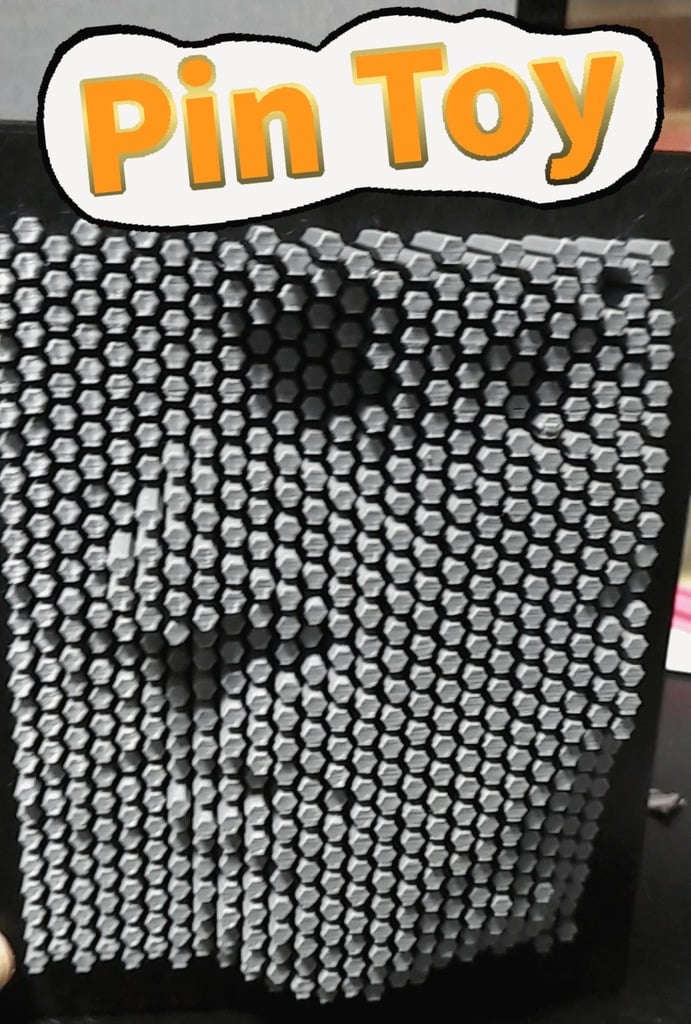
Push Pin Art Toy
thingiverse
Hello! Thank you for checking out this 3D Printed Push Pin Toy! #Basic Info This is a challenging print, and requires quite a bit of patience, PLA filament, and some test prints. But the result is a fun toy that you can display in your collection. It requires no supports or screws or any other hardware, just a 3D printer and lots of time! It consists of 3 basic parts: - Male bed - Female bed - Hexagon shaped push pins (several hundred) The male and female beds snap together by push-fit pegs, and then the hex pins can be inserted, either one-by-one (not recommended) or via the Insertion Rack method, which lets you insert multiple pins at once (highly recommended). #Design There are several important design features for this toy, and you must be careful to understand them. ###Hex Pin Design - The pins are hex shaped, instead of round (as in the popular store-bought toy). This makes them easier to print, and helps prevent them from rotating after they are inserted. - Each pin contains 3 bumps ("dimples") at the center of the pin. These dimples prevent the pin from sliding out of the assembled bed, after they are inserted. - You can insert the pins one by one into the bed, but because there are several hundred of them, it will take a lot of time. It is recommended that you use the Insertion Rack design, instead. The pins are connected to the Insertion Rack by a thin connector, which you can cut off easily. ###Male Bed Design - The male bed contains lots of hex shaped holes for the hex pins. - These holes are slightly larger than the hex pins, so the pins can slide easily. - The "bottom" edge of the hex holes is slightly larger than the "top" edge of the hex holes. This is because when the hex pins are printed, the first layer of any printed part is slightly wider, due to the printing process itself. Usually, this is not a problem for regular 3D printed objects, because you can easily debur the "fat" first layer. But because there are hundreds of pins, this is too much work. So the hex holes are slightly larger on the bottom edge, to accomodate the wider first layer of the hex pins. - The male holes are smaller than the hex pins dimples, so the pin will only slide out until its dimples collide with the male bed. - Never try to insert hex pins from the male side. They won't fit because of the dimples on the hex pins! - The male bed has a PROTRUDING "up" arrow on the inner surface. This is important for the assembly process, so please be careful. ###Female Bed Design - Also contains many hex shaped holes. - The female hex holes are slightly larger than the male hex holes, but still smaller than the dimples on the hex pins. - Because these holes are slightly larger, the hex pins can be pushed into the holes more easily. - Always insert hex pins through the female bed! - The female bed has a INDENTED/DEPRESSED "up" arrow on the inner surface. This is important for the assembly process, so please be careful. #Printing This is a very long print, because of the number of pins, and because the beds are very complex shapes. I think it took about 15 hours for me to print EACH bed, at the largest size. Then all of the push pins were probably another 50 hours of printing. I HIGHLY HIGHLY HIGHLY recommend you print the TEST version of the pin toy first. It will take a few hours, but if your 3D printer cannot print the test version, you know you cannot print the full version. I printed this on a Prusa MK3, at 0.2mm layer height, on a 0.4mm nozzle, 20% infil. ###Test Print Instructions - Print the male bed - Print the female bed - Print 3 to 4 hex pins. The dimples must face up, on the z-axis. - Refer to assembly guide, and assemble the bed. - If all of the pins fit without sliding out, you can probably print the full toy without any problems! Congrats! - If the pins are too loose and slide out, you may have to increase their size slightly. Either in your slicer, or with the included Fusion 360 file. - If the pins are too tight, and can't be inserted, you may have to decrease their size slightly, either in your slicer, or with the included Fusion 360 file. - Try printing the Test Insertion Rack, and assembling it. Remember, the dimples must face up on the z-axis! Unfortunately, you may not be able to scale the Insertion Rack in the slicer, because the distance between the hex holes will also scale. You can try though! ###Full Print Instructions - Did you print the test print? You really should, if you haven't yet. - Print the male bed (15 hours) - Print the female bed (15 hours) - Print one insertion rack for your bed size (1 hour). The dimples must face up on the z-axis. - Refer to the assembly guide, and assemble the male/female bed - Refer to the assembly guide, and insert the Insertion Rack - If everything fits, print the remaining Insertion Racks (50+ hours). - Warning: The pins use a LOT of filament! Make sure you have enough of the same color! Expect to print 600 grams of filament or more! #Assembly ###Assembling Male/Female bed - Find the "up" arrow on the inner surface of the Male and Female beds. - Align the arrows, so they are both facing the same direction - Snap-fit the male and female beds together. - If you are assembling the two largest beds, I recommend putting some glue into the snap-fit pegs, because they CAN come loose during insertion of the hex pins WHICH IS A DISASTER, because ALL your pins can fall out, and you may have to start over. It's not required however, if you are careful during insertion of the hex pins ###Inserting Single Hex Pins - Assemble the male/female bed first - Important: confirm that the inner-surface "up" arrows are facing the same direction! If they are not, you won't be able to insert the pins. - Align the three dimples of the hex pins to face in the "up" direction of the arrows on the beds. If you don't do this, you won't be able to insert the pin! - (In other words, the first printed layer of the pin, should face in the "down" direction (opposite direction) of the arrows on the beds.) - Insert the pin into the FEMALE bed. The female bed has an INDENTED/DEPRESSED arrow on its inner surface! Do not insert the hex pin into the male bed (protruding arrow on its inner surface). Insert the pin into the female bed until the dimples touch the OUTER surface of the female bed. - Check to see if the hex pin has entered the correct hole on the other side, on the MALE bed. In other words, make sure the pin is inserted straight, and is not misaligned to the male bed's hole. - Now gently but forcefully, push the hex pin through the FEMALE bed, until the dimples on the hex pin have passed through the female bed completely - Now check to see that the dimples on the hex pin are fully in-between the male and female beds. Do you see the dimples? Are they facing in the "up" direction of the arrows (on the inner surfaces of the male/female beds)? - Now check to see that the hex pin does NOT fall out of the male bed. - Now check to see that the hex pin does NOT easily fall out of the FEMALE bed. - The hex pin should now slide freely, and the dimples should always be in-between the male and female beds. (Sometimes they are just a little stiff. Just slide the hex pin back and forth rapidly, and it should loosen up). - If the hex pin falls out and is too loose, you may have to scale up the size of the hex pin slightly in your slicer, or with the included Fusion 360 files - If you cannot insert the pin after applying force, ensure that: the "up" arrows on the inner surface of the male and female beds are pointing in the same direction. Ensure that: the dimples on the hex pin are facing in the "up" direction. Ensure that: you are inserting the pin from the FEMALE bed first (bed with indented/depressed arrow, NOT protruding arrow). If all of those points are okay, then you may have to scale down the hex pins slightly, to make them fit. ###Inserting hex pins with the Insertion Rack - Assemble the male/female bed first - Important: confirm that the inner-surface "up" arrows are facing the same direction! If they are not, you won't be able to insert the pins. - Align the three dimples of the hex pins to face in the "up" direction of the arrows on the beds. If you don't do this, you won't be able to insert the pin! - (In other words, the first printed layer of the pins, should face in the "down" direction (opposite direction) of the arrows on the beds.) - Insert the Insertion Rack into the FEMALE bed. The female bed has an INDENTED/DEPRESSED arrow on its inner surface! Do not try to insert the Insertion Rack from the male bed (it has a protruding arrow on its inner surface). Insert the Insertion Rack into the female bed until the dimples touch the OUTER surface of the female bed. - Check to see that ALL of hex pins have entered the correct holes on the other side, on the MALE bed. In other words, check to make sure that the hex pins are not misaligned with the holes on the male bed. - Now gently but forcefully, push on the Guide Bar of the Insertion Rack, and push the hex pins through the FEMALE bed, until the dimples on the hex pins have passed through the female bed completely. I recommend pushing the left/right edges of the Insertion Rack first, then pushing in the center ones next. The Guide Bar will bend/flex slightly, thats okay! - Now check to see that the dimples on the hex pins are fully in-between the male and female beds. Do you see the dimples? Are they facing in the "up" direction of the arrows on the inner surfaces of the male/female beds? - Now check to see that the Insertion Rack does NOT easily come out of the FEMALE bed. Give them a small pull. - Now with some flush cutters, scissors or a sharp knife, cut the small connector between the hex pins and the Insertion Rack Guide Bar - The hex pins should now slide freely, and the dimples should always be in-between the male and female beds. - If the hex pins fall out or are too loose, you may have to scale up the size of the Insertion Rack in your slicer, or in the included Fusion 360 files. If you use a slicer to scale the Insertion Rack, the spacing between the hex pins may become mis-aligned, so be careful. - If you cannot insert the Insertion Rack after applying force, ensure that: the "up" arrows on the inner surface of the male and female beds are pointing in the same direction. Ensure that: the dimples on the hex pin are facing in the "up" direction. Ensure that: you are inserting the Insertion Rack from the FEMALE bed first (the bed with the indented/depressed arrow, NOT the protruding arrow). If all of those points are okay, then you may have to scale down the hex pins slightly, to make them fit. - Lastly, be careful when you are inserting the Insertion Rack, that the Male and Female beds DO NOT DETATCH. If they detatch, all of the hex pins may fall out, and you will be very sad and cry and possibly punch something. #Final Tips Some hex pins, or even hex holes, will naturally be too small or too large. This is unavoidable, due to printer tolerances. In these cases, I suggest printing single pins for these stubborn/loose holes. Be careful when you push the Insertion rack into the beds. It is possible to break mesh of holes on the beds, and you will have to start your prints ALL OVER. That will be a very sad day, indeed. The Fusion 360 file is included. It's a complicated mess, but you can edit some of the Parameters there, such as bed size, or hex pin length, and it should correctly auto-calculate the number and position of holes, and even generate the correct Insertion Rack. I plan to include some more instructions in the future.
With this file you will be able to print Push Pin Art Toy with your 3D printer. Click on the button and save the file on your computer to work, edit or customize your design. You can also find more 3D designs for printers on Push Pin Art Toy.