Qidi Bed Leveling Nuts
thingiverse
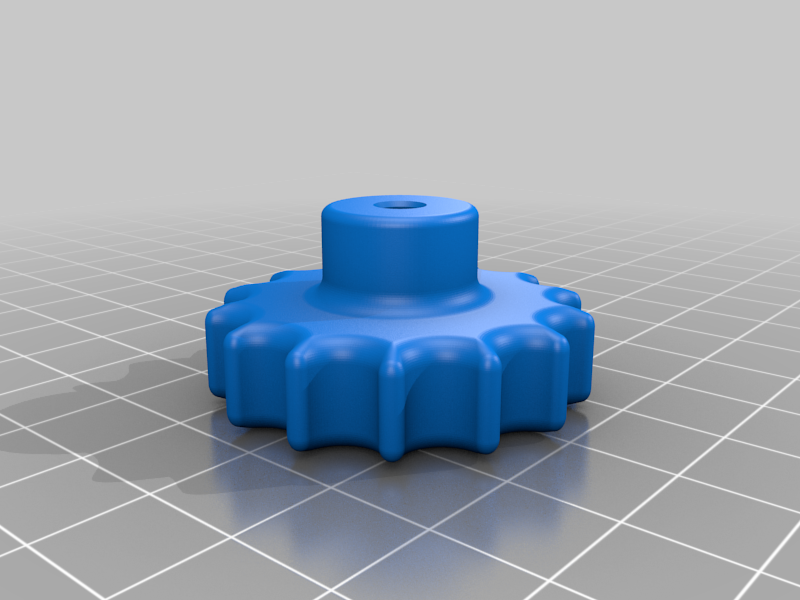
I printed Zogzogzog's Leveling Nuts and they worked great, although I felt they were missing one element that could make them work even better. The M4-.7mm locknuts that you need to press into these handles, equates to .7mm per revolution. The original design had 8 clicks (parts of the knob that stick out to grab onto) on the knob. The equated to approx. 87 microns per click. in Metric, we like to use more rounded numbers (50 microns, 100 microns, 150, 200, etc...) so in this REMIX design, each click is exactly 50 microns (.05mm). When a corner or your bed is a little off, all you need to do is add or subtract 1 click (1/2 of a typical layer height...if you are printing in 100 microns). Just eye something in the printer and turn it until the knob has made one click of a turn. As far as bed leveling goes... here is what I do. I did not replace the bed leveling springs, as I feel the springs are more than adaquite for the job at hand. My issue with the springs is they were way to far up and loose. The first thing I did was replaced the original leveling wing nut and knob with these printed units, including a 4mm x .7mm lock nut. Secondly, I tightened them most of the way down, bringing the bed as close to the metal chrome plate as possible.... Third, Clean the bottom of your nozzle tip of all plastic. A good pair of hobby side cutters will do the trick nicely. You don't want old plastic to skew the leveling. Next, leaving the springs mostly compressed and the print bed way too low, I did the quick level setting (The one on the left) and when the bed came all the way up, I slowly clicked the +.005mm button until the metal chrome plated frame plate is about 4mm to 5mm (3/16" to 7/32") from the support bar at the top of each side. if you want, you could use a drill bit as a gauge... your call. If you notice, the chrome metal bottom plate has two indentions on each side, measure from the highest point. Don't go any closer than this, as the threaded rod nuts (Acme Thread nut) will hit the top support bar. Once the chrome plate height is set, slowly loosened the three leveling nuts EVENLY until the bed as close the the nozzle in the center of the bed and the leveling paper BARELY touches the nozzle... if at all. Try and keep the bed as level as you can... we will fine tune it on the next step. Then hit confirm, and go to the next step... manually level the bed (The setting on the right). As the printer takes you around to the three locations, adjust each leveling nut so you can just barely feel the paper between the nozzle and the removable build plate. including the final one in the center. But do this last procedure (manual leveling) two times. as each time you are fine tuning the overall setup. In the software, set your first layer height to .12 or .13 (your choice) if you are printing in .1mm (100 micron layer heights) Thats it ... it works for me... happy printing!
With this file you will be able to print Qidi Bed Leveling Nuts with your 3D printer. Click on the button and save the file on your computer to work, edit or customize your design. You can also find more 3D designs for printers on Qidi Bed Leveling Nuts.