Qidi X-Max Raspberry Pi Camera rev2.2 mount
prusaprinters
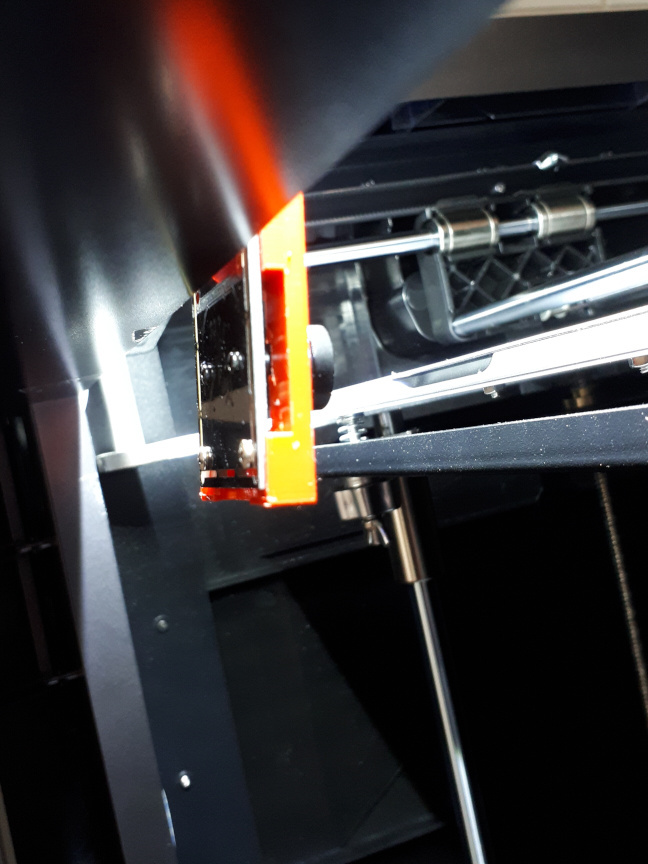
<p>This mount is a design based on the principles shown in the <a href="https://www.thingiverse.com/thing:4558596">Qidi X-Plus X-Max Octoprint Raspberry Pi Camera Bracket</a> by <a href="https://www.thingiverse.com/cwills75">cwills7</a>.</p><p>The design allows the mounting of the Raspberry Pi Camera (C) Rev 2.2 on the top of the door frame of the Qidi X-Max. It allows to choose between 4 different orientations of the camera. The preferred orientation is with the flex cable to the top. This required a software rotation by 180 degree to avoid upside down images in OctoPi.</p><p>There are two versions of this design. The original one has the camera lense at the same height as the printing bed when the first layer is printed. The second version moved up the lense up by roughly 3mm. This allows to see more of the first layers when the print started is also an extreme tight fit. It might require additional post-processing to correctly mount the camera module.</p><p>Additional materials required:</p><ul><li>raspberry pi with 15-pin MIPI camera interface (CSI)</li><li>1m flex cable for 15-pin MIPI camera interface (CSI)</li><li>2x short M2 screws for mounting the camera</li><li>1x long (>= 8mm) M2.5 screw for securing it to the inside of the door frame</li><li>(optional) foam tape as soft (stabilizing) layer between the door frame and the mounting block</li><li>(optional) tape to secure the flex cable inside the 3d printer</li></ul><p><br>There is <a href="https://www.thingiverse.com/thing:4825218">another design</a> from <a href="https://www.thingiverse.com/ioio72">ioio72</a> which might be useful for other 3d printer brands.</p><p> </p><h3>Installation in Qidi X-Max</h3><p> </p><ol><li>(optional) attach one or two foam tape stripes at the case mounting block (in the area which will be looking downwards)</li><li>Put flex cable through the top hole (assuming the camera should be installed with flex cable connector at the top)</li><li>connect camera to flex cable</li><li>use M2 screws to secure the camera to the mount</li><li>put case mounting block over the rod in the center, above the door frame (make sure that the camera is below the housing frame but the PCB is hold tight between door frame and mount)</li><li>use M2.5 screw to secure the mount to the case</li><li>(optional) use some tape to secure the flex cable above the door frame</li><li>run down the flex cable to the right/left of the door frame</li><li>connect the raspberry pi to the other end of the flex cable</li></ol>
With this file you will be able to print Qidi X-Max Raspberry Pi Camera rev2.2 mount with your 3D printer. Click on the button and save the file on your computer to work, edit or customize your design. You can also find more 3D designs for printers on Qidi X-Max Raspberry Pi Camera rev2.2 mount.