Qidi X-Plus (built and verified) - X-Max potential
thingiverse
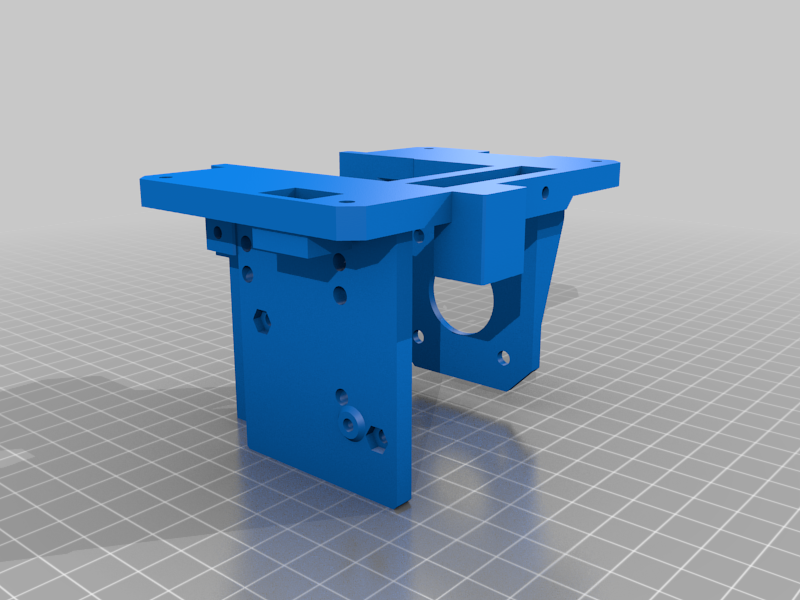
All credit to cwills75. Remix of: https://www.thingiverse.com/thing:4441076 presented a thumb screw to replace the wing nut on the front-left corner of the BIBO bed. It is too wide for the other two positions. I have created a smaller version to fit the right-front corner and the back-center. (8) M3-.50 nuts is required. I used the SLA version for the carriage so that I did not have to use heat set threads, opting for M3 nuts as this design allows for. I also raised the extruder by 7.41mm to retain almost all of the Z build volume, and minimized the thickness of the extruder mount to be able to use the supplied hardware with the BMG kit. I did have to lower my X and Y max distances to (X=269.6, Y=194) from the stock (X=270, Y=200). Hardware used: - Stock extruder stepper (from high temp extruder assembly) - Stock hotend breakout board (from high temp extruder assembly) - 5015 blower fan (part cooling) (https://www.amazon.com/gp/product/B079BPS9Q8/ref=ppx_yo_dt_b_asin_title_o01_s04?ie=UTF8&psc=1) - 3010 cooling fan (hotend) (https://www.amazon.com/gp/product/B07WFL6944/ref=ppx_yo_dt_b_asin_title_o09_s02?ie=UTF8&psc=1) - CR1 hotend assembly (https://store.3dpassion.com/collections/store/products/cr1-hotend-preorder) - 3D passion Starforged V6/M6 RepRap Nozzle - 0.4mm (https://www.amazon.com/gp/product/B08CGBLVW9/ref=ppx_yo_dt_b_asin_title_o06_s01?ie=UTF8&psc=1) - Nova groove mount adapter - longer (https://store.3dpassion.com/collections/store/products/copy-of-nova-groove-mount-adaptor-2?variant=29535946637410) - 50W 24V heater (https://www.amazon.com/gp/product/B07MP7XLTC/ref=ppx_yo_dt_b_asin_title_o09_s02?ie=UTF8&psc=1) - 3mm thread K-type thermocouple (https://www.amazon.com/gp/product/B07BW81V82/ref=ppx_yo_dt_b_asin_title_o00_s02?ie=UTF8&psc=1) - BMG type extruder, 3:1 reduction - Left hand (https://www.amazon.com/gp/product/B08PYCMPVF/ref=ppx_yo_dt_b_asin_title_o00_s03?ie=UTF8&psc=1) - Misc. M3 BHCS lengths (16mm, 12mm, 8mm) To make all of the parameter changes, I had to gain access through Octoprint. For my setup, I used an RPi 4 and a USB to TTL converter (https://www.amazon.com/gp/product/B00LODGRV8/ref=ppx_yo_dt_b_search_asin_title?ie=UTF8&psc=1), make sure to connect Rx from the motherboard to Tx on the USB chip, Tx on the motherboard to Rx on the USB chip, and Ground (GND) on the motherboard to Ground (GND) on the chip. DO NOT CONNECT the 3.3/5V lines, it is not necessary for communications. For Octoprint, you will need the Plugin - Fix CBD Firmware Plugin. This will allow Octoprint to communicate properly to the Qidi motherboard. If you do not receive the PID measurements back in the Terminal window, you may need to enable "Force fancy functionality" and "Force terminal output during printing" under the Advance Options in Terminal. -- Overall Parameter changes: -- // Stepper changes M8002 I0; // Reverse X motor direction M8005 I1; // Reverse stepper motor direction // BMG E-Steps M8011 S0.0020; // (on the money! 3:1 BMG Extruder) // New PID values // tested code in Octoprint M303 E0 S220 C10; // returned: bias:105 d:105 Ku: 37.659279 Tu:21.200001 // returned: Kp: 22.595568 Ki:2.131657 Kd:59.878258 // Send updated PID M301 P22.595568 I2.131657 D59.878258; // New X, Y, Z - Max Distances M8024 I269.5; // X Max Distance M8025 I194; // Y Max Distance M8026 I201.150000; // Z Max Distance // Save Changes M8500;
With this file you will be able to print Qidi X-Plus (built and verified) - X-Max potential with your 3D printer. Click on the button and save the file on your computer to work, edit or customize your design. You can also find more 3D designs for printers on Qidi X-Plus (built and verified) - X-Max potential.