Qidi X-Plus X-Max Octoprint Raspberry Pi Camera Bracket
thingiverse
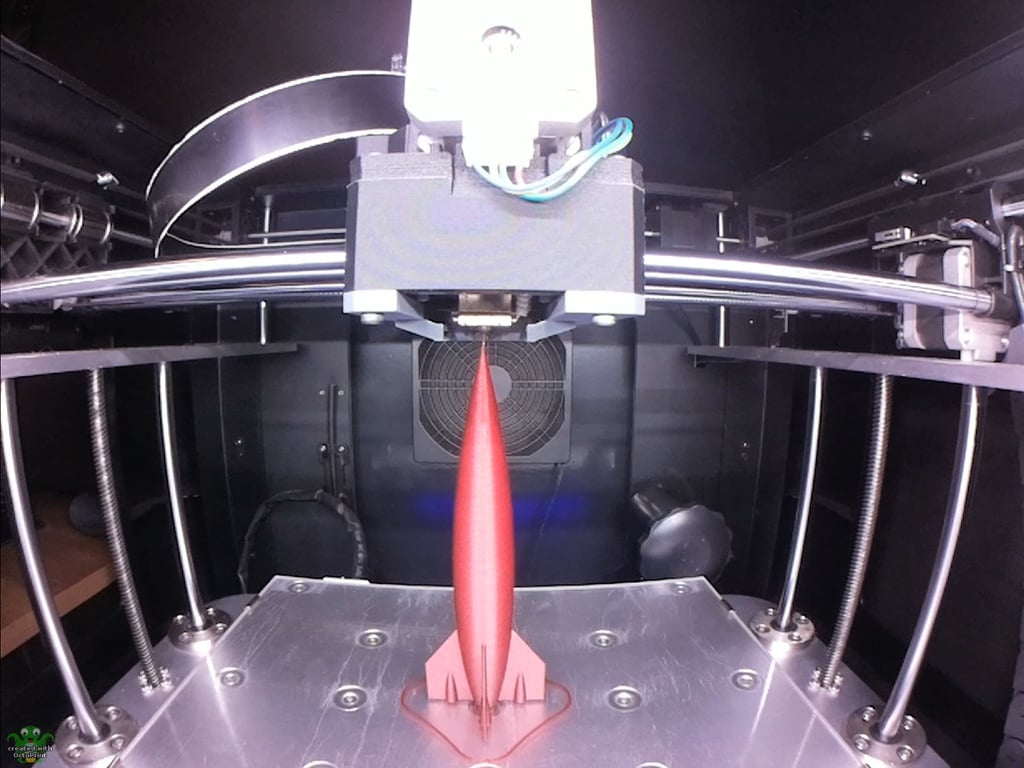
Here's a video link showing it in operation: https://youtu.be/FNEvUUR3P8s This is a simple pi-cam mount for the Qidi X-Plus printer for use with Octoprint. I wanted something that would let me see the nozzle and bed while printing remotely to check for errors. Couldn't find anywhere else good to mount it and still see the nozzle, so went with this. It also works with the front door on. Bob Martin in the Qidi 3D FB group owns an X-Max and says it fits his also, otherwise, there is another pi-cam mount you may want to check out here if you think this one is in the way too much: https://www.thingiverse.com/thing:4347548 I'm using the Raspberry Pi Camera Module V2 and Arducam 8MP V2 175 degree replacement lens. You'll want to unscrew the lens from the Arducam mount before assembly since the lens diameter is bigger than the hole in the bracket. Here is a list of materials needed: Print 1 each of pi-cam_mount_body and 1 pi-cam_mount_cover Raspberry Pi Camera Module V2: https://www.amazon.com/LABISTS-Raspberry-Camera-Official-8-megapixel/dp/B07W6THFPH/ Arducam 8MP Wide Angle Drop-in Module: https://www.amazon.com/gp/product/B07V322VCX/ 1M Raspberry Pi flex cable: https://www.amazon.com/gp/product/B07J57LQQS/ Not needed for this project, but it certainly helps is some upgraded LED lighting in the front of the printer. I bought this light strip kit, disassembled the LED strip from the metal bracket, cut them each to length, and then mounted in the printer as shown in the pictures. I ran all of the cables (and the raspberry pi flex cable) down the sides of the printer in the cable channel and into the bottom so all of the cables are hidden. This LED kit comes with 4 strips, but only two are needed, so you'll have two extra. I'm sure there are lots of other LED strips that would work also, this is just what I used. https://www.amazon.com/gp/product/B00XJKOCBG/ I apologize but have no idea what size screws you need for assembly and the one screw to mount to the printer. I had all of these on-hand and they weren't labeled in my tool drawers. Maybe if somebody builds this they can comment on the proper size/length screws needed. The cover fits on pretty tight and if you need to take it off after assembly you might break it and have to print another one depending on your filament's flex. Here are my pi-cam settings if you are interested: camera_raspi_options="-x 1640 -y 1232 -fps 15 -quality 95 -rot 270 -awb sun - ISO 100 -ex fixedfps -ev 0 -drc high" Carriage mod shown in the pictures/video is here: https://www.thingiverse.com/thing:3994628
With this file you will be able to print Qidi X-Plus X-Max Octoprint Raspberry Pi Camera Bracket with your 3D printer. Click on the button and save the file on your computer to work, edit or customize your design. You can also find more 3D designs for printers on Qidi X-Plus X-Max Octoprint Raspberry Pi Camera Bracket.