QR Code Generator for Customizer
thingiverse
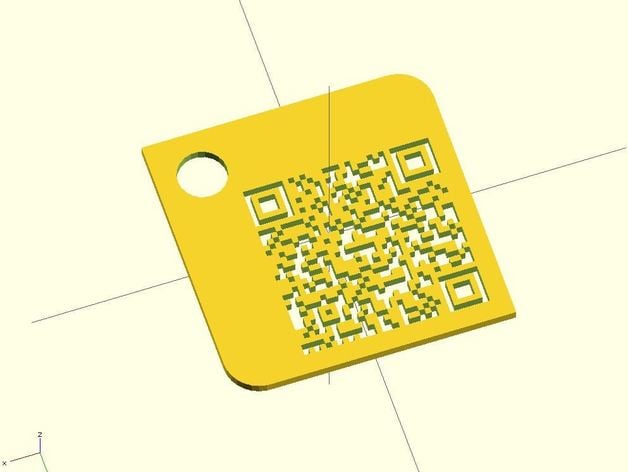
Generate a QR code with the desired data using http://www.free-qr-code.net/. Ensure that the pixel size is set to 1. Save the generated QR code image as "qrcode.png". Use the QR Code Data Generator provided to extract the necessary data and save it into the OpenSCAD customizer. Customize your object according to the given instructions, ensuring proper sizing and placement of the QR code geometry. Once satisfied with your design, save the STL file for 3D printing.
Download Model from thingiverse
With this file you will be able to print QR Code Generator for Customizer with your 3D printer. Click on the button and save the file on your computer to work, edit or customize your design. You can also find more 3D designs for printers on QR Code Generator for Customizer.