Quadhands Soldering Fan Power Base
thingiverse
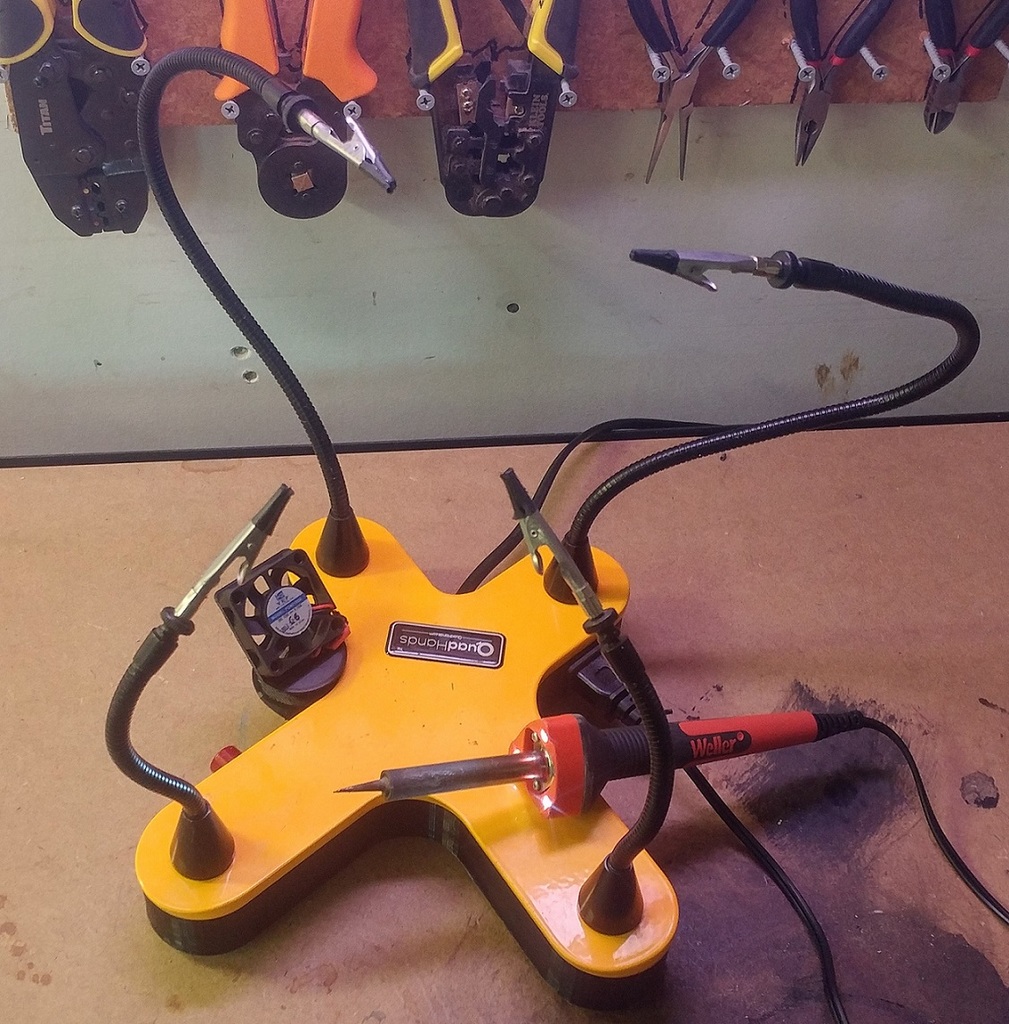
This is a powered base for a Quadhands classic helping hands that provides an 2-pole outlet for a soldering iron as well as a fan with a push button switch to disperse soldering fumes. I used a NEMA 1-15R outlet due to its small size. Having it be a part of the base serves to de-clutter my power strip, as well as to decouple the iron from the strip so that I no longer have to worry about inadvertently unplugging whatever is adjacent. The 40mm fan is because I enjoy my lungs without soldering fumes :) I made it rotate in order to best direct the air wherever I may be soldering. I used an ABEC 7 skateboard bearing to provide smooth rotation and the hookup wire I used for the fan provides positional stability. The wiring runs axially through the bearing and mount for the fan, which the fan simply snaps on to. Cutouts in the fan mount and a fillet on the base provide clearance for the bearing to run without rubbing. An opening at the top of the mount provides a means to remove the bearing at a future time without destroying the part. The original bolts were slightly too short to make it all the way through the base and original top but I had some like-threaded bolts that were just long enough lying around. They just press in to the feet and then through the base where the "hands" just screw on to them. I double-sided taped the old bolts into the unused "legs" of the base to provide some weight for feel and to keep them around if I ever want to re-assemble it as it originally was. Because the footprint of this print is so large, warping is going to be your enemy. It took some serious playing with the settings to get it to come out right. I'm using a Creality glass bed that's flipped upside down so the smooth side is facing up. A 5mm brim, 205 nozzle temp, and a 58 bed temp along with the settings found at the following link for the supports seemed to do the trick: https://www.reddit.com/r/ender3/comments/e01p7c/some_tips_for_printing_supports_that_are_easily/ Also because of the large footprint, you'll need to ensure your bed clamps aren't going to cause a collision. Check out the pics, if you're still using binder clips like me you'll have to all-but slide the forward clip off and remove the silver handle part. Then re-level your bed because you probably just messed it up moving the clamp around. What? Why are you looking at me like that? I didn't collide my print head with the clamps, I don't have anything to prove. As far as the electronics go, I just took apart an old wall-wart I had lying around that put out 12V and enough current to run the fan. I wrapped it up in electrical tape and double-sided taped it into one of the "legs" of the base. The depth of this thing (25mm + 2.5mm wall thickness) was based on the power supply, so if you had a smaller supply you could make the base much less deep with the outlet being the next limiting factor. I also had an old 2-prong power cord lying around with an odd oval-ish shape (I think it was from a weller p51d?) so the cutout is shaped to match that. If you've got a normally shaped cord you could just drill it out to fit yours.The push button for the fan was from an old automotive project; the hole is 11.8mm in diameter. Finally the wiring for the fan runs through two holes, one in the wall and one in the little post the bearing sits on. I ran a four inch bit of hookup wires through those holes first and left about an inch above the post. Then I soldered the wires to the fan and switch using the quadhands attached to the half-way finished base! Like the power cord hole, if your wires are a little wider than mine you could easily just drill these out a bit.
With this file you will be able to print Quadhands Soldering Fan Power Base with your 3D printer. Click on the button and save the file on your computer to work, edit or customize your design. You can also find more 3D designs for printers on Quadhands Soldering Fan Power Base.