Quanum Cyclops FPV monitor conversion
thingiverse
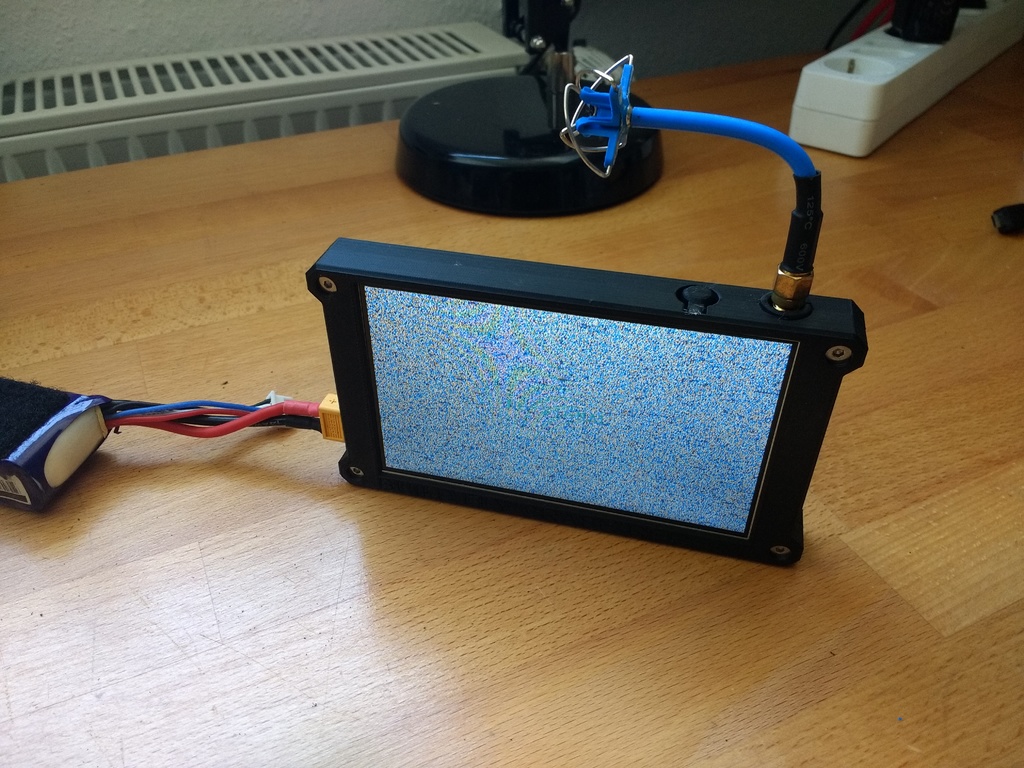
If you have an old Quanum Cyclops V1 collecting dust, consider giving it a new lease on life as a sleek FPV monitor for spectators. You'll need: - A Quanum Cyclops V1 - An XT60 Connector (optional) - 4x M3x12 or M3x15 screws - Double-sided tape (1mm) To transform your old monitor into a new one, follow these steps: - Open up the Quanum Cyclops and carefully remove its electronics. - Print out the top and bottom parts of the new design. - Remove the round power connector from the old setup and solder an XT60 male plug to the cable (if you're feeling handy). - Alternatively, print a RoundPlugAdapter to lead the original cable out through the XT60 hole without needing any soldering. - Place all the electronics in the bottom part of the new design and organize the cables with care. - Apply stripes of double-sided tape to the RX and button PCBs. - Carefully place the LCD screen on top of the components. - Put the top part (frame) onto the screen and secure it with 4 screws. - You're done! Connect an FPV antenna and a 2-3S LiPo battery, and you're ready to go! Edit: I've added a second back-part design featuring the Betaflight logo. This version is identical to the original but offers an extra touch of style. Make sure to flip it over before printing, so no supports are needed.
With this file you will be able to print Quanum Cyclops FPV monitor conversion with your 3D printer. Click on the button and save the file on your computer to work, edit or customize your design. You can also find more 3D designs for printers on Quanum Cyclops FPV monitor conversion.