Queen Marking press-in-cage
thingiverse
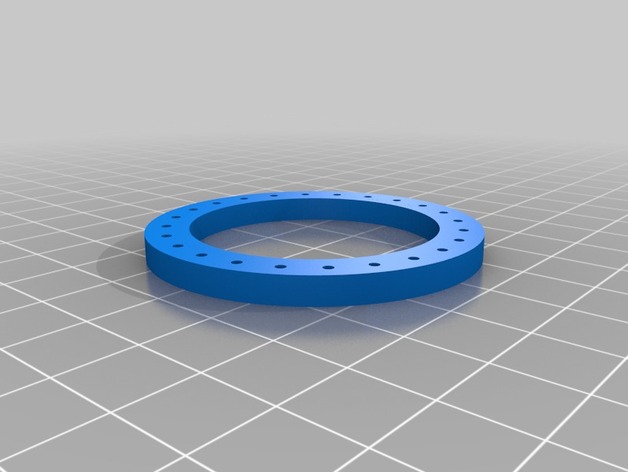
Ok you may be into 3D printing and you may also keep Bees, trust me it can happen. This is a standard press in cage for queen marking if you get stuck just: 1) Download and print the thing. 2) Get some Gimp pins (if your a beekeeper you know what they are) and press them into the holes. The holes are bigger diameter than a gimp pin but they print about right if you know what I mean. 3)Steal some sewing thread from the wife and string the thing doing horizontal then vertical rows with a wrap around the pin at the end of each row and a jump to the next row. If you have a problem ask the wife...top tip.... put the thread back first. 4)Glue the thread with a blob of the old super glue. And there you have it a press in cage made from stuff you have quicker than ordering or going to the shop. Print Settings Printer Brand: RepRap Printer: Prusa Rafts: No Supports: No Resolution: .5mm nozzel .2mm layer Infill: 40%
With this file you will be able to print Queen Marking press-in-cage with your 3D printer. Click on the button and save the file on your computer to work, edit or customize your design. You can also find more 3D designs for printers on Queen Marking press-in-cage.