Quefrency Rev 3 "Flipper" Case
prusaprinters
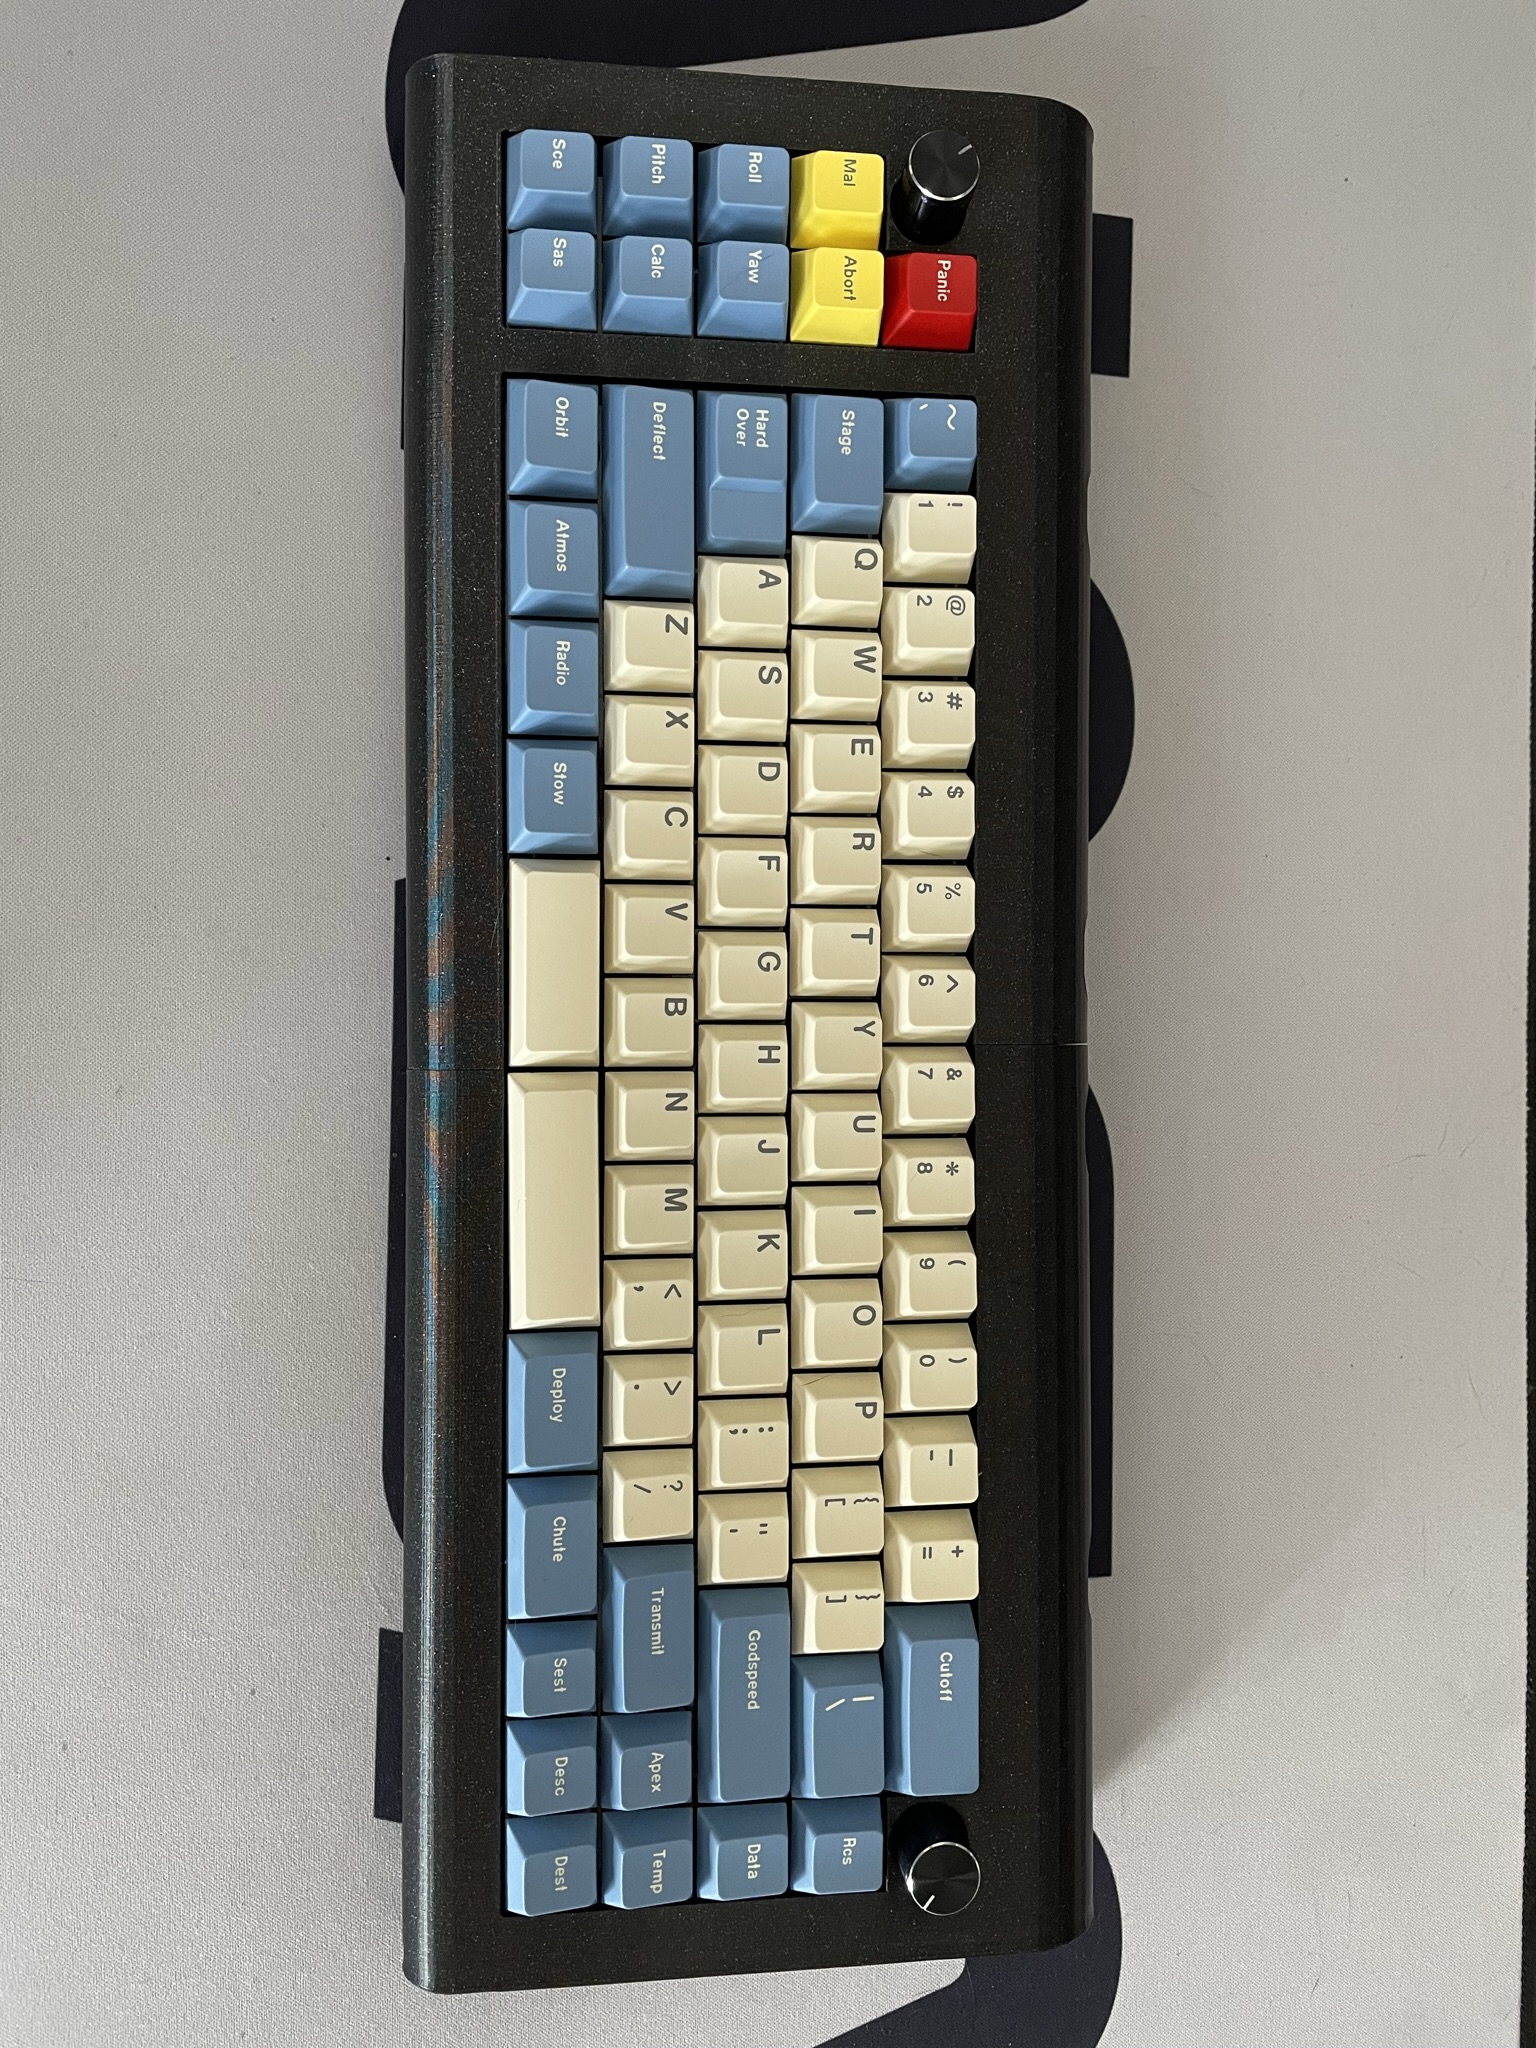
<p>Inspired by <a href="https://zapcables.com/bumper-60-keyboard-case-r2-smoky-copper/">Zap Cables Bumper</a> case, I present the Flipper case for the Quefrency! ZapCables are cool with the design as long as it’s not being sold, so please only use this for personal use!</p><p>Using the PCB and FR4 plate kit from <a href="https://keeb.io/products/quefrency-60-65-split-staggered-keyboard-1">Keebio's Quefrency Rev 3</a>, this design works with the <a href="https://github.com/keebio/quefrency-case">enclosed case files they include here</a>. You will need to print out the middle layer and bottom wedge from these files. This design replaces the top case cover and slides onto the existing enclosed middle and bottom wedge. See below for which stls</p><p>EDIT: I made a complimentary <a href="https://www.prusaprinters.org/prints/154602-soyuz-numpad-flipper-case">numpad </a>to go with this design</p><p><strong>What You Need</strong></p><ul><li>Rev 3 PCB, whole (don't snap off the macro side or the right side)</li><li>The plate kit, including the standoffs</li><li>16 M2 x 16mm screws</li><li>65% right middle and bottom wedge stls from their Github above</li><li>Left Macro middle and wedge stls </li><li>2 rotary encoders</li></ul><p><strong>Printing</strong></p><p>I printed in Prusa Galaxy black PETG and printed each piece at 0.2 layer height. I positioned the parts with the edge sides down, so that the finish comes out smooth. I would recommend supports for the encoder holes, the macro section, and the side insert. I have include gcode files as well.</p><p>You can optionally print out the flipper side inserts as an accent. The fit is very snug and should stay in place without any glue, although I recommend scaling the accents down a smidge as it can be a little <i>too </i>tight depending on your printer.</p><p><strong>Assembly</strong></p><ol><li>Place the bottom FR4 plate on the wedge piece</li><li>Place the middle piece on top of the bottom FR4 plate</li><li>Insert the standoffs into the holes of the middle bit. </li><li>Screw in the M2 screws from the bottom through the standoffs until they barely poke through</li><li>Place the switch plate and PCB onto the the middle portion</li><li>Ensure the screws are flush with the plate for now, you don't want them sticking out</li><li>Place the top piece over the PCB plate</li><li>Finish screwing the screws into the top case</li></ol>
With this file you will be able to print Quefrency Rev 3 "Flipper" Case with your 3D printer. Click on the button and save the file on your computer to work, edit or customize your design. You can also find more 3D designs for printers on Quefrency Rev 3 "Flipper" Case.