Quick and dirty Ball bearing upgrade
thingiverse
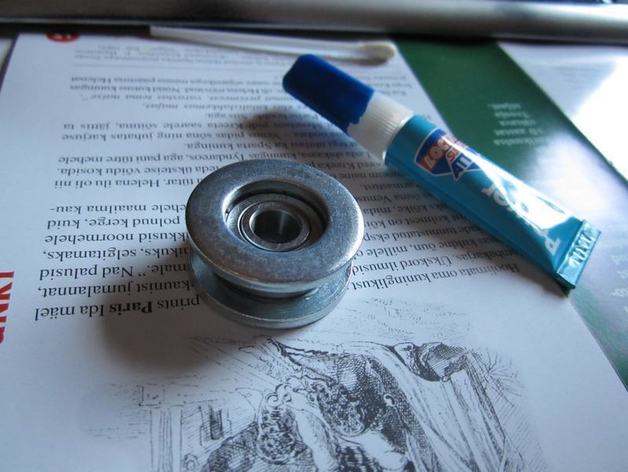
Even dirtier version of ball bearing upgrade. Instead of fender washer, I used regular M16 washer and instead of epoxy, I used just superglue gel. Instructions Use superglue to glue the washers to the bearing. I used gel version, because it allows slight adjustment to better center the washer with the bearing. It took less than 5 minutes to complete the thing. It is heavy, but not too bad. It has been working on my reprap for several years without any issue. One thing I noticed: if you put M8 washer so it is inside the M16 opening, depending on manufacturing tolerances and centering of M8/16 washers on the rod/bearing, it may have sometimes chance of catching. I had this happen once. If that happens, just try different washer, file/sand it smaller, or center it before tightening the nut. Using nut directly against the bearing seems to work very well though. On the last assembly, I used few passes with round file to make the M16 a bit bigger inside just in case.
With this file you will be able to print Quick and dirty Ball bearing upgrade with your 3D printer. Click on the button and save the file on your computer to work, edit or customize your design. You can also find more 3D designs for printers on Quick and dirty Ball bearing upgrade.