Quick and Simple Picture Frame
prusaprinters
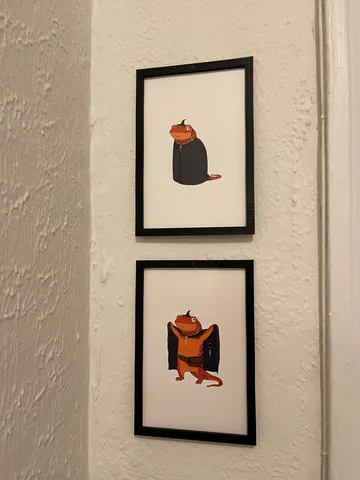
For hanging individual photos - works vertically and horizontally. Covers a 0.1" band around the edge of the picture.Tape the photo on the back of the frame. I used painters tape.Use two picture nails to hang. Depending on the filament color, you can color in the head of the nail to hide it. Spray paint will work too.Print solid for no design. Follow instructions below for print settings to use infill pattern as a design. (See pictures) Print Stats30-40 minutes depending on design10-33g (3-6m of material)Printed in Print Settings No Design:0.3mm Layer Height9 WallsWith Design:0.3mm Layer Height<9 Walls (minimum 3 for structure)20%-100% Infill Density (less for gyroid and other 3D patterns)0 Top Layers2-4 Bottom LayersInfill Pattern = designNotes:2 bottomWithout a design, ironing doubles the time (1 hour) Model Dimensions (optimized for 0.4mm nozzle and 0.3mm layer height)Picture Frame:Outer Diameter: 4.35in x 6.35inInner Diameter: 3.8in x 5.8in (sits 0.1" onto the picture)Width: 7mmPicture Nail Size:Shaft Diameter: 2mmDepth: 3mm (10 layers - through hole)Head Diameter: 0.4mmHead Depth: 1.2mm (4 layers) Pending UpdatesA larger hole above the nail to plug so the color matches exactly Print ProfileER-20 with 0.4mm nozzle (no upgrades, but regularly maintained and dialed in)IIIDMAX PLA+ in blackCura 5.0.0SOLIDWORKS (dm me for .prt files)
With this file you will be able to print Quick and Simple Picture Frame with your 3D printer. Click on the button and save the file on your computer to work, edit or customize your design. You can also find more 3D designs for printers on Quick and Simple Picture Frame.