Quick-disassembly for buda hot end/extruder/x-carriage
thingiverse
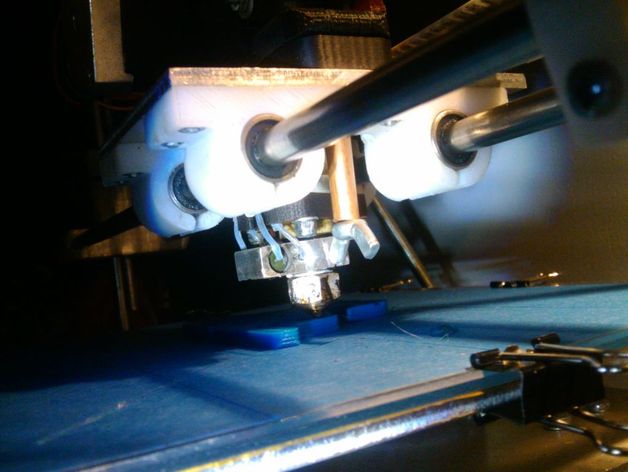
Allows quick disassembly of buda hot ends and their attached extruders. Instructions Works best with extruders which have sunken-in hex head depressions. I upgraded my old Prusa extruder to a newer model (Greg's accessible extruder) and at the same time upgraded to an Airwolf hot end. I had a lot of tweaking to do so in order to make it easier, I made this little quick-disconnect assembly. I took 2 of the 4 old M4 bolts from the extruder idler (since the new one needs only 2) and used them to hold the extruder to the hot end and x-carriage. I used 2 of the M4 wingnuts from the same old extruder idler assembly, and I cut a small-diameter piece of copper pipe (the kind you use for air conditioner coils) to length in order to bring the wingnuts down where I can actually get to them. It works great, now I can tear apart the entire x-carriage assembly in mere seconds without any tools in order to free up jams or clean out the hot end. This works well on my Longboat Prusa but it should work just as well on any other machine. The STL here is for a spacer which works nicely to fill the space at the bottom of the new extruders.
With this file you will be able to print Quick-disassembly for buda hot end/extruder/x-carriage with your 3D printer. Click on the button and save the file on your computer to work, edit or customize your design. You can also find more 3D designs for printers on Quick-disassembly for buda hot end/extruder/x-carriage.