Quick Exhaust Valve for Air Launcher
thingiverse
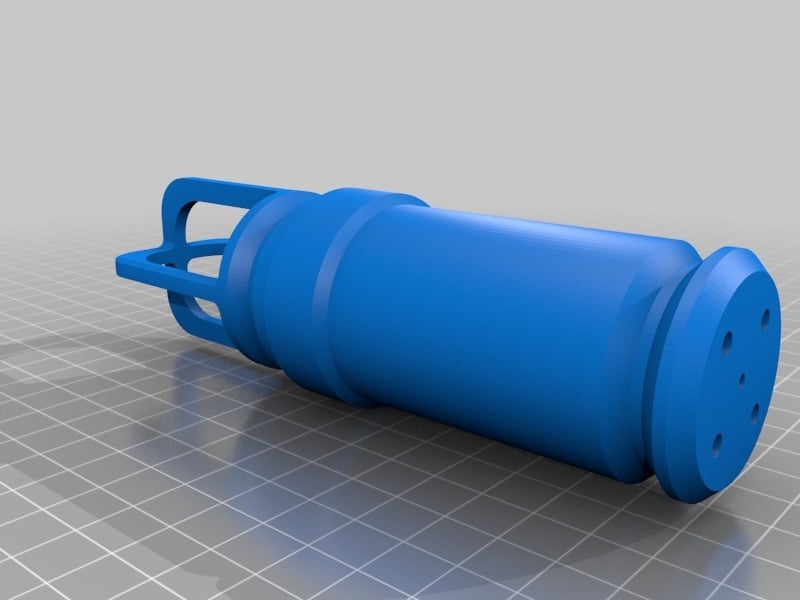
I wanted to make a QEV (quick exhaust valve) air cannon as seen on the internet, but constructing the key component--the sliding piston--was not easy for me to fabricate from raw materials. Many QEV air cannons use a valve design where the piston has a face seal to the barrel, but I found this design a bit leaky. This design is built on a PVC Tee junction and the center port is the output instead of the reservoir. An example on how to make one can be found here: https://makezine.com/projects/boom-stick-air-cannon/ his video: https://youtu.be/seDjQidoCUk DISCLAIMER: These air cannons are not toys. When operating at even low pressures they can shoot a projectile at damaging speeds. They can also explode if not fabricated correctly. I take no responsibility for injury or damages caused through the making or use of this thing. The piston is sized to work with 1-1/4 inch schedule 40 PVC pipe. Be aware that not all PVC pipe is manufactured to the same tolerances, especially on the inside diameter. This piston slides on the inside of the PVC pipe and may need to be scaled slightly so that it and the o-rings seat properly. The piston should slide easily by hand inside the final assembly when the o-rings are lubricated with a very thin film of silicone grease. In my diagrams I use screw-on PVC fittings for development purposes and the unit can be disassembled and reassembled easily. Some of the PVC parts (bushings) had to be modified so that the inner 1-1/4 pipe could pass through. Theory of operation. The piston is the key component in the air cannon because it allows the compressed air in the reservoir to be released very quickly into the output port--much faster than can be achieved by a person turning a valve. In the sectional drawing, the left port is the reservoir, the center top port is the output and the right port is the switched filling port. Here is a video of the assembly: https://youtu.be/_z327hESdH4 Before the start of the cycle the piston is in an arbitrary position and all ports are at zero pressure (relative to atmosphere). This is when the projectile is loaded into the output port. The cycle starts when air pressure is applied to the filling port. This pressurizes the chamber on the right side of the piston which forces the piston all the way to the left seating the piston o-rings into the reservoir port. A small air passage through the piston allows the reservoir to be filled with air from the fill port until the reservoir and fill port are at the equal pressure. You will hear the flow of air slow and stop when this condition is met. The piston stays to the left position due to the friction in the o-rings. The launch cycle starts when you quickly release the pressure on the fill port, this is why I called the fill port "switched". There are multiple ways to achieve this action, and I prefer to use a 5 way 2 position pneumatic valve because it can switch very quickly from fill to exhaust. When the pressure in the fill chamber suddenly collapses, the piston is forced to the right by the pressure in the reservoir. You can see that as the piston moves to the right it opens a very large diameter passage between the reservoir and the output port. This is where the sudden burst of exhaust air is generated. An extra o-ring is placed between the piston and the rim of the PVC pipe on the fill port to cushion the collision of the piston and the fill port. The effect of this simple operation is quite effective and I was surprised at the power of the device. Even though the PVC is rated to 60 psi, I have not had the need to use more than 30 psi. I mean, do you really need to shoot a golf ball more than 300 yards?? I don't remember what size o-rings were used. Print the piston so that it just fits inside the 1-1/4 PVC tube, and then try o-rings of different sizes until they make a decent seal. It doesn't need to be tight. I also sealed up 3 of the pass-through ports on the piston to minimize losses when launching. You can experiment to see what works best.
With this file you will be able to print Quick Exhaust Valve for Air Launcher with your 3D printer. Click on the button and save the file on your computer to work, edit or customize your design. You can also find more 3D designs for printers on Quick Exhaust Valve for Air Launcher.