Quick Tension Knobs for Deltaprintr
thingiverse
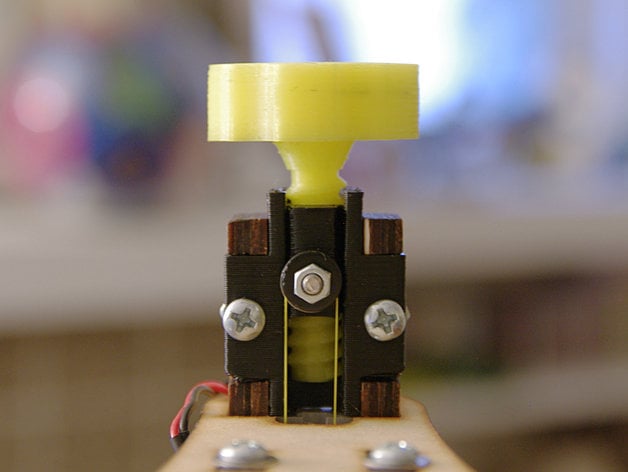
What is this? This easy toolless spectra line tensioning system replaces plywood pulley mounts at the top of each Deltaprintr tower, requiring only a few minutes to home the carriages, pluck lines, and give each knob a quick twist so they're nice and tight. No tools, no strength required, no worrying about lines loosening. I've used this design for years and am thrilled with its performance. You can chat over at the Deltaprintr forum if you want more details. Why I needed it? The original plywood slot had flaws: Adjustment requires tools. Adjusting is awkward; two hands to loosen the pulley and a third hand to pry up on the machine while tightening again. Friction keeps the pully from sliding loose, relying on this for support. Parametric, source included: OpenSCAD source lets you modify the design as needed. The Pulley carrier gets stuck? Increase Carrier_tolerance. A bigger knob? Change Knob_dia or Knob_height. Different hardware? Tweak Mount_screw_dia. More adjustment space? Increase Worm_length. Using tools is a plus, check out kietcallies's remix using M5 hardware. Origin Story Colin posted his lasercut design for a tensioner with a hex cap screw on the Deltaprintr forums and Costfu adapted it into a 3D-printable. I wanted to make something better-looking without tools needed. Worm gear systems inspired me to create this, the knobs are inspired by Koni's sport shocks for cars.
With this file you will be able to print Quick Tension Knobs for Deltaprintr with your 3D printer. Click on the button and save the file on your computer to work, edit or customize your design. You can also find more 3D designs for printers on Quick Tension Knobs for Deltaprintr.