Quick Tool Change System for Thor Robot
thingiverse
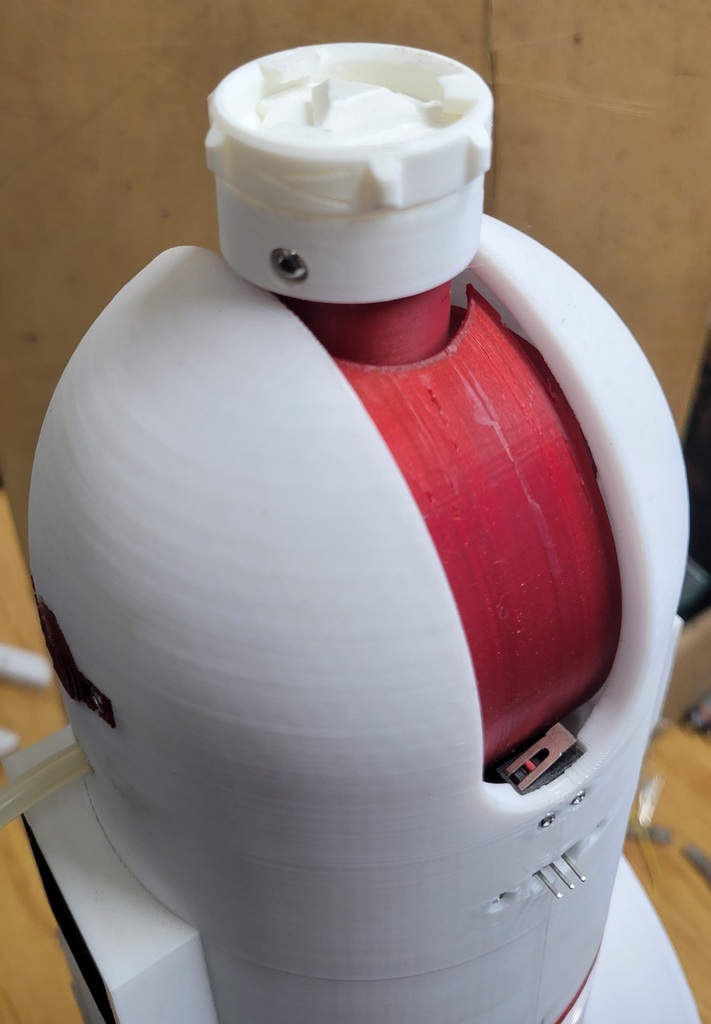
This design allows swapping end effectors very quickly and efficiently. Just a simple twist of the collar and your tool is detached. Swap tools and twist the collar back closed. It's that easy! End effectors made for Thor don't need to be modified to use this design. It interfaces with them directly! Note: I used PLA Plus material for this print with good results. It is very strong and seems to have lower friction than the PETG I originally tried it with. Print RobotSide.stl and clean support material. There is a very thin layer of support between the collar and the side that interfaces with the robot. Be sure to remove all of it. I used an exacto blade. Just be careful! Twist the collar to break it loose if it's still stuck. Squeezing the collar up against the base part also helps sometimes. The collar should be able to rotate freely from stop to stop. Lubricate the parts that rub against each other with a little grease. I used soldering paste and it worked surprisingly well. Print ToolSide.stl and clean support material. The three small ramps on the part will have tiny steps due to the print layers, so these need to be smoothed out with a file or sandpaper. Test the fit and the locking/unlocking action by mating the parts and rotating the collar between the open and closed positions. (Arrows on the collar point towards the open position) If the collar can't reach the closed position because it is too tight, sand the whole bottom surface of the ToolSide part a bit. Easiest way to do this is to place sandpaper flat on a table and place the part on top, then sand back and forth a few strokes. Keep testing the fit and sanding down until you're happy with the amount of force it takes to fully lock the pieces together. A bit of grease on the ramps really helps the action feel smooth and makes it lock with a satisfying little click. If the closed position is too loose, you can edit the FreeCAD file to fix this. Open the spreadsheet in the FreeCAD design and increase the number in the cell labeled "RampsInterference" by a small amount. I'd recommend 0.2mm increments. Export to STL and reprint only the ToolSide part. Attach the RobotSide part to the robot where the end effector would usually go. Attach ToolSide part to the tool. Print extra ToolSide parts for all your end effectors. Now you have a quick and easy way to swap between them! Thor website: http://thor.angel-lm.com/
With this file you will be able to print Quick Tool Change System for Thor Robot with your 3D printer. Click on the button and save the file on your computer to work, edit or customize your design. You can also find more 3D designs for printers on Quick Tool Change System for Thor Robot.