R/C Drop Mechanism (using 9g servo)
thingiverse
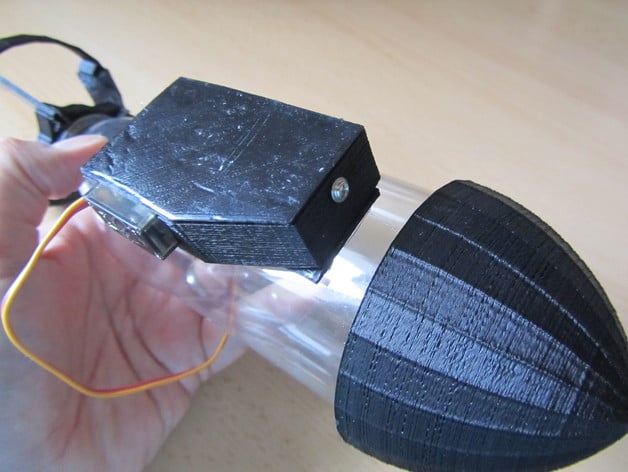
Apologies for the rough print - this was just a test run of the final changes to get it working perfectly. Print all the parts and you'll also need a standard 9g servo and an old clickable pen. To build it, follow these steps: 1) Print all parts and test fit slide into case. You may need to file a little off the sides to make sure it moves freely. 2) Sand the ends of the hooks until they are a firm push fit into the slide. The opening should face towards the rear. 3) Sand the 4mm block until it's a tight fit into the bottom of the case. 4) Push the plate across the bottom of the case and then adjust the spacing of the hooks so they don't pinch and release the plate when slid forward. 5) Once happy with the fit, use glue to secure the rear post into the case and the hooks into the slide. 6) Remove any excess from the hooks on the back part of the slide. 7) Fit the spring over the guide in the slide and test that it's strong enough to keep the hooks engaged in flight. 8) Fit the servo and attach a short arm. It should only be 3mm over the edge of the servo. 9) Test with radio and set endpoints for a switch so that one position the servo is just not touching the slide and the other position the slide is all the way forward but the servo isn't buzzing. 10) Check that the plate falls from the case. 11) Fit the plate to whatever you want to drop! (See the RC Bomb from a soda bottle.) 12) Use the screws from the servo to secure the lid in place. I drilled a small pilot hole. Or you could simply glue the lid in place. Enjoy your new creation!
With this file you will be able to print R/C Drop Mechanism (using 9g servo) with your 3D printer. Click on the button and save the file on your computer to work, edit or customize your design. You can also find more 3D designs for printers on R/C Drop Mechanism (using 9g servo).