Racer X FPV TWIG XL Prints
thingiverse
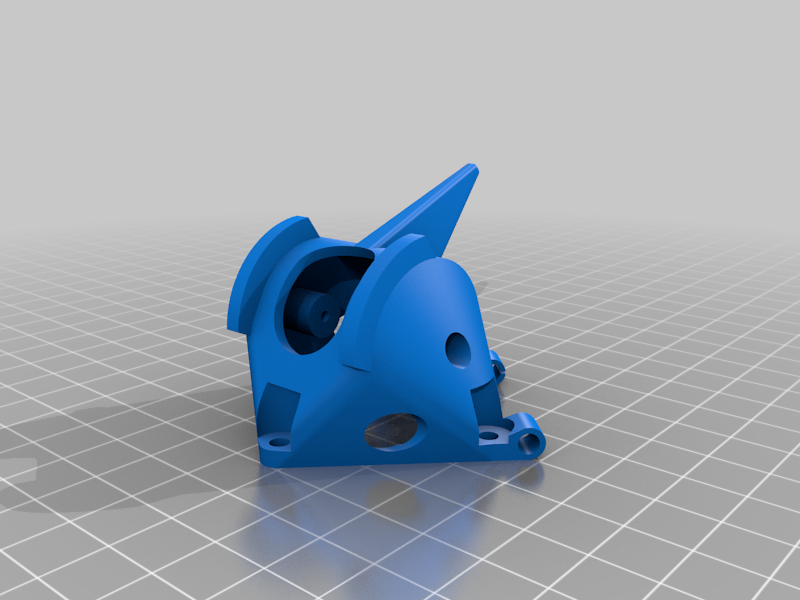
<h1>File Summary</h1> <h3>00-m3-floating-fc-mount.stl</h3> You will need to print four of these. The M3 screws will hole them in place. It's a little challenging to line all of the mounting pins with the flight controller holes. You will need the next file (the shelf) in order to secure the FC, so don't worry about lining anything up just yet. <h3>01-m3-floating-fc-mount-3mm-component-shelf.stl</h3> <h3>01-m3-floating-fc-mount-3mm-component-shelf-with-rx-antenna-mount-30deg.stl</h3> Two files - one will be for mounting standard RX antennas while the other has a Minimortal T mount. These files serve as a shelf for the RX and VTX, along with the top of the screwless flight controller mount. <b>Print the shelf upside down (flat part down) so it's easier to print.</b> Place your flight controller on the bottom screwless flight controller mounts, and press the shelf down until the holes and screwless mounts are all aligned. The next step will be to add the canopy, so don't screw anything down just yet. <h3>02-twig-canopy_runcam-micro-sparrow-v2-pro-18_25-55_xf-minimortalt.stl</h3> <h3>02-twig-canopy_runcam-racer-23-18_25-55_xf-minimortal-t.stl</h3> <h3>02-twig-canopy_runcam-racer-23-18_25-55.stl</h3> Three files - one for a RunCam Micro Sparrow V2 Pro with an 1.8mm M12 lens and a minimortal T mount, another for a Runcam Racer 2/3 with an 1.8mm M8 lens and a minimortal T mount, and another for a Runcam Racer 2/3 (no minimortal T mount because the RX antenna mount is integrated on the shelf (file 01-m3-floating-fc-mount-3mm-component-shelf-with-rx-antenna-mount-30deg.stl).
With this file you will be able to print Racer X FPV TWIG XL Prints with your 3D printer. Click on the button and save the file on your computer to work, edit or customize your design. You can also find more 3D designs for printers on Racer X FPV TWIG XL Prints.
