Radio Flyer Grow Kart Mods
thingiverse
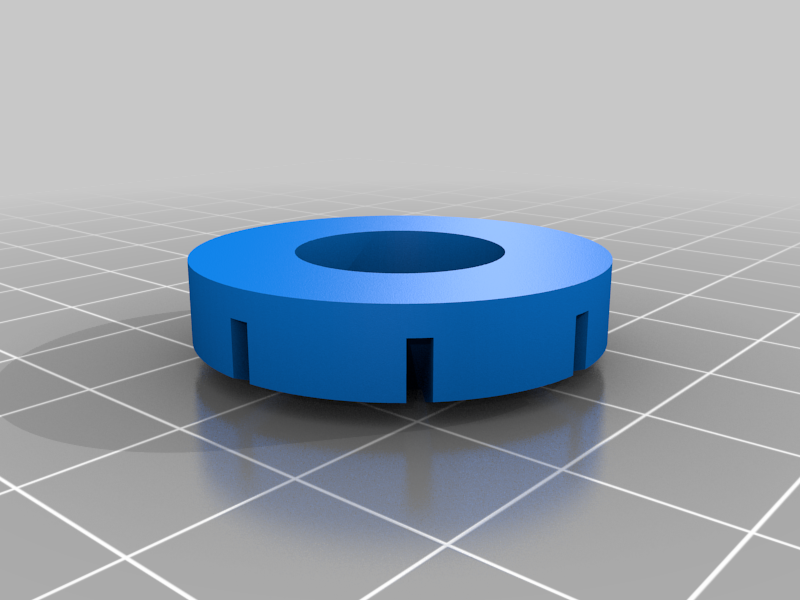
Our little kid loved his Radio Flyer 6 volt Grow Kart Ride-On we got from Target. The ride is pretty hard on most surfaces, so I printed some TPU tires that slip over the hard plastic wheels that come with the Radio Flyer kart. Tire Settings: Filament type is TPU 95A (any brand) .4mm nozzle No supports Infill 15% Wall count 3 Fuzzy skin enabled Fuzzy skin on outside only enabled At the same time, I created real bearing holders for both the front and rear wheels that replace the plastic bushings that come in the kit. I also created a bearing holder that can be inserted into the gearbox motor assemblies I purchased (Amazon link and model below). There are also two small templates that I made for the outlined MODS below so that I could cut the new circular power button easily and the new rectangular hole for the speed switch right above it. The rectangular template can also be used for the new fwd/rev knob. Bearing holder and template Settings: Filament PLA (any brand is fine) these aren’t exposed to UV, so it is fine .4mm nozzle No supports Infill 100% Bearings used are from Amazon and they are generic size 6700ZZ RC car bearings. Two bearings go into each bearing holder. There are two bearing holders per wheel= 4 bearings for each wheel. Probably overkill, you could probably get away with just one bearing in each holder. I purchased these from Amazon. Hobbypark 10pcs RC Ball Bearing 10x15x4mm Metal Shielded Sealed Deep Groove 6700ZZ for Car Buggy Monster Truck Fit Redcat HSP Traxxas etc https://www.amazon.com/gp/product/B019CPVD7M/ref=ppx_yo_dt_b_search_asin_title?ie=UTF8&psc=1 EXTRA mods in photos: While I was in an upgrading mood, I decided to upgrade the kart to utilize my Ridgid power tool batteries to run at 18 volts and added a motor to make it a dual motor car. The original rear wheels both have the hub attachment, so getting the dual motors set up is fairly easy. You will need to cut out a place on the other side of the car under the seat for the additional motor to come through (see photos). Also, the drive shaft has to have half of the welded square piece that prevents it from spinning in the plastic chassis grinded off for the additional gearbox to fit on (see photos). It has enough power now to go through grass and up any hill with our 5 year old behind the wheel. Our 2 year old shares (sometimes…), but we ended up getting the Radio Flyer Ultimate Go Kart for our 5 year old so they had their own. I printed tires for that as well and will post soon. I tried to name each photo I uploaded for the different steps. I added LED lights around it (eagleye LEDs, these can connect via the spare connectors on the Weelye controller harness (outlined below). New 24 volt Controller: I went with the 24 volt so that I could use my power tool batteries, but there are 12 volt kits also. You may be able to re-use the Radio Flyer switches that come on the car, but I actually replaced them all with the switches that came in the Weelye kit. The 24 volt controller works at the lower Ridgid 18 volt batteries output. Weelye 24V Children Electric Car DIY Modified Wires and Switch kit from Amazon https://www.amazon.com/gp/product/B08PL2NRZL/ref=ppx_yo_dt_b_search_asin_title?ie=UTF8&psc=1 New Gearbox/ 24vdc motors: There are different speed models of motor gearboxes that you can buy. I decided to go with the 30000RPM models and it is a good speed for our 2 year old. Weelye 24V 30000RPM Gearbox with High Torque 24V DC Motors from Amazon https://www.amazon.com/gp/product/B085LN41TJ/ref=ppx_yo_dt_b_search_asin_title?ie=UTF8&psc=1 Batteries: Ridgid 18v power tool batteries, but you can print adapters for any of your brand powertools that are 18v or 20v. I printed two of the base plates from this Thingiverse model to hold my Ridgid batteries: I used ASA to withstand UV rays from sun. https://www.thingiverse.com/thing:4362124 These easily were screwed to the back of the Radio Flyer. I actually printed a plate for the back of the battery holders just to give it a bit more strength (you could probably just permanently epoxy them on). Voltage Booster (added later without photos): After a while, I actually ended up getting a booster DC-DC converter for my 18 volt Ridged batteries so that I can adjust the voltage to be at exactly 24 volts. This just runs directly into the wires from the batteries to the controller. It comes in a two pack on Amazon. AITRIP 2PCS Adjustable Step-Up Power Supply Module,250W DC-DC Module 10-40V to 10-50V 6A Adjustable Step-Up Power Supply Module 250W DC Booster Constant Voltage Constant Current Power Converter Module https://www.amazon.com/gp/product/B09C3GHY9K/ref=ppx_yo_dt_b_search_asin_title?ie=UTF8&psc=1 ***Last thing I decided to do after about a couple weeks of use and feeling how hot the compartment gets*** Cut air vent holes into the top of the seat. I installed a small 24 volt blower motor to push air through the seat area. The new wiring harness has plenty of spare connectors to use. Blower motor was from amazon. GDSTIME 24V 50mm 20mm 50x50x20mm DC Brushless Blower Cooling Fan Small https://www.amazon.com/dp/B07W5TWBWL?psc=1&ref=ppx_yo2ov_dt_b_product_details Connectors for the spare connectors on the Weeleye controller harness are these. 1.25 mm JST 2 Pin Micro Electrical Male and Female Connector Plug with 80mm Wire Cables https://www.amazon.com/gp/product/B07FP2FCYC/ref=ppx_yo_dt_b_search_asin_image?ie=UTF8&psc=1
With this file you will be able to print Radio Flyer Grow Kart Mods with your 3D printer. Click on the button and save the file on your computer to work, edit or customize your design. You can also find more 3D designs for printers on Radio Flyer Grow Kart Mods.