Radiomaster Torro ( Crossfire Tango antenna mod)
thingiverse
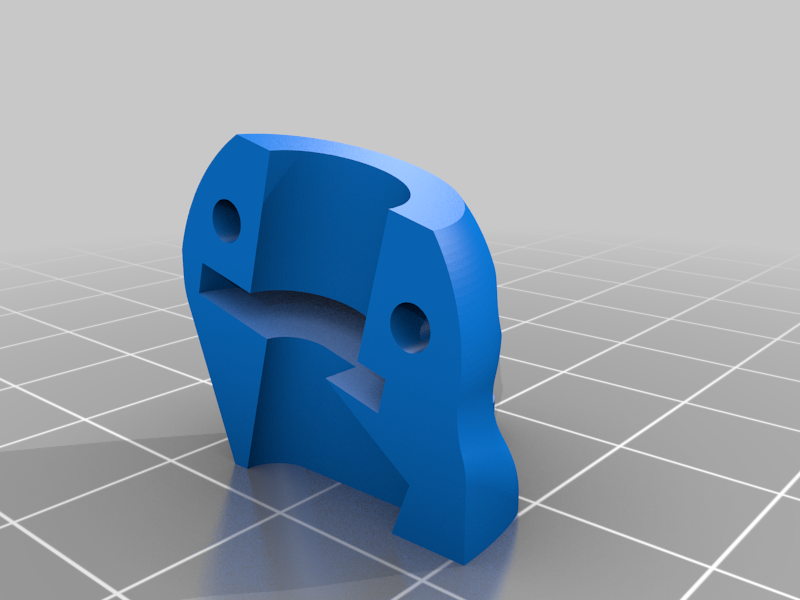
This print replaces the large Immortal T antenna provided with the TBS Crossfire Nano TX with the smaller (and neater looking) version that comes with the Tango 2 RC. The design allows you to maintain the fuctions of the Tango antenna like the fold and the rotate. To do this mod you need to open the Nano TX and remove the main board and remove the UFL connector. Please do this at your own discression as this will void the warranty. I have created 3 versions. One is a larger print to be used in the stock Radiomaster Zorro case allowing the anteanna to fold into the supplied grove the other two are smaller prints for if you are not looking to use the stock case. Mini Fold Up allows the antenna to fold up towards the screen reducing the radios footprint in storage, Mini Fold Down allows the antenna to fold down and act as a stand like the original Tango 2s antenna. (note I have only tested the Stock Case version as its what i use personally. The Mini versions have not been tested but should be fine as they were created from the case version, if there are any problems please let me know and i will see what i can do) Thank you for looking! .Stp files are provided. Instructions. To complete the mod (for nano tx, mod will likely work on the mini but not tested) 1) Open the case unplug the ribon cable from the main board 2) Remove the main board 3) Carefully unclip the UFL connector and set aside the main board 4) Unscrew the plastic housing that covers the SMA connector on the housing (keep the screws you will reuse them later) 5) Remove the stock Immortal T then unscrew the sma lock nut with a 8mm wrench 6) Retrive the 3d printed parts and place the antenna into one side (take note of the notch on the antenaa this should sit in the larger side of the notch. (For the case and mini fold up versions the notch should point towards the remote) 7) Bolt the 2 halves together using 2x m3x8mm bolts 8) Thread the ufl though the hole where the SMA connector had been, use the original screws to bolt the 3d print to the case (note the slanted side should be pointing down away from the remote) 9) Connect the ULF to the main board and bolt back in (the UFL will need to loop back over itself as it is too long to go directly to the connector 10) Reinstall the main board and its ribbon cables then reassemble the unit.
With this file you will be able to print Radiomaster Torro ( Crossfire Tango antenna mod) with your 3D printer. Click on the button and save the file on your computer to work, edit or customize your design. You can also find more 3D designs for printers on Radiomaster Torro ( Crossfire Tango antenna mod).